How To Declutter Your Bedroom In One Day [Everything You Should Do]
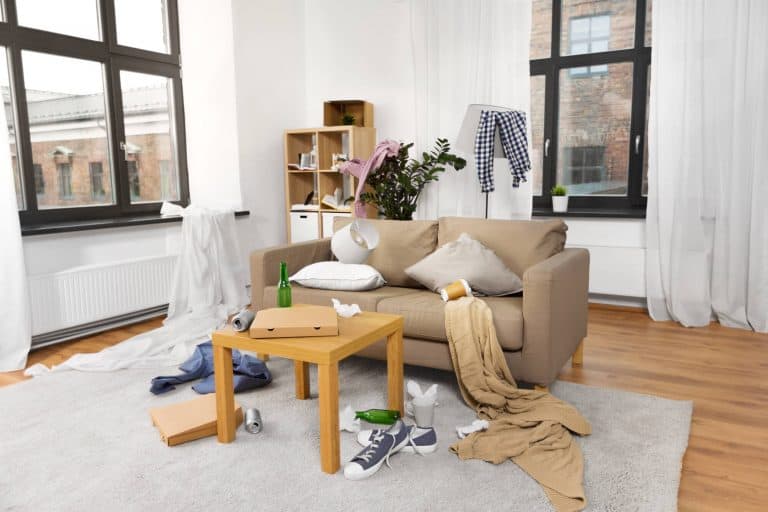
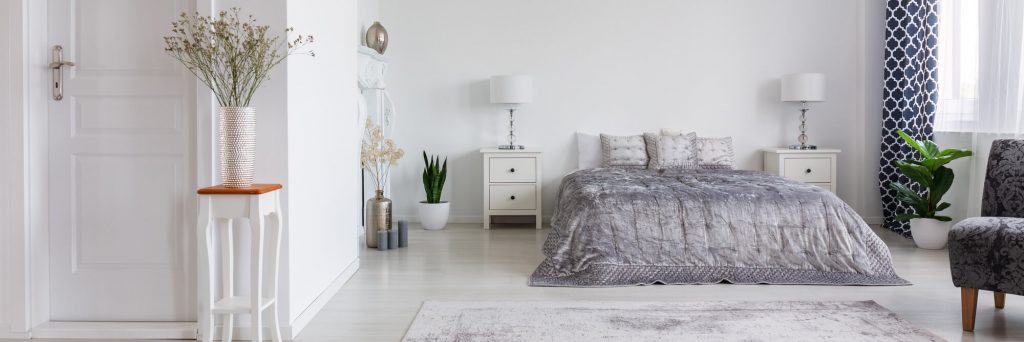
Your bedroom is supposed to be a place to rest and recharge, not a place to store stuff. That cluttered bedroom is causing unnecessary stress and anxiety that’s disturbing your sleep. You need to clear it fast, so here’s everything you need to know about how to declutter a bedroom in one day.
You toss, turn, and struggle to fall asleep at night. Once you do fall asleep, you don’t stay that way for long. Could it be all of that clutter in your bedroom?
Do a little research on clutter and sleep problems, and you’ll find a lot of talk about hoarders. You’re certain you’re not a hoarder, so you tend to dismiss everything you read.
What if it isn’t just hoarders that are affected? In her article in US News, Lisa Esposito points out that an increase in bedroom clutter causes an increase in sleep issues, even in non-hoarders.
It’s called the ‘dosing response‘. The basic concept is that the higher the ‘dose’ of something, the more likely a specific response will occur.
So in this case, the more clutter you allow to build up in your bedroom, the more likely you’re going to have trouble sleeping and even possibly develop a sleep disorder.
I think that’s a good enough reason to start decluttering the bedroom, don’t you? Are you ready to declutter your bedroom?
Here’s a step-by-step process to help you declutter your bedroom in one day.
This post may contain affiliate links. Please see my disclosure policy for details.
Decluttering Tips
Before you get started, check out these tips to help you through the process.
- Take a before picture so you have a reference point for documenting all of your progress.
- Know what your decluttering roadblocks are and how to get past them.
- Have a list of decluttering questions to help you make decisions.
- Set sentimental and memorabilia items aside and make those tough decisions last.
- Have a plan for how to get rid of the things you decide to let go.
- Work from top to bottom and left to right when possible.
- Remember, you’re decluttering, not deep cleaning or organizing. Your only purpose right now is to get rid of the clutter.
Are you ready to start decluttering?
1. Gather Your Supplies
Start by gathering all of your supplies and moving them to the bedroom you’ll be decluttering.
Having all of the supplies you need will help you stay in the room and stay focused on the task at hand with no distractions.
You’ll need the following items.
Trash Can
Grab a garbage bag or trash can for the trash and all of the other stuff you decide is garbage.
I like to use my kitchen trash can because I can leave it just outside the door and toss stuff across the room instead of walking back and forth every time. I’m no Lebron James, but I get the job done!
Basket
Get a basket (or 10) for things that belong in other rooms. I do this two different ways.
Normally, I use one large basket for all of the stuff that belongs somewhere else. If the room I’m decluttering has stuff from all over the house, I’ll use small baskets for each room. You do what works best for you.
It’s a good idea to put the baskets in the hall just outside of the bedroom so they aren’t in your way.
Box
Grab a cardboard box (or 5) for the things you’ll give away, sell, or donate. If the room is really stuffed, you’ll need several boxes.
Don’t stress if you don’t have any boxes, just use a few garbage bags instead.
PRO TIP – Once your box is half full, move an empty one in its place. If you’re looking at a full box when you’re trying to decide to keep or toss, your brain will lean towards keep because you’re running out of room in your box.
Entertainment
Listen to some music or a good decluttering podcast for entertainment and motivation while decluttering.
I prefer music, but know several people who feel the podcasts help provide extra motivation.
Water
Have a couple of glasses or bottles of water nearby so you don’t get dehydrated while working so hard. Staying hydrated will also help you focus.
Now that you have all of your supplies in place, time to get busy.
2. Get Rid of Any Trash
Grab your garbage bag and make a sweep through the room. Look for any obvious trash.
Even if you don’t normally just leave garbage lying around, chances are there’s an old shoebox or empty tissue box hiding out and adding to the clutter. Don’t forget to check under the bed.
This is meant to be a quick sweep of all visible surfaces, so don’t go digging in any drawers or under the bed just yet, we’ll get to that.
When you finish sweeping for garbage, set the bag in the hallway so it’s out of your way but still accessible if you decide to throw something away.
3. Remove Everything That Belongs In a Different Room
Once you’re done with the trash, scan the room and look for things that actually belong in a different room. Again, this is a quick sweep of visible surfaces just to get you started.
Grab any items that belong in a different room and put them in the basket in the hallway.
You don’t want to move them to where they belong right now because you’ll waste a lot of time going back and forth and you’re likely to get distracted or forget where you were.
It was hard enough to start decluttering, you don’t want to break your concentration and rhythm now.
You should move pretty quickly through this step. You’re not really making any decisions to toss or keep items, you’re just sorting through stuff that you know belongs in a different room.
Don’t worry, once you’re completely done with your bedroom decluttering session, you’ll take care of the things in the basket.
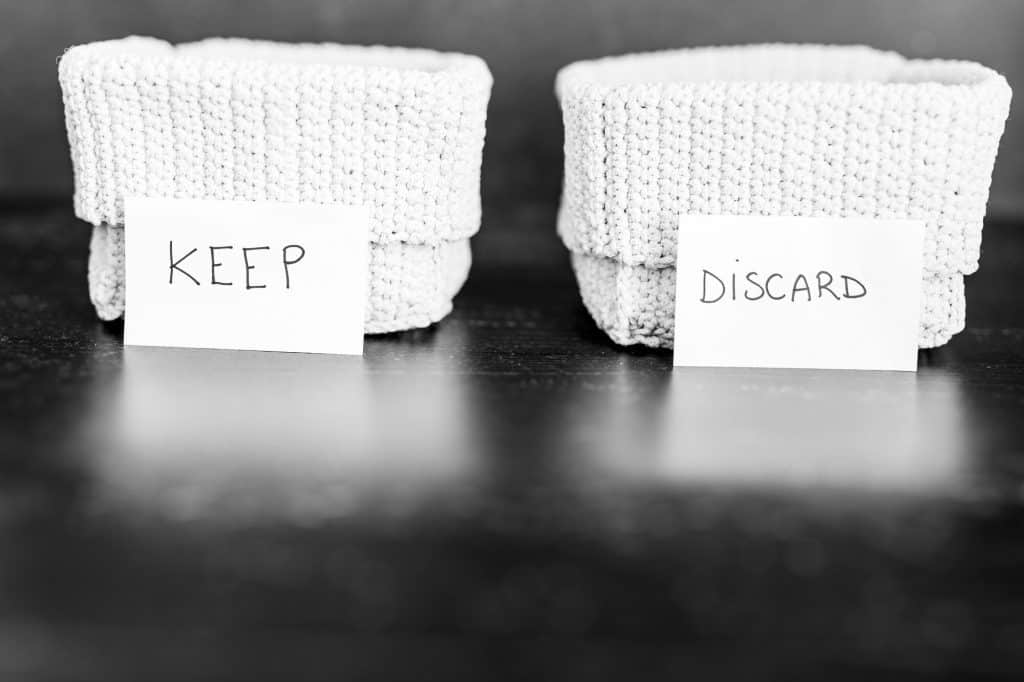
Now for the tough part, time to decide what to toss or keep.
100 GUILT-FREE ITEMS YOU CAN DECLUTTER TODAY!
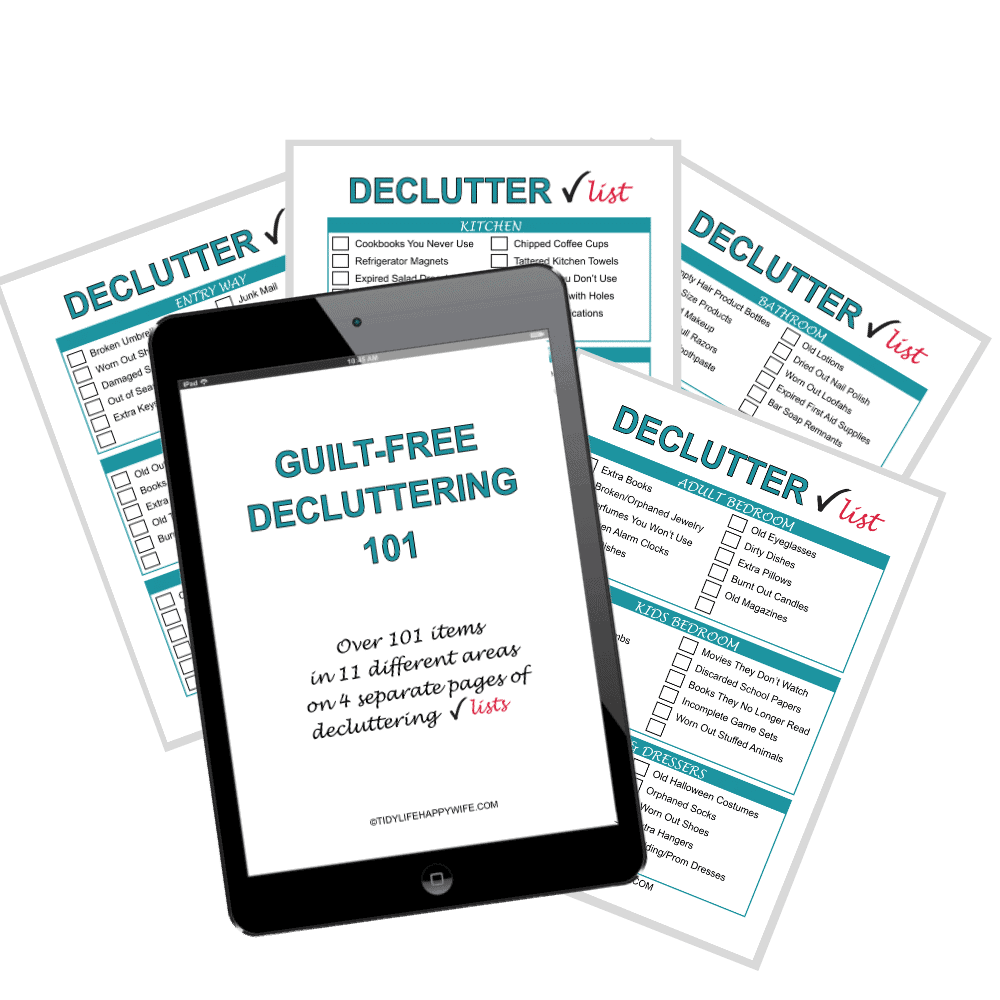
Join thousands of VIPs for cleaning, decluttering, and organizing tips sent straight to your inbox. As a welcome gift, we’ll send you these FREE printable lists of Over 100 Easy Items You Can Declutter Today!
4. Clear the Flat Surfaces
Make sure you have your list of decluttering questions handy, then start with the flat surfaces including the tops of dressers and nightstands, any open shelving, and the tops of any bedroom furniture.
Decluttering the flat surfaces first will give you a little more space to work with. Plus, all of that visible clutter is the clutter that’s probably causing you the most stress and anxiety.
Get rid of old magazines and put away all of those half-finished books because it’s bad Feng Shui and can actually disturb your sleep.
Trash the broken alarm clock and sort through your perfume collection. Give away any fragrances that you don’t wear anymore.
Get rid of the dried-up oil diffuser and put the ‘Christmas tree’ candle away until next year.
When you’re finished with the flat surfaces, move on to your dressers, armoires, and nightstand drawers.
5. Declutter All Drawers
Sort through all of your bedroom drawers one at a time. Start at one point in the room and work your way in a circle around the room.
I think it’s easiest to put a towel on the bed and empty the contents of each drawer onto the towel. Once the drawer is empty, put it back in place and sort through the stuff on the towel.
Take care of the trash first, then remove any items that belong in a different room. Once those easy decisions are out of the way, re-evaluate the ones that are left.
Assess each item before putting it back in the drawer. Determine whether you really need or want it and if that drawer is the proper place for it. If not, toss it.
Don’t get stuck on sentimental items, just set them aside and we’ll get to them later.
6. Storage Furniture
Now that you’re done with the drawers in the bedroom, use the same process to go through any other storage furniture you might have.
Storage furniture includes entertainment stands, armoires, benches, etc.
Remove the garbage first, then the items that belong in a different room, then make your toss or keep decisions.
Make sure to go through any linens or clothing and determine if you really want to keep it.
Like before, if you come across sentimental things, set them aside. Sentimental items can easily derail and sabotage an entire decluttering process, so I always suggest leaving them for last.
When you finish with the storage furniture, go grab a cup of coffee and take a ten-minute break – the closet is next.
7. Closet
Take a deep breath, and empty everything out of your closet. . . Yep, I said EVERYTHING!
Take it all out and lay it on your bed. Try leaving a space big enough to lay a towel so you can sort through any drawers just like you did earlier with the bedroom furniture.
Start emptying the hanging stuff first, then move on to folded clothing, and everything else.
If you come across any obvious garbage while you’re doing this, don’t bother laying it on the bed, just toss it in the trash. Likewise, if you find something that doesn’t belong in your closet or room, place it in your basket.
Don’t forget to empty out the shoes on the floor, the boxes tucked away on the top shelves, and the robes and belts hanging on the hooks behind the door.
I suggest leaving the drawers for last and sorting through them one by one like you did with the dressers and nightstands.

Go Through the Drawers
Now that your closet is emptied except for the drawers, grab the first drawer and dump it on the towel.
Sort through the contents and remove any garbage, damaged items, or stuff you want to donate. Put the rest back in the drawer.
Sort Your Hanging Clothing
Once the closet’s emptied, start sorting your clothes that hang up. Pick up and assess each item one by one, including the hanger itself.
Throw out anything clothing that is torn, stained, missing buttons, has broken zippers, or is damaged in any way. Throw out any damaged hangers.
Don’t hang empty hangers back in the closet, set them aside until you’re done with all of the clothing. Continue storing your clothes.
Check the size and toss anything that won’t fit. If you’re not sure about the fit and are leaning towards keeping something, try it on, but do it quickly. This is another place you can easily get distracted and derail your progress.
Once you make the decision to toss or keep, either hang it back up or place it in your toss box.
When you finish with all of the hanging clothing, sort any clothing that was folded and stacked.
Go Through the Folded and Stacked Clothing
Sort through all of the clothing that was folded and stacked.
Throw out anything clothing that is torn, stained, missing buttons, has broken zippers, or is damaged in any other way.
Check sizes and if you aren’t sure about the fit, try it on quickly. Put away anything you’re keeping and finish
Shoes and All the Rest
Next sort through your shoes and all of the miscellaneous remaining items from the closet.
Make sure to check for damage and fit. Discard damaged stuff, get rid of the things that no longer fit, and put the keeper items back in the closet.
Once the closet is put back together, clear everything out under the bed.
8. Under the Bed
Clear everything out from under your bed.
Trash any obvious garbage, then go through any storage bins for boxes you had stashed under there.
Clear out and sort any other hidden storage areas in your bedroom before proceeding on to the sentimental stuff.
9. What To Do with Memorabilia and Sentimental Items
I actually don’t think it’s a good idea to keep a stash of memorabilia or sentimental items anywhere in your bedroom, my recommendation would be to put them in your ‘belongs in a different room’ basket.
However, I also understand the struggles of not having enough space, so if you need to leave them in your bedroom, that’s ok, but I suggest you schedule a different time to declutter your sentimental items.
10. Time to Clean Up
Now that you’re done with the decluttering part, time to clean up all of the stuff you removed from your bedroom.
Throw the garbage bag in your trash dumpster and put the kitchen garbage can back if you used it, and take the box of donation items out to your car.
Put your empty water glasses and coffee cup in the basket and start dropping things off in the room they belong in.
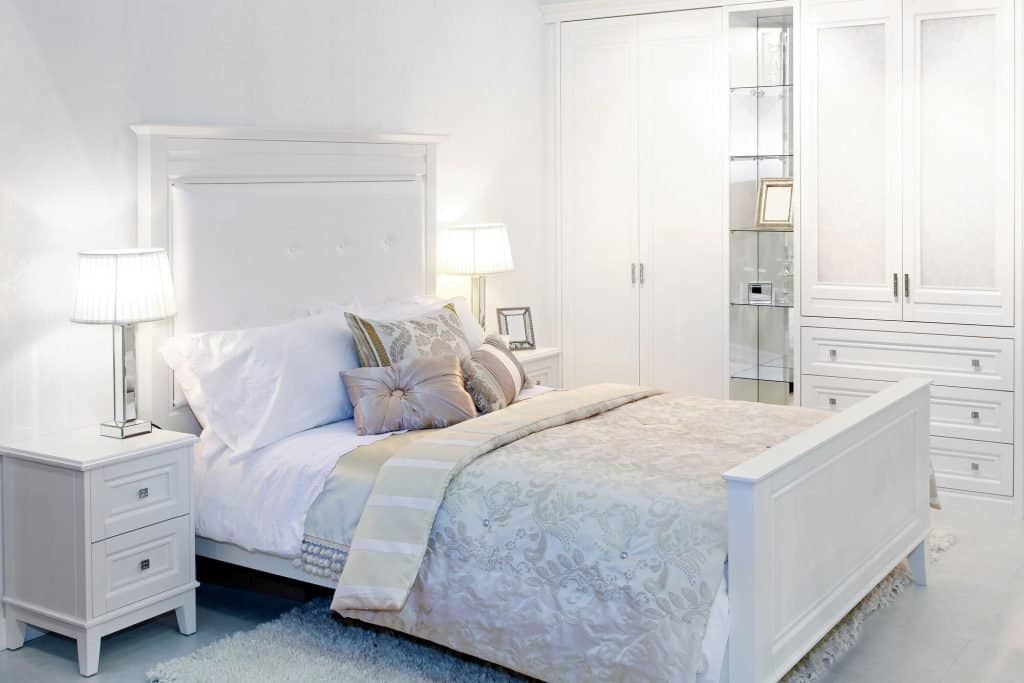
Your Bedroom Decluttered In One Day
You did it. You decluttered your bedroom in one day. Now would be a great time to take that “after” picture.
If you have any time left over, you can pour a glass of wine, relax, show us the before and after pictures of your transformation, and let us know what your next decluttering project is.
Are you ready to declutter your kitchen or bathroom next?


![Efficiently Declutter Your House in Just One Week [Day by Day Plan]](https://tidylifehappywife.com/wp-content/uploads/Declutter-768x512.jpg)