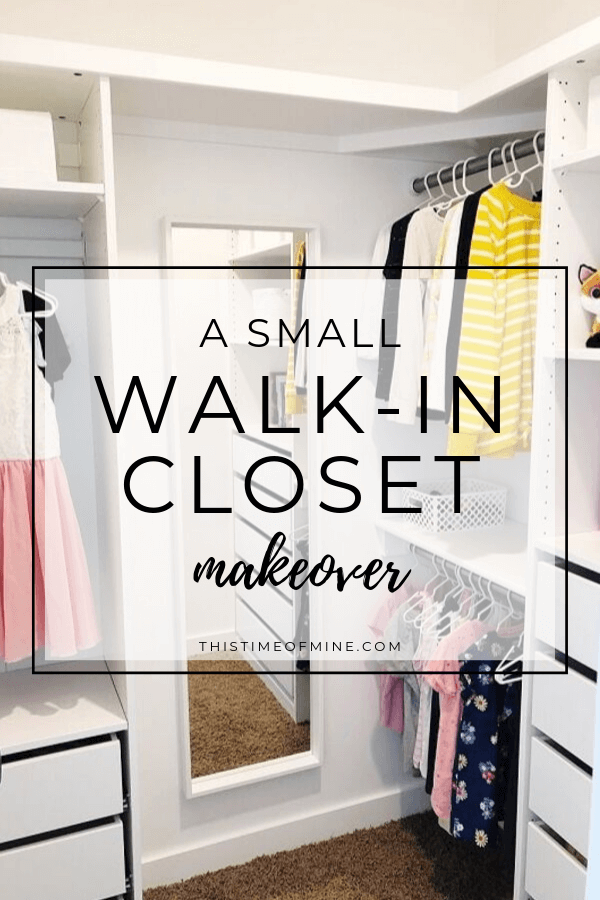
Small Walk-In Closet Makeover Using IKEA PAX

Need some closet inspiration? Thanks to IKEA and a little imagination, this small walk-in closet now has space for everything we need and more!
Confession: I have a small obsession with maximizing storage space. Each area I tackle is like a new puzzle, and I love it. (I know…nerd alert!)
I love when everything has a “home” and is easy to access. It allows me to keep my house picked up and organized (mostly). And it makes it easier for the rest of my family (ahem, my kids) to help out too. Big bonus!
So when it came time to design my daughter’s closet, I pulled out the measuring tape and turned to my favorite place for all things organizing…IKEA.
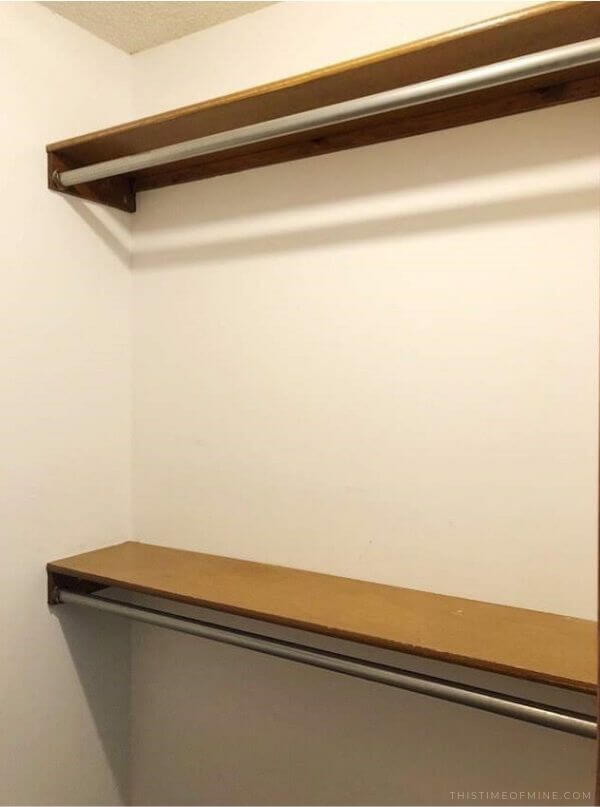
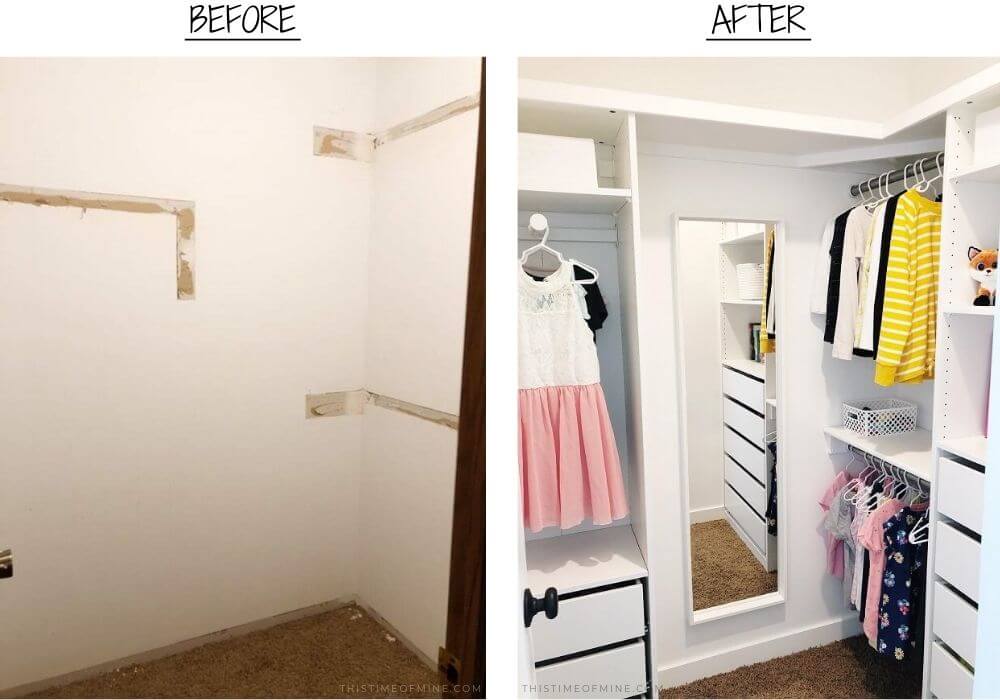
This closet was a poster child for wasted space. There were just 3 shelves with hanging rods and nothing else. It seemed small and always felt cluttered.
I knew that even a small walk-in closet like this could hold a lot more. It just needed a little customizing.
This post contains affiliate links. For more information, see my disclosures here.
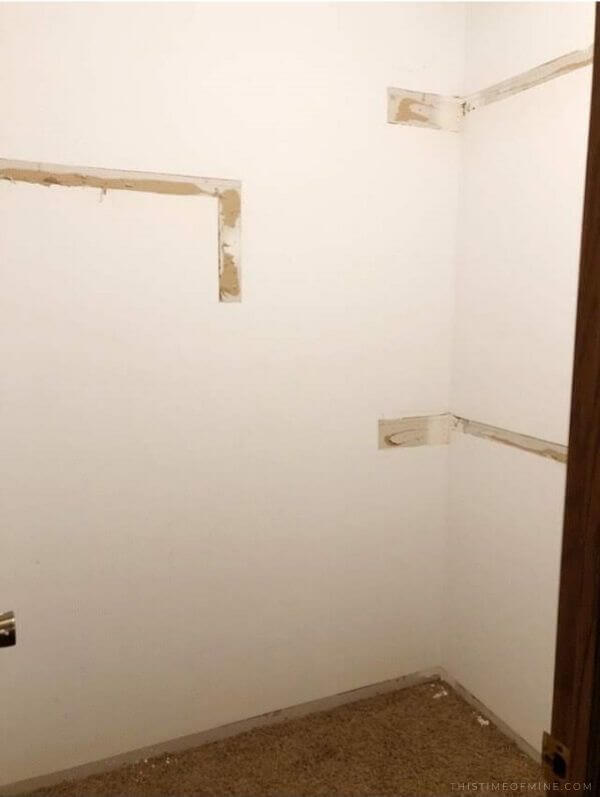
I guess I was pretty excited to get started, because I completely forgot to take a before picture! And I only took a few progress pictures. But here’s an idea of what we started with:

Also, you can’t see it very well, but this closet is where the attic access is. I had to keep that in mind when designing so we could still allow access to the attic.
Here are the basic builder-grade shelf/rod combos we started with:
After ripping them out, we repaired the walls and gave them a fresh coat of paint. We also ripped out the dim light cover and replaced it with a canned light. Because of the attic access door, there wasn’t room for a fun light fixture.
Here’s the only progress picture I took while we were actually building. (Like I said, I get so caught up in projects, I forget sometimes!)
We secured two PAX frames to the wall. The rest of the space was going to be for 2 hanging rods and a mirror.
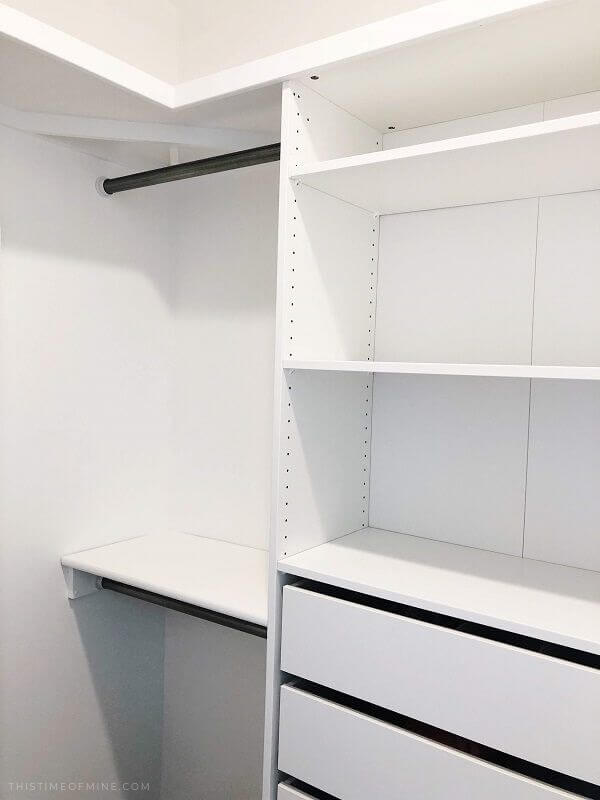
We added a closet shelf (pre-primed) around the whole top and supported it with 1X2’s and a corner brace. Then we installed a closet rod from the PAX to the wall along with a second shelf and rod below it for additional hanging space.
We finished the closet with a new door, trim and baseboards.

After filling in nail holes and painting, we finished assembling the rest of the PAX systems. Everything we used from IKEA (including the exact measurements) is linked at the bottom of this post. But here’s a quick rundown of what we used:
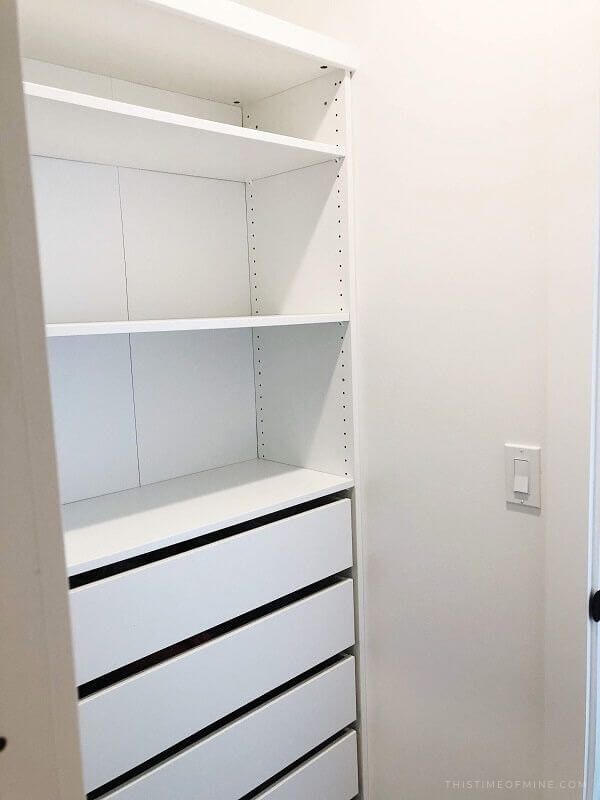
Because of the attic access, we had to stick with the more shallow, 14″ PAX wardrobes. So here we have the smaller wardrobe with 3 KOMPLEMENT drawers and 2 KOMPLEMENT shelves.
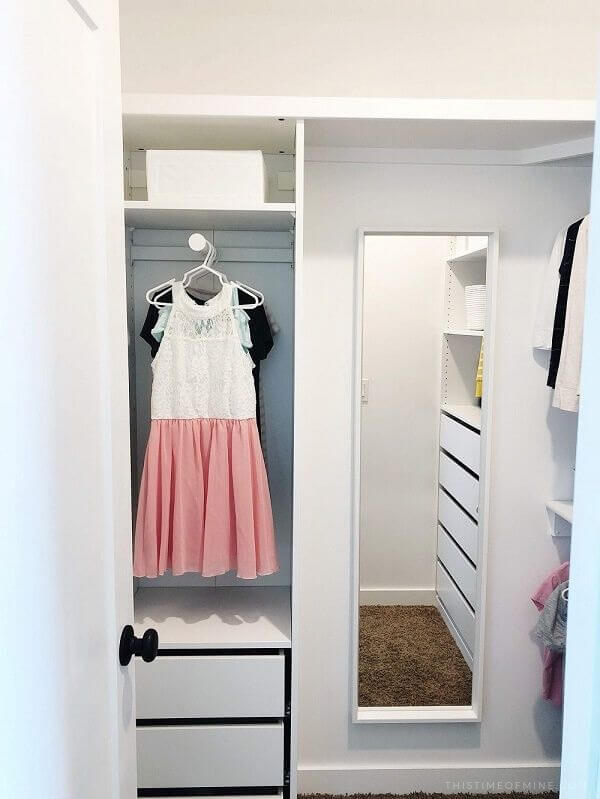
With it being so shallow, a regular hanging rod wouldn’t work. But typical IKEA…they’ve got a solution for that! We used this pull-out hanging rod which works great.
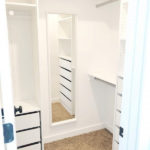
We also hung up this mirror.
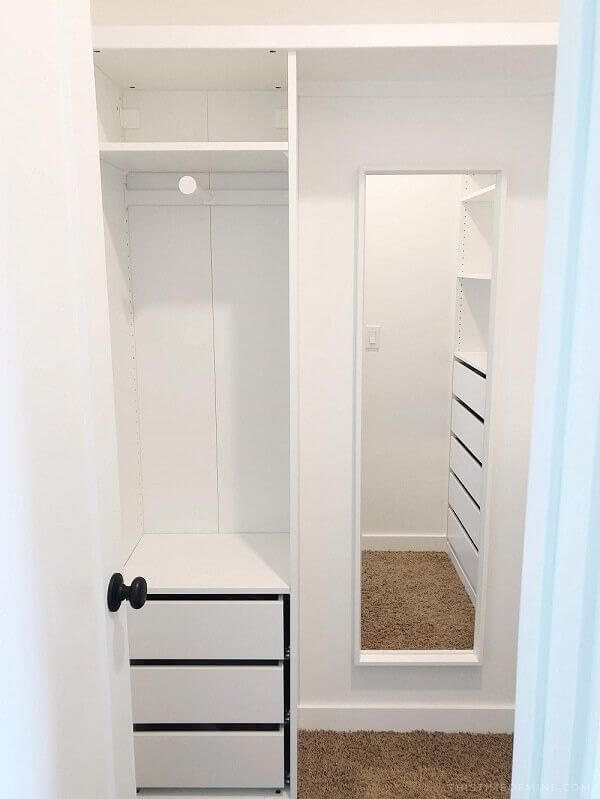
These small drawers work perfectly for my daughter’s shoes and swimsuits.

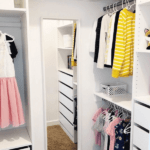
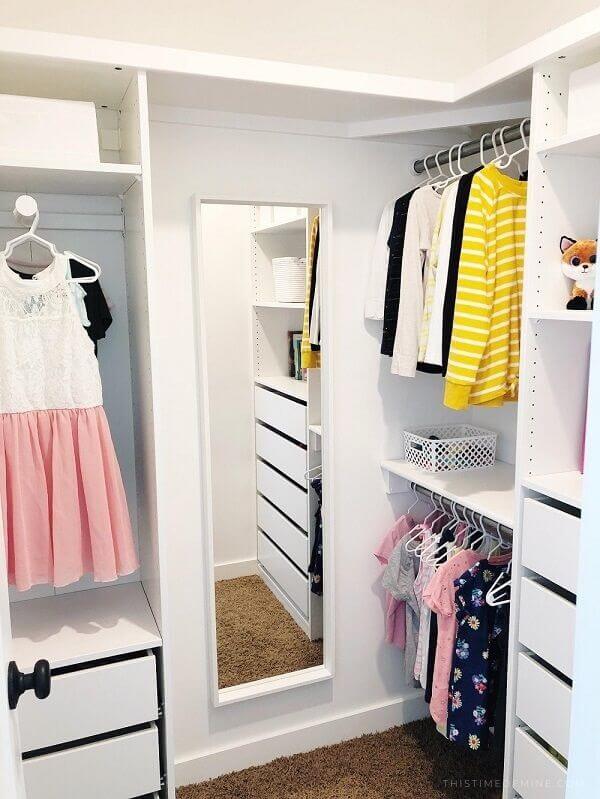
Here’s what the closet looks like when you enter:
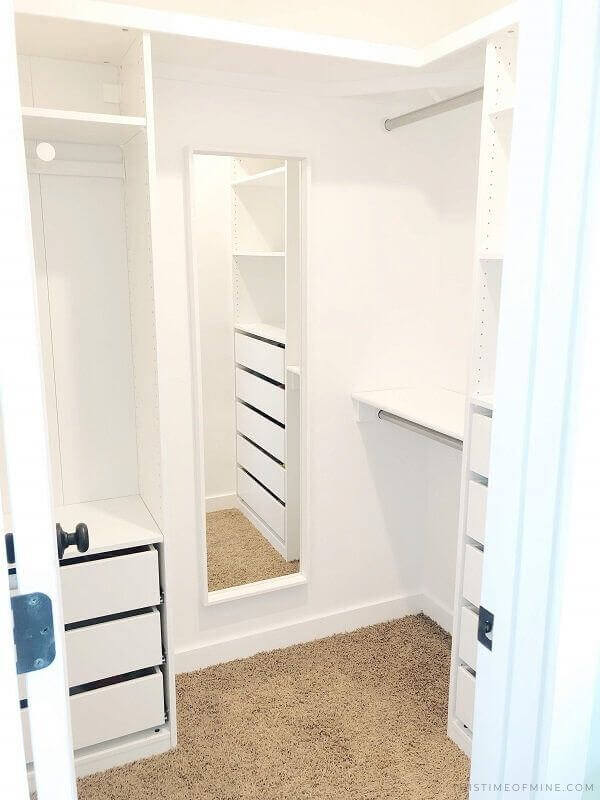
I love that we were able to fit in 2 more areas for hanging. Especially the one down low where my daughter can reach her most used clothes easily.
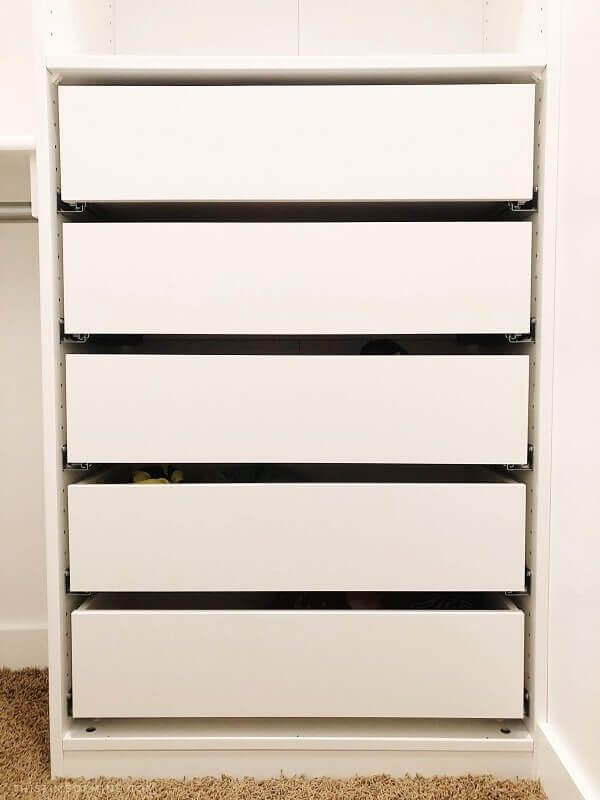
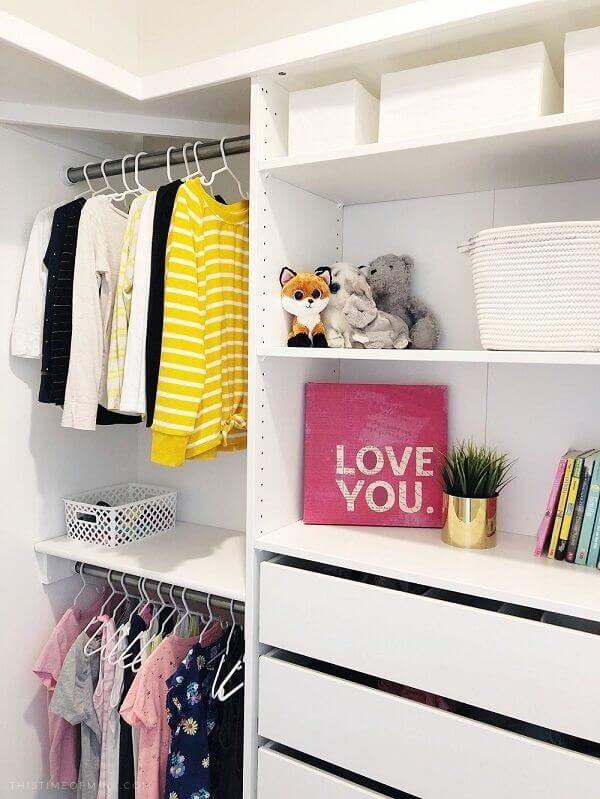
At first, I was nervous that the shallow KOMPLEMENT drawers wouldn’t hold much. But turns out, they fit plenty! So it worked out great. We went with 5 drawers and 3 shelves for the wider wardrobe.
Also, we’re planning on replacing this BROWN carpet. (Everything in this house started off brown. Check out what our living room used to look like!)
So, to make the future replacement easier, we cut out the carpet around the wardrobes when we installed them. Then we secured them to the subfloor and reattached the carpet with new tack strips.
Now I’m just counting down until we can get different carpet!
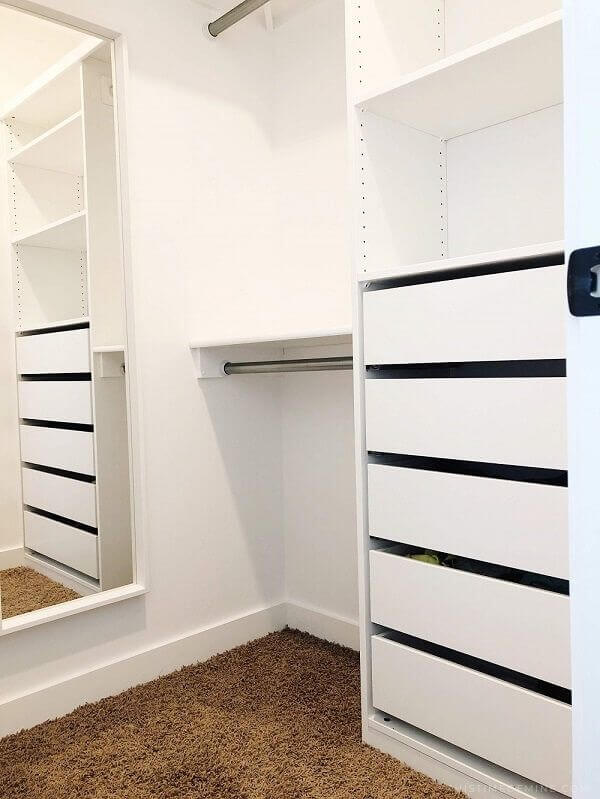
Here’s a better shot of the corner support for the top shelf. Oh, and I forgot to mention the final 1X2 layer we added to the face of the top shelf. It gives it a nice, completed look.
And here’s the last angle of the closet:
We put my daughter’s things back in her closet, but there’s still so much empty space in there! Before, it was a mess and there wasn’t room for anything!
I like this much better. And I’m glad there’s plenty of room for it to grow with her.

I’m so pleased with how this project turned out. It might still be a small walk-in closet, but it sure feels a lot bigger! It holds a lot more too.

Here are the materials we used:
IKEA Pax System Materials
- Small Pax Wardrobe Frame (19 5/8 X 13 3/4 X 79 1/8)
- 3 Small Komplement Drawers (19 5/8 X 13 3/4)
- 2 Small Komplement Shelves (19 5/8 X 13 3/4)
- Large Pax Wardrobe Frame (29 1/2 X 13 3/4 X 79 1/8)
- 5 Large Komplement Drawers (29 1/2 X 13 3/4)
- 3 Large Komplement Shelves (29 1/2 X 13 3/4)
- Pull-Out Clothes Rail (19 5/8 X 13 3/4)
- Mirror
- Drawer Organizers
The pre-primed shelves came from Lowe’s and we already had the closet rods. So there you have it! A small walk-in closet completely customized for around $375.
Have you ever tackled a project to maximize storage space? I’d love to hear about it!
want to remember this?
PIN IT TO YOUR FAVORITE BOARD
Share this article:
Hi Jen,
Your post is very useful – we are almost done with a similar setup using your design as inspiration. Now only left with installing rods and the top shelf. For the top shelf near corner, how did you drill or screw the brace underneath the area where both shelves join? Is there a special type of drilling required?
What kind of corner brace did you use? I am in the process of creating something similar to this but don’t know what kind of brace to get and also wondering what type of wood and size did you get to add the support for the metal pole going from the PAX unit – I really love how this closet turned out. Cannot wait to see how mine turns out!
For attaching the closet rod to the pad unit, it looks like you put a piece against the pad unit that you used to support the shelf and screw the closet rod into. Is that correct? And did you glue that wood to the pax unit?
Yep, that’s correct! And to secure it to the unit, we found screws that were slightly shorter than the thickness of the unit.
How long are the hanging rods you already had?
They originally went wall-to-wall, so about 4.5 feet.
This is excellent! Very similar to what I’m doing in master closet. Little note, I’m putting wallpaper on the back of the pax frame so you won’t see the seam that is down center. Dresses it up a bit. I will be showing your post to hubby so he will know how to do it. Thanks
Wallpaper is a great idea! It’s going to look so good.
What a great idea, I was wondering if I should just leave the back off and paint the walls an eggshell white to mimic the back.
Thanks! We’ve done it both ways and they both look great!
This is lovely! What are the total dimensions of this closet? Trying to envision if this setup could work for me. Thanks!
Thank you! It’s roughly 4 1/2 feet X 5 feet. I hope it works for you!
What size shelves did you use on the top? I can’t find anything the right width.
The Pax units are 13 3/4 inches, so we grabbed a white closet shelf from Lowe’s. We cut it to match the depth of the pax unit (on the rounded edge side). Then we attached a 1×2 to the front to give it a finished look. Hope that helps!
This is brilliant! Thank you for the detailed tutorial. We are in the process of updating our son’s closet, and I couldn’t figure out how to handle the corner and make it look more customized. You have solved my problem.
I’m so glad this helped! Corners are so tough sometimes, aren’t they? Good luck working on your son’s closet!
How did you attach the closet rods to the outside of the Pax unit? I’m redoing a reach in and only using one tower, but can’t figure out the best way to attach the rods to the wall/outside the unit.
For the drywall side, we used a heavy duty drywall anchor. (Clothes can get heavy!) Then we used a regular screw to attach a plastic closet rod holder. For the Pax side, we measured the thickness of the unit and found a screw slightly shorter to attach the second closet rod holder. Hope that helps!