

I love nautical stripes. Ever since I went to Paris three years ago and saw so many Parisians sporting stripes under blazers (before we did here in Canada), I was hooked. I’m clearly not the only one, as they’re now everywhere. In this case, it’s lucky for me, because I managed to get this awesome fabric at 50% off at Ikea! $4 a metre! (To all you Americans, that’s less than 3 bucks a yard). What a deal!
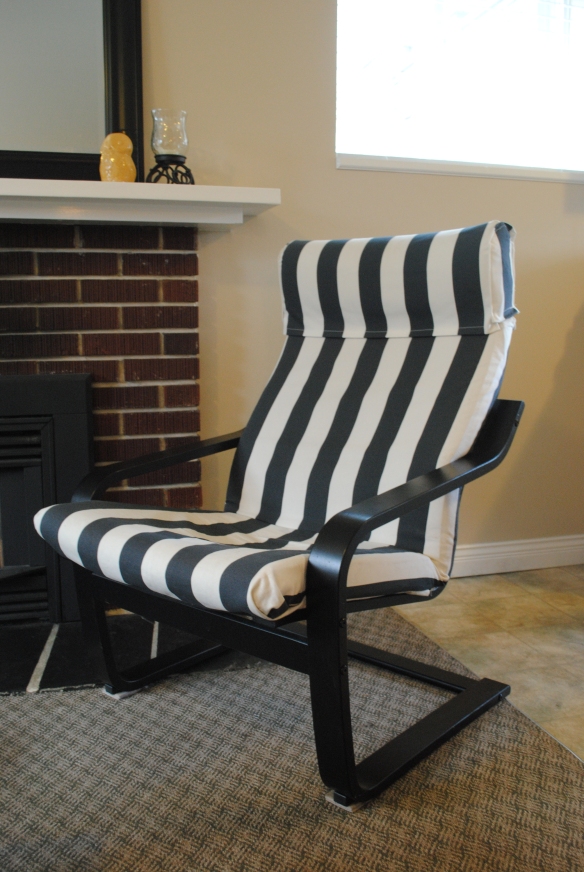
I happily used it to recover this old thing:
Shaun’s brother-in-law donated it to us when we moved in together this time last year. Practical yes, but pretty it was not. I saw it’s potential. I’m not one for patterns, I just based my recover on the original. I’m all about efficiency too, so this is about as easy as I could make it for myself! It’s really just a step above making a pillow case. I included some approximate measurements of each piece, but it may not be exactly the same ones as your chair. Think of them as guidelines. Here’s how I did it:
Seat cushion:
1. Measure and cut out your sections. I used one long one for the front, and two smaller pieces for the back and the seat of the chair. Front: 53″ x 32″ Back: 27″ x 26″ Bottom: 21″ x 26″
2. Hem one width of your top panel (the 32″ side) which will end up being at the bottom of the chair. Do the same with one width of the back panel. Hem both widths of the bottom panel.
(As a side note: I did find it worth pressing the fabric before hemming it to get a nice crisp seam, even though my lazy side wasn’t a big fan of it. As a bonus, if you’re using stripes like these, it’s easy to get a straight hem: you just do it parallel to the lines.)

Front panel 53″ x 32″

Back panel 27″ x 26″

Bottom panel 21″ x 26″
3. Next, sew the back panel to the top of your unhemmed (width side again) to the top (unhemmed side of course) width of the front panel. Since the front panel is wider, make sure to leave equal amounts of the front panel on either side.
4. Because it’s a pillow, I allowed extra fabric on the top panel so that the stitch would be right along the side of the back of the chair.
To know where to sew, just pin the two panels together, inside out, around the cushion. Then, following your pins, sew each side together (still inside out of course). This should resemble a pillow case when right side in. Sew the sides of the bottom panel right under the back panel the same way. The reason I used two panels for the back of the chair is to allow space for the cushion to bend. 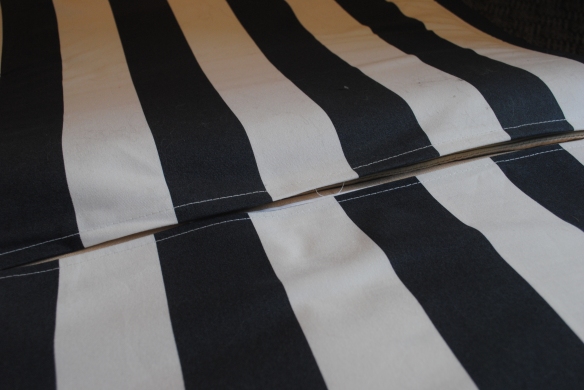
With the hems you already put in, the chair section of your recover is just about done! You’ll notice I left quite a bit of space at the bottom of the front panel:

This so you can tuck that bit under the cushion. I wanted it to be easily removable, so I thought about velcro… But let’s be honest, I was too cheap and lazy to go out and buy some. Then my (future) sister-in-law told me she recovered a whole rocking chair (a whole rocking chair!) with SAFETY PINS. Done. So safety pins it is:
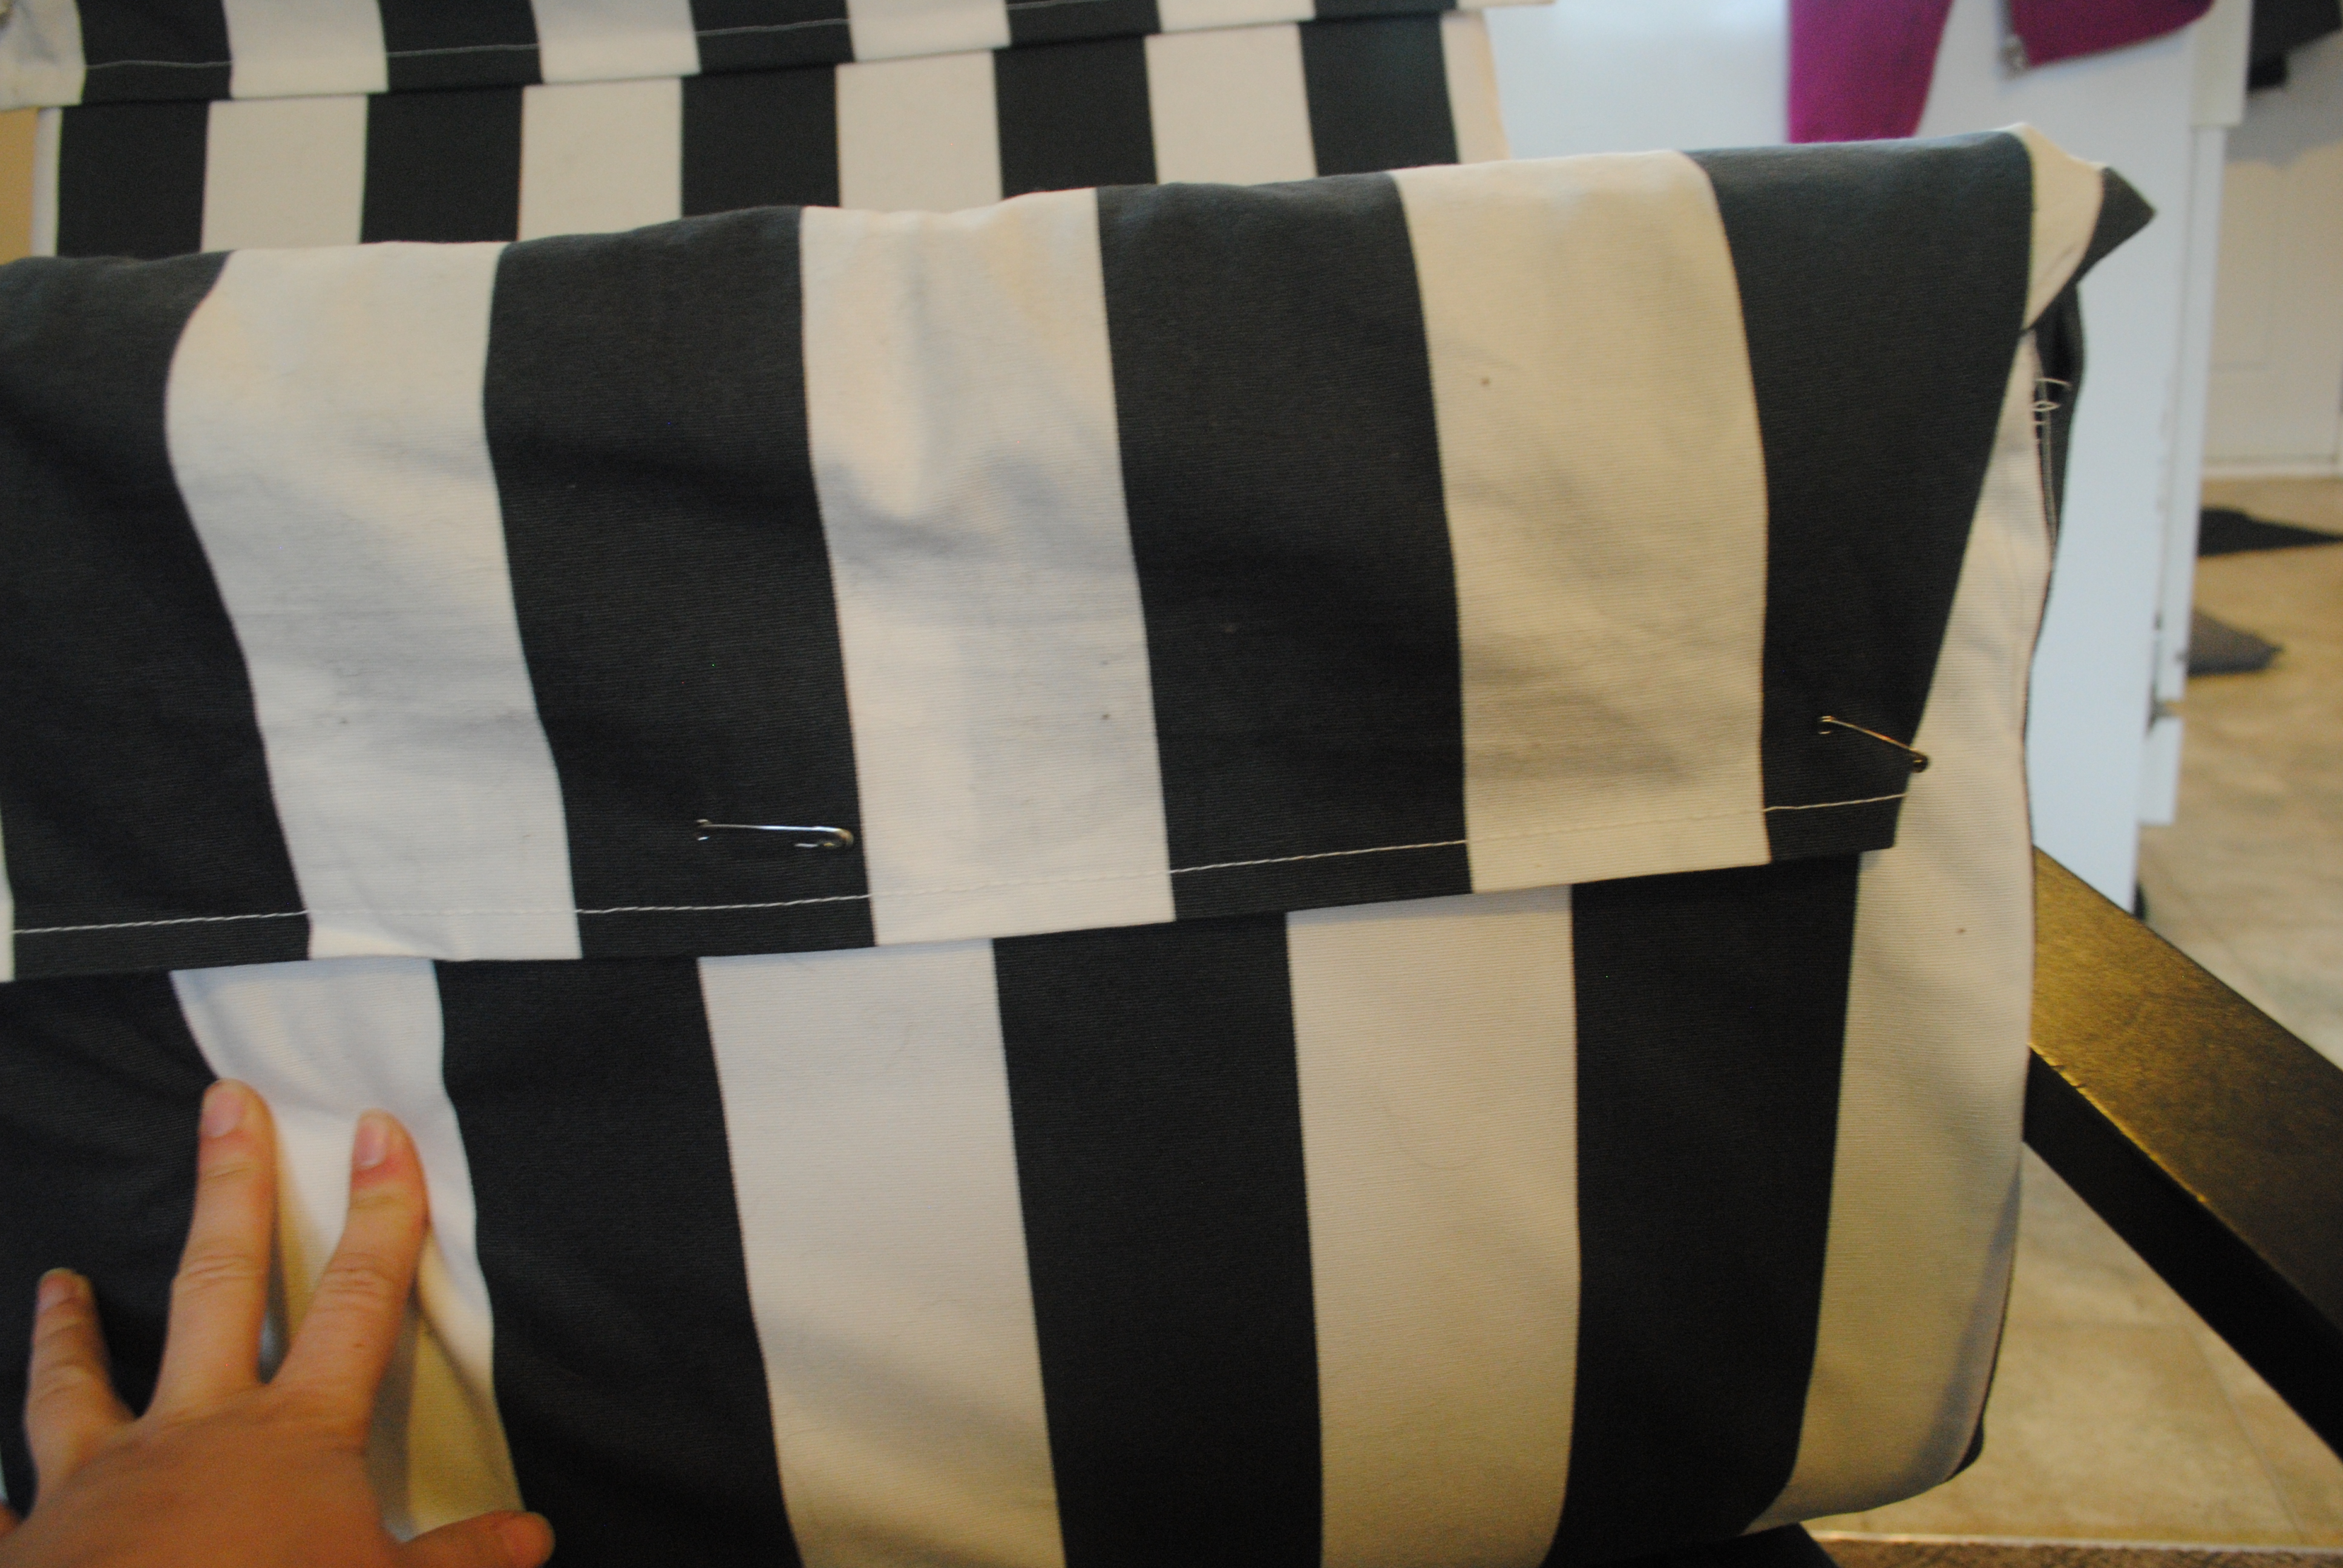
I’m sure velcro would be easy to do if you wanted to be fancy.
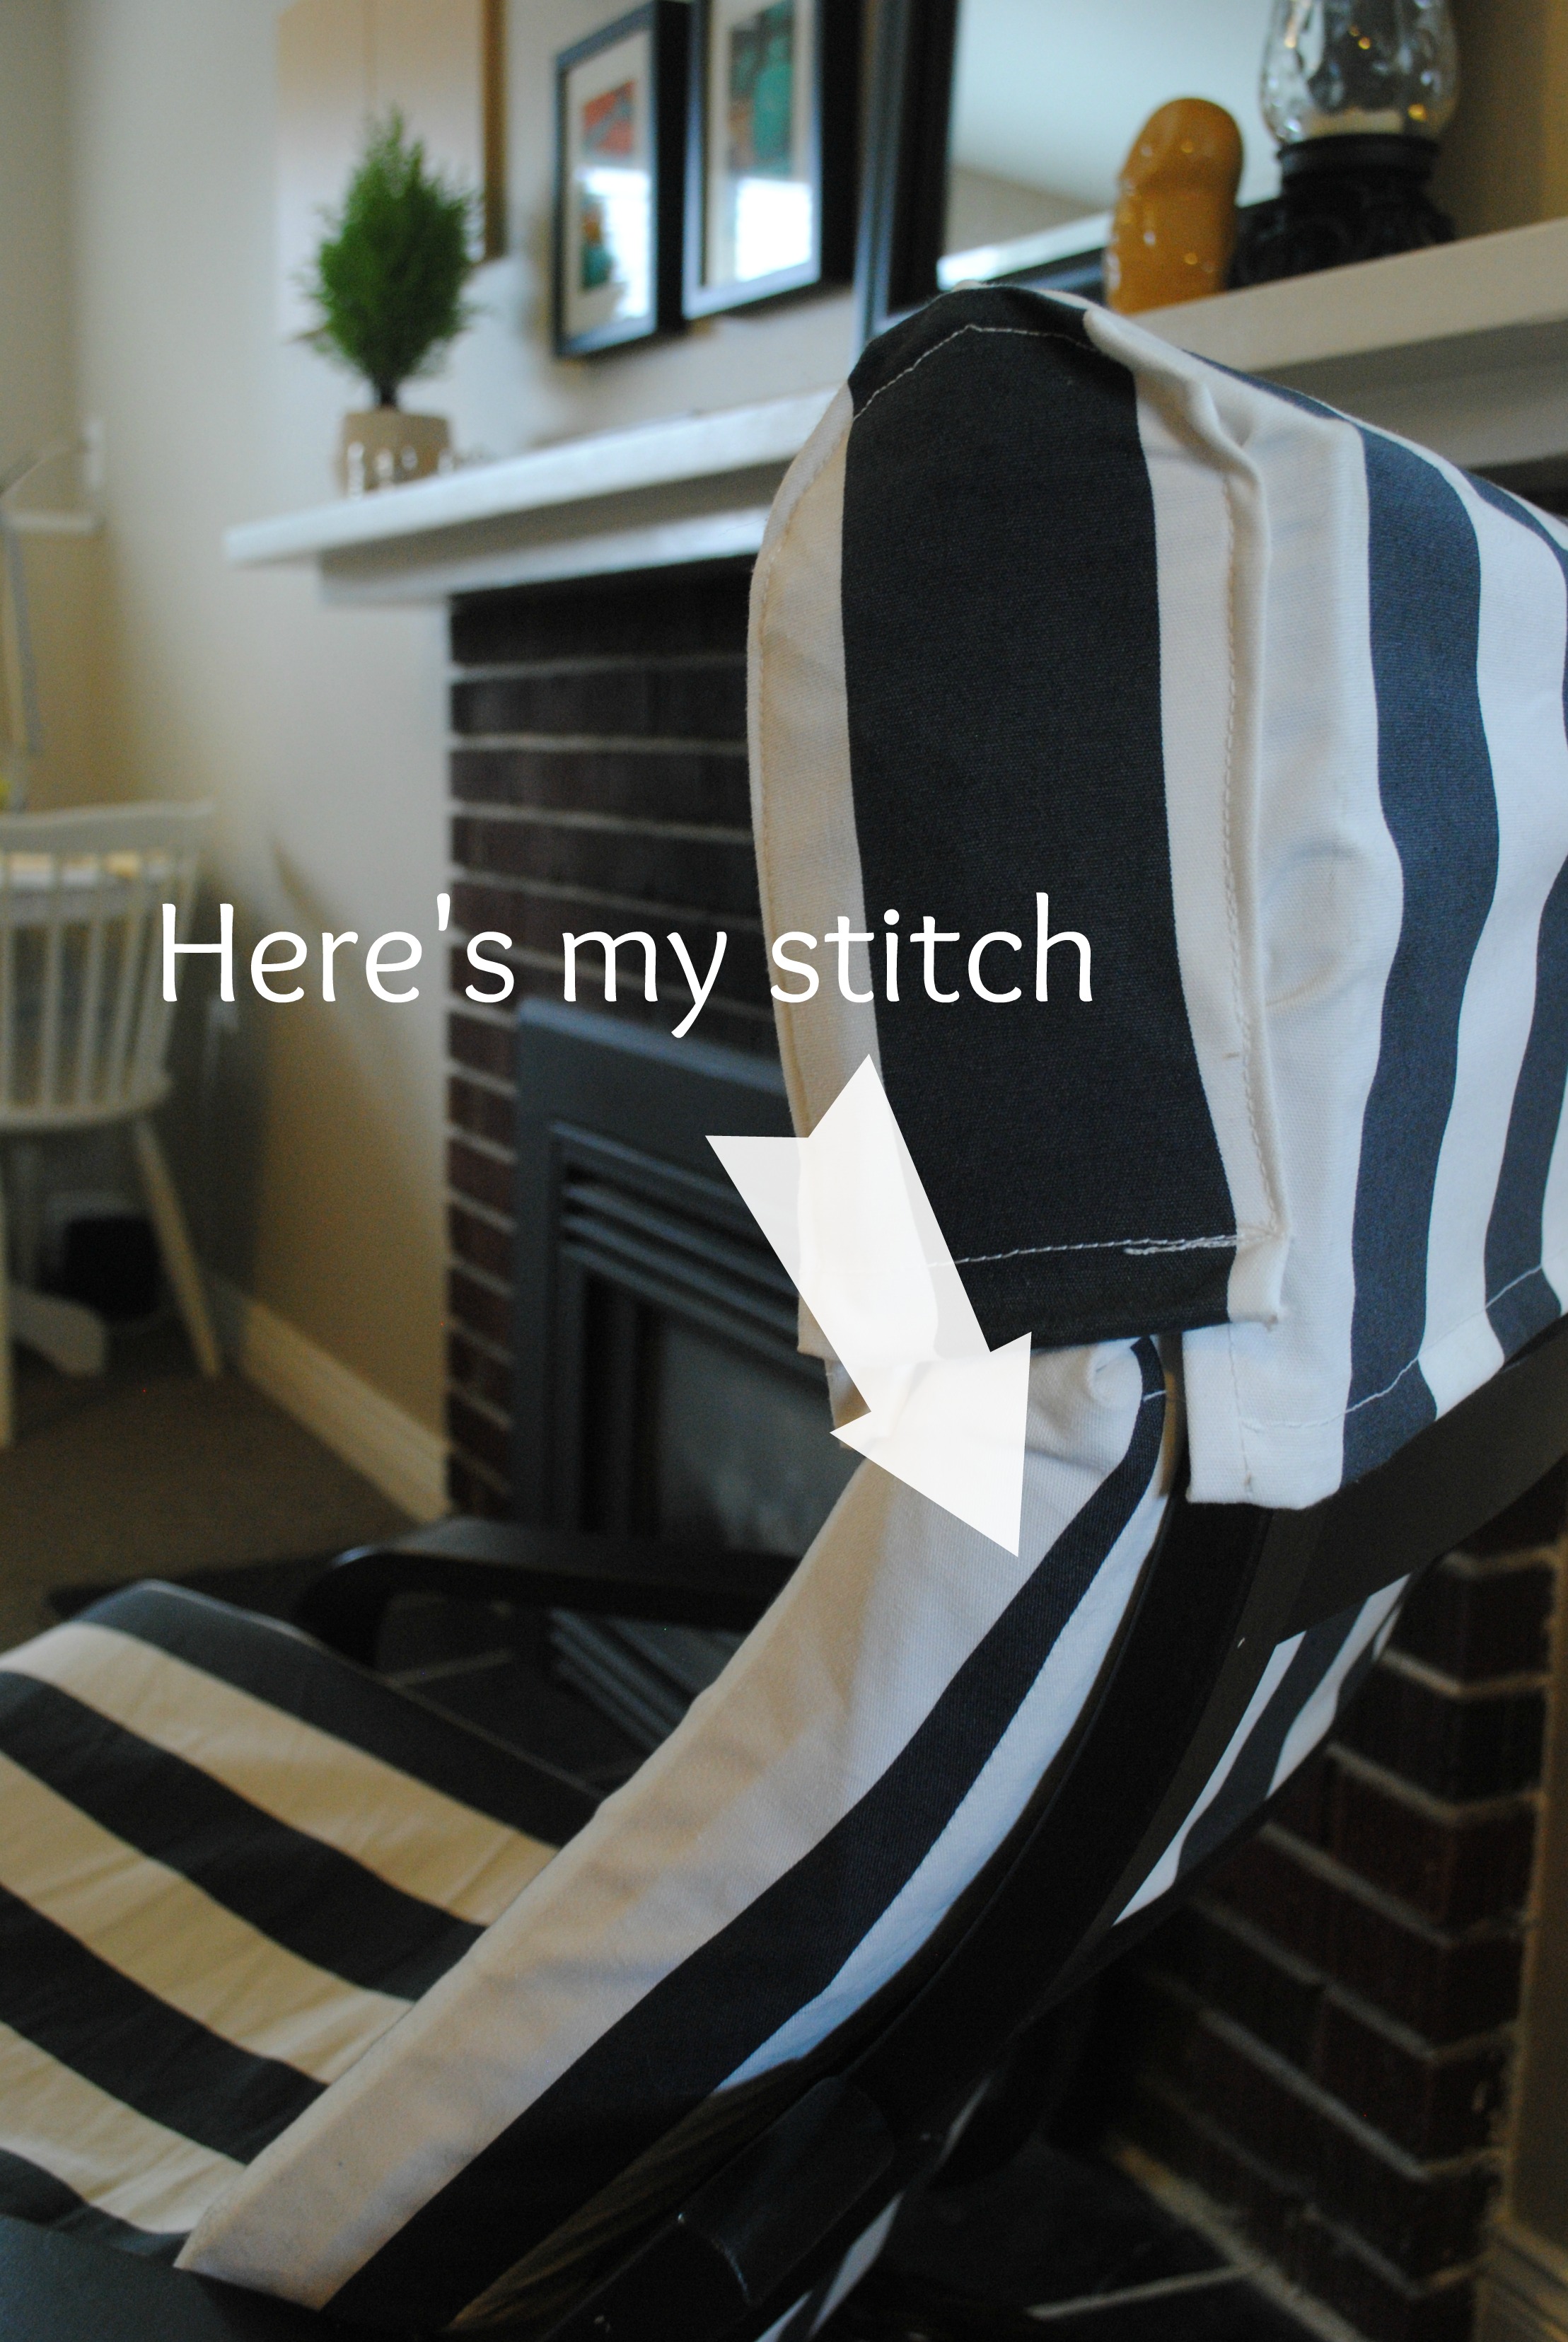
Head rest:

So this is definitely the harder section… Just a warning. Totally doable though!
1. Cut a panel 23″ x 27″. Hem the widths (the 27″ side). This will cover the front and back side of your head rest. These directions show you how to make a little “cap” for your chair.
2. Trace out the side of your head rest. Allowing for the seams, mine was about 6″ x 9″, but it’s best to trace out on your own because of the curve at the front of the chair. Fold in your hems and press them to keep them secure.
3. Working around the head rest, pin the sides (keeping that hem in there too) to the rectangle you cut in #1. Here’s a photo of mine with my seam and a few pins still intact:
4. Once you’ve pinned around both sides and you feel it’s snug enough, sew it, pattern side facing you. (This way you’ll see the stitch and the hem, like the finished photo above. I’m sure you could fiddle around with it if you wanted an invisible seam, but this seamed overly difficult to me.) You’ll essentially be sewing through three layers of fabric: the traced sides, their hem, and the rectangle. Don’t worry if it’s not tight enough: just sew it again. As you can see, I had a ton of excess fabric from trial and error, but you can’t see it once it’s on right side in.
5. Last quick step. Hem the sides of the rectangle that are still showing. This step is optional really. I was originally going to tuck the front part under the head rest cushion (like I did with the chair cushion) but I liked the way it looked just hanging down.

And… the final product:

Does it pass the rental test? Oh yes it does! For one, so unbelievably budget friendly: my total came to about $12, since the chair was free. It’s also completely removable. Easy to clean, and the cushion underneath is completely untouched. I can give it back to Shaun’s brother-in-law if ever he needs it or if ever the chair doesn’t work in a new place (ie: if ever we move somewhere even smaller than this and don’t have the space for it, which is always a likely possibility). Easy on your purse and temporary if need be. Perfect!
Anything you’ve recovered lately? Any great fabric deals? I’d love to hear from you!

Pingback: Ikea Hack: Aläng Lamp | L'amour chez nous