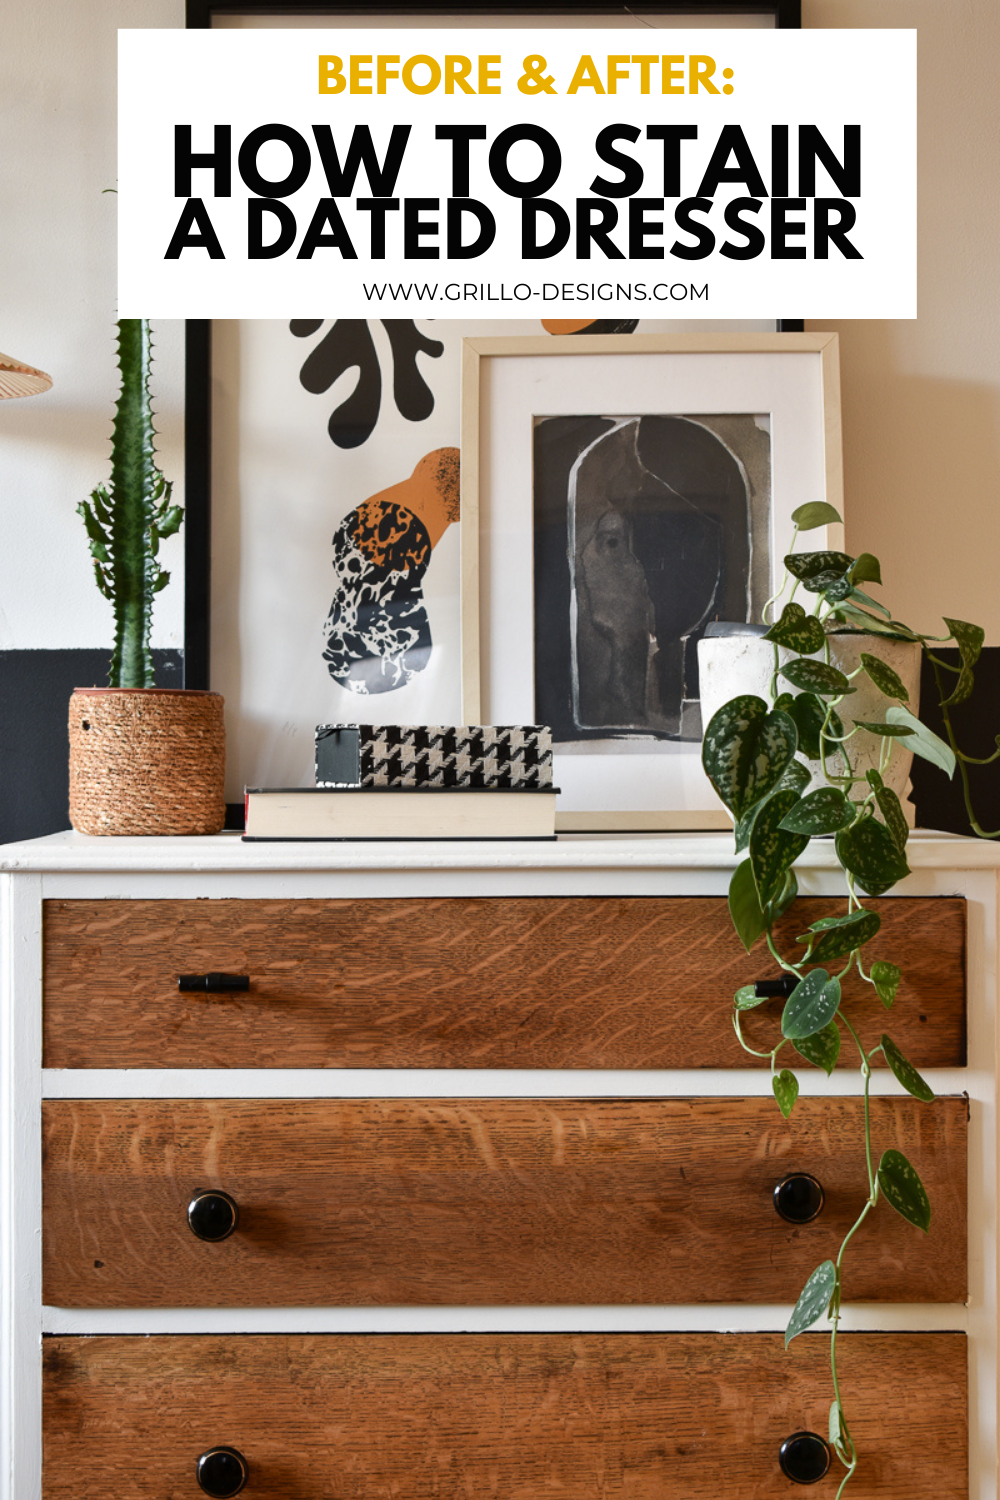
If you’re not too keen on the idea of completely painting over an old beautiful piece of furniture, refinishing with wood stain is another alternative. In this post I’m sharing how to paint and stain wood on a dated dresser and transform it into something that looks a little more modern! *This post has been sponsored by Fellows – A Specialist auctioneers based in Birmingham
. . . . . . . .
A few months ago I was approached by an auction company called Fellows to collaborate on an upcycling project.
I hadn’t heard of Fellows before – ( surprising as it’s quite local to me) nor had it ever crossed my mind to visit an auction house to purchase vintage furniture and antiques. I had always assumed that auctions were for professional dealers, but the more I read up on it, I realised that there was actually another target group of people that visited auctions. General consumers like you and I, looking to score vintage furniture for personal use at bargain prices.
BUYING FURNITURE AT AUCTIONS
Now, I’m certainly not about to claim that I’m a pro at auctions when I’ve never been to one . . . well not yet anyway.
But I would like to share a few tips from Fellows, including all the things you might need to know for your first online auction (since virtual is where everything is heading right now), and this golden gem of information from The Otto House, about how to buy furniture from auctions.
The plan had originally been to upcycle a piece of furniture from one of their LIVE auctions, but due to COVID lock down, this wasn’t possible. Fellows have now switched to online viewings, but in the meantime I have managed to nab a bargain vintage dresser in need of updating from Facebook Marketplace, for the purpose of this post.
This is how the dresser looked before . . .
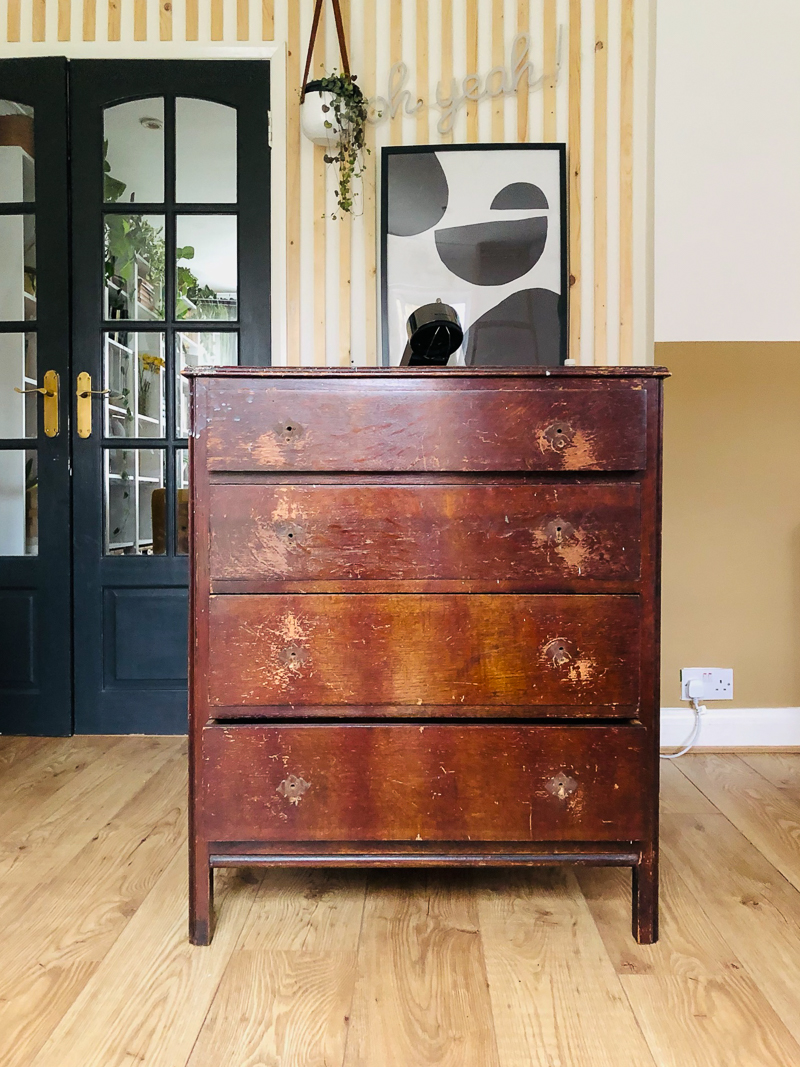
It was definitely a little rough around the edges, but still a sturdy piece of furniture with what looked like only superficial damage.
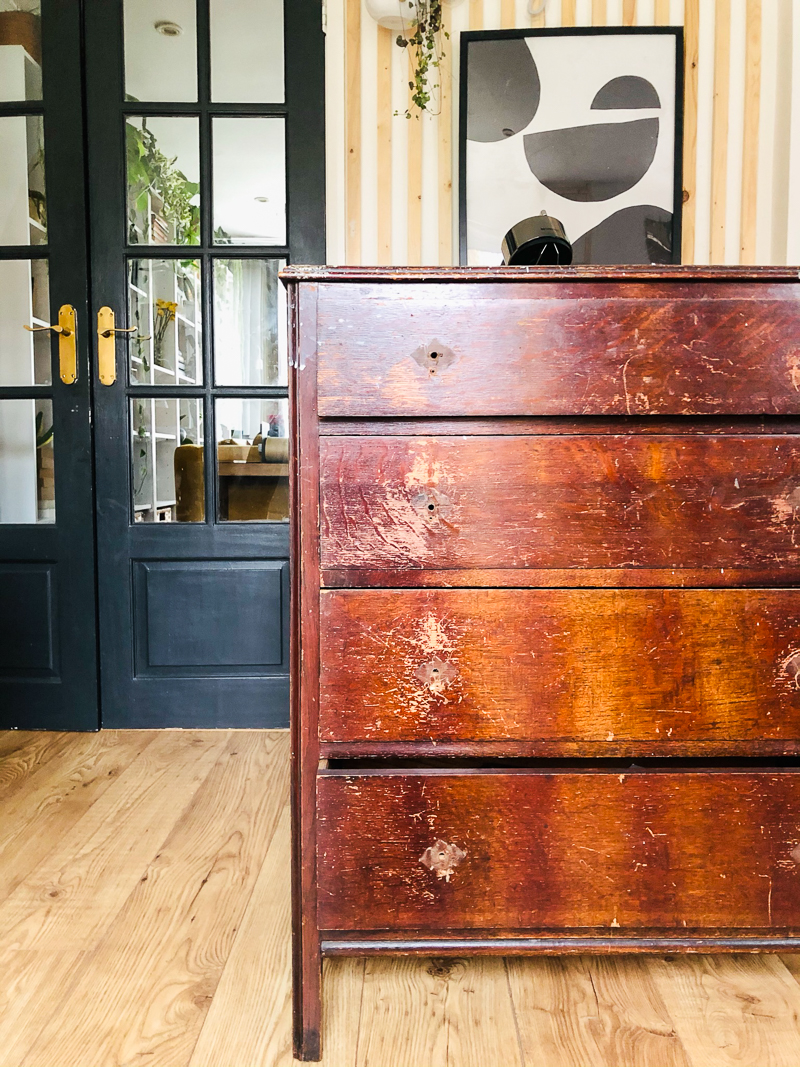
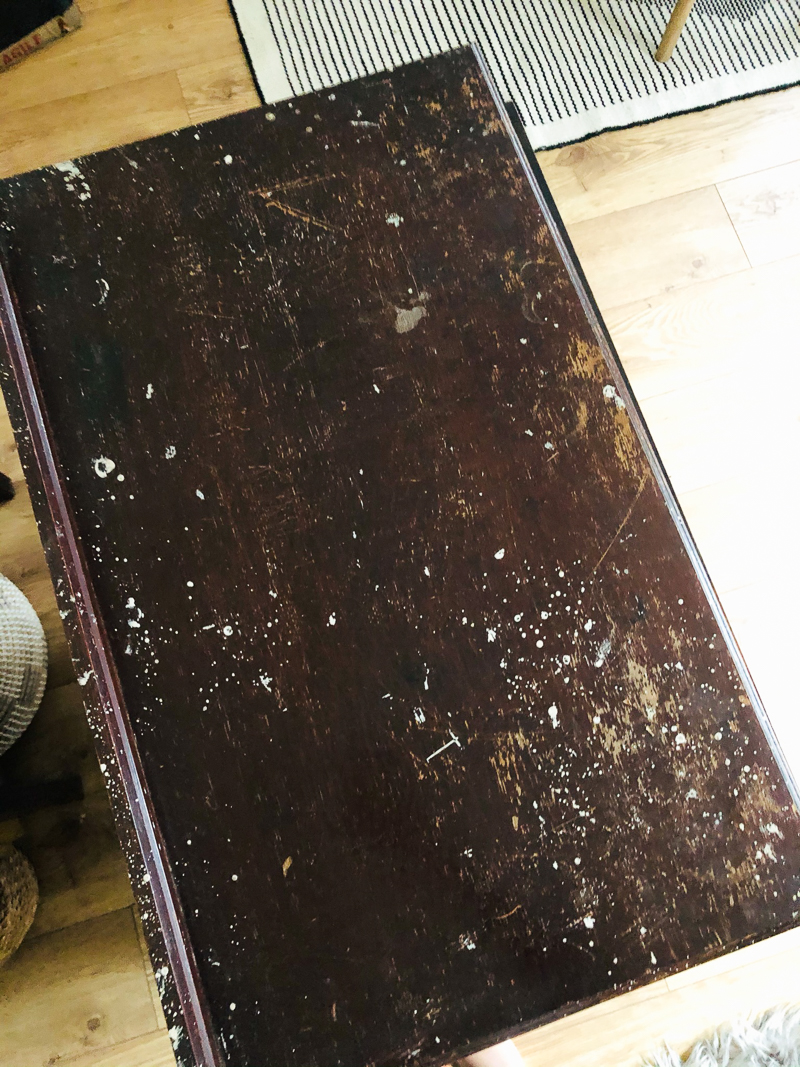
Easily fixed though with a little TLC.
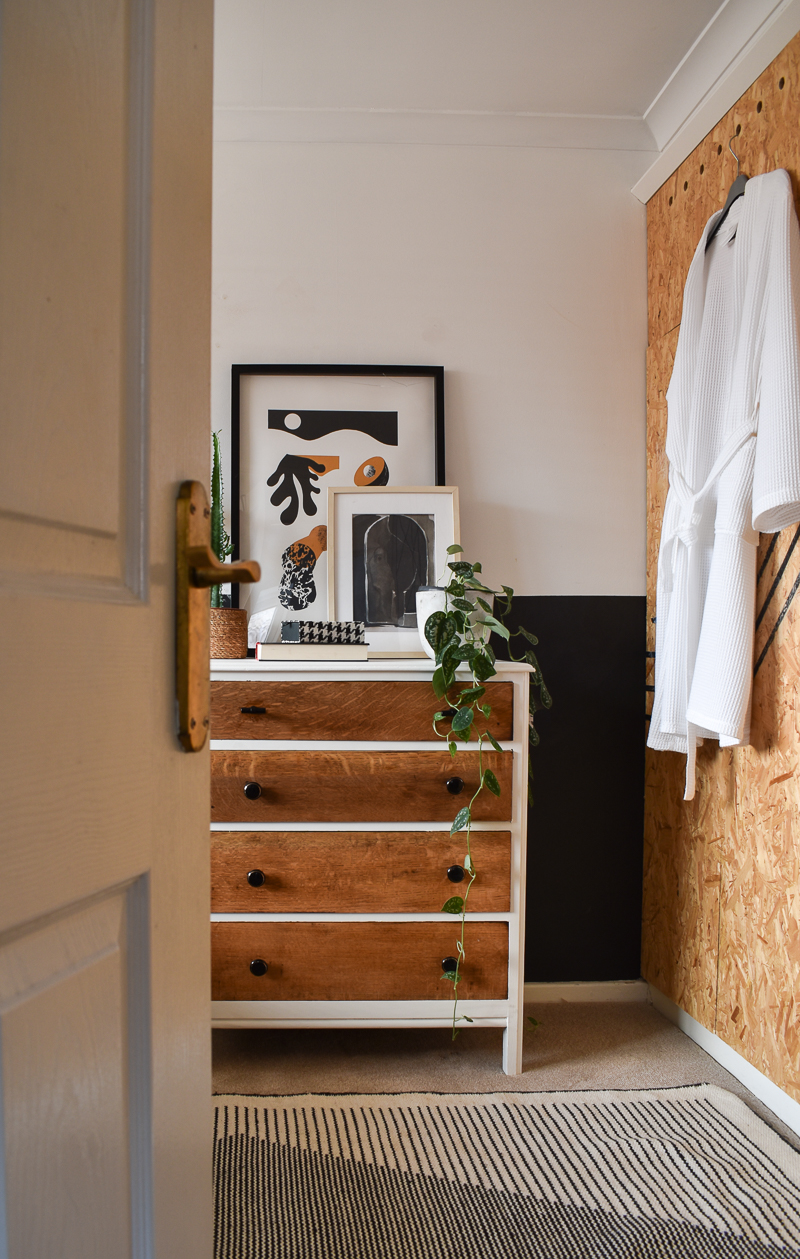
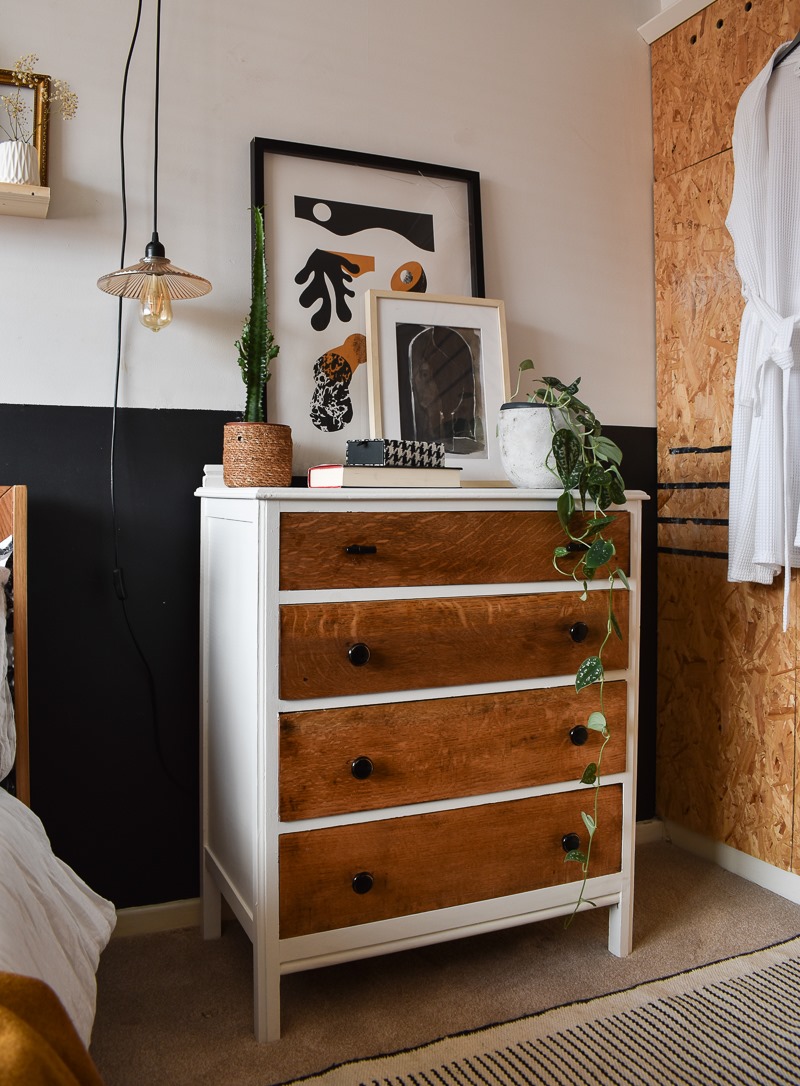
AND HERE’S THE AFTER. Let me talk you through how I got here.
MATERIAL USED :
This post may contain affiliate links. Please see disclosure page here.
- Chalk paint
- Sponge
- Stain (I like to use this brand)
- Paint brush
- Stir stick
- Foam roller/tray
- Orbital Sander
- Sand paper ( 150 grit and 320 grit)
- 8 door knobs/pulls . . I used similar to this
HOW TO PAINT AND STAIN WOOD
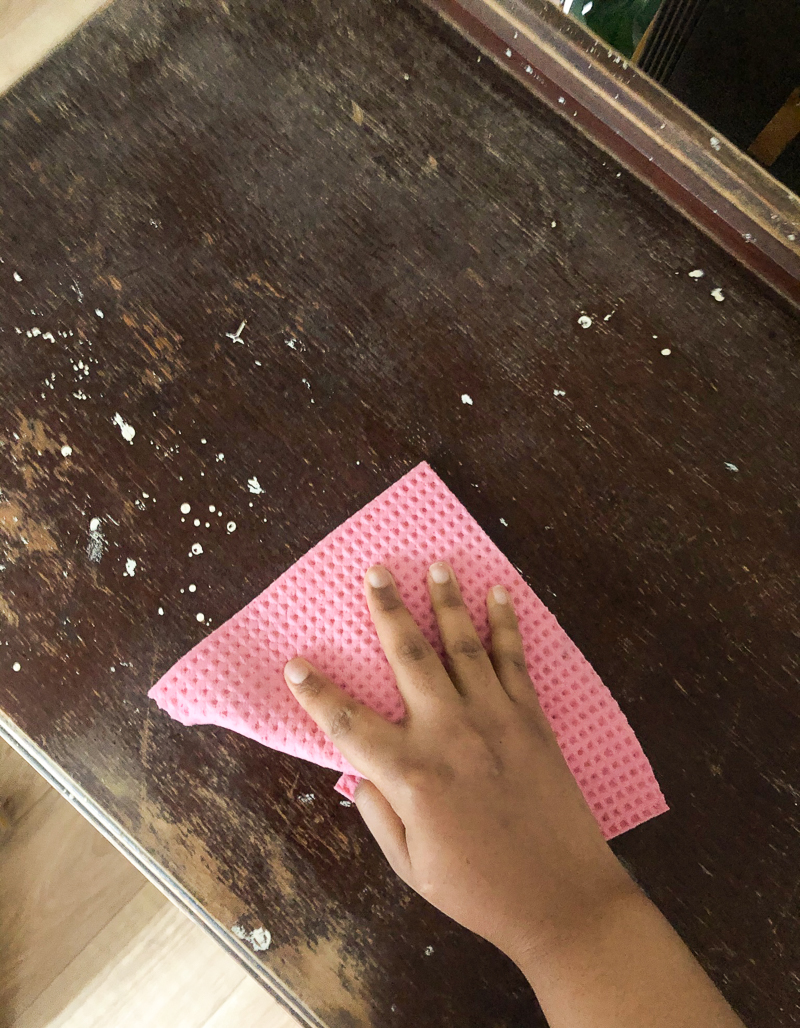
1 . First thing’s first, you need to clean the wood on the dresser thoroughly (whilst you are doing this, you can do a quick check over of the dressers condition) .
This step will help to remove any grease or grime that might have accumulated from previous occupants. Sugar soap is great for cleaning furniture, alternatively you can use standard kitchen cleaning products.
Some other important things to consider at this stage:
- BAD SMELLS: If you find your dresser to be a little smelly, charcoal bags are brilliant for neutralising bad smells.
- MISSING/DAMAGED VENEER: if you notice any areas that are chipped or missing veneer, you can repair it following these simple steps.
- WOOD WORMS: its important to check for this, especially if you are buying online. Here are things to look for.
2. Remove any hardware from the dresser. If you plan to reuse the old hardware, but want to restore them to their former glory first, this is a great tutorial on how to do that.
3. Once clean, it’s time to prepare your workspace (i.e cover the floor with a cloth or old bags) and start sanding.
Using a sanding machine is much more efficient then doing it manually. I like to use my cordless orbital sander – see here. When sanding, it’s really important to understand the kind of sandpaper grit you will need at each stage.
Below is a rough guide:
MEDIUM GRIT 100 – 150: This is a good starting point for most projects, from sanding unfinished wood to removing old varnish or paint.
FINE GRIT 180 – 220: Great for removing scratches and for light sanding between paint coats.
VERY FINE GRIT 320 – 400: Used for light sanding between finished coats.
I went with a medium grit paper first and lightly sanded the top, sides and the front of the dresser first. These were the areas that I knew were going to be painted, so I didn’t sand too intensely (just enough to roughen up the surface) .
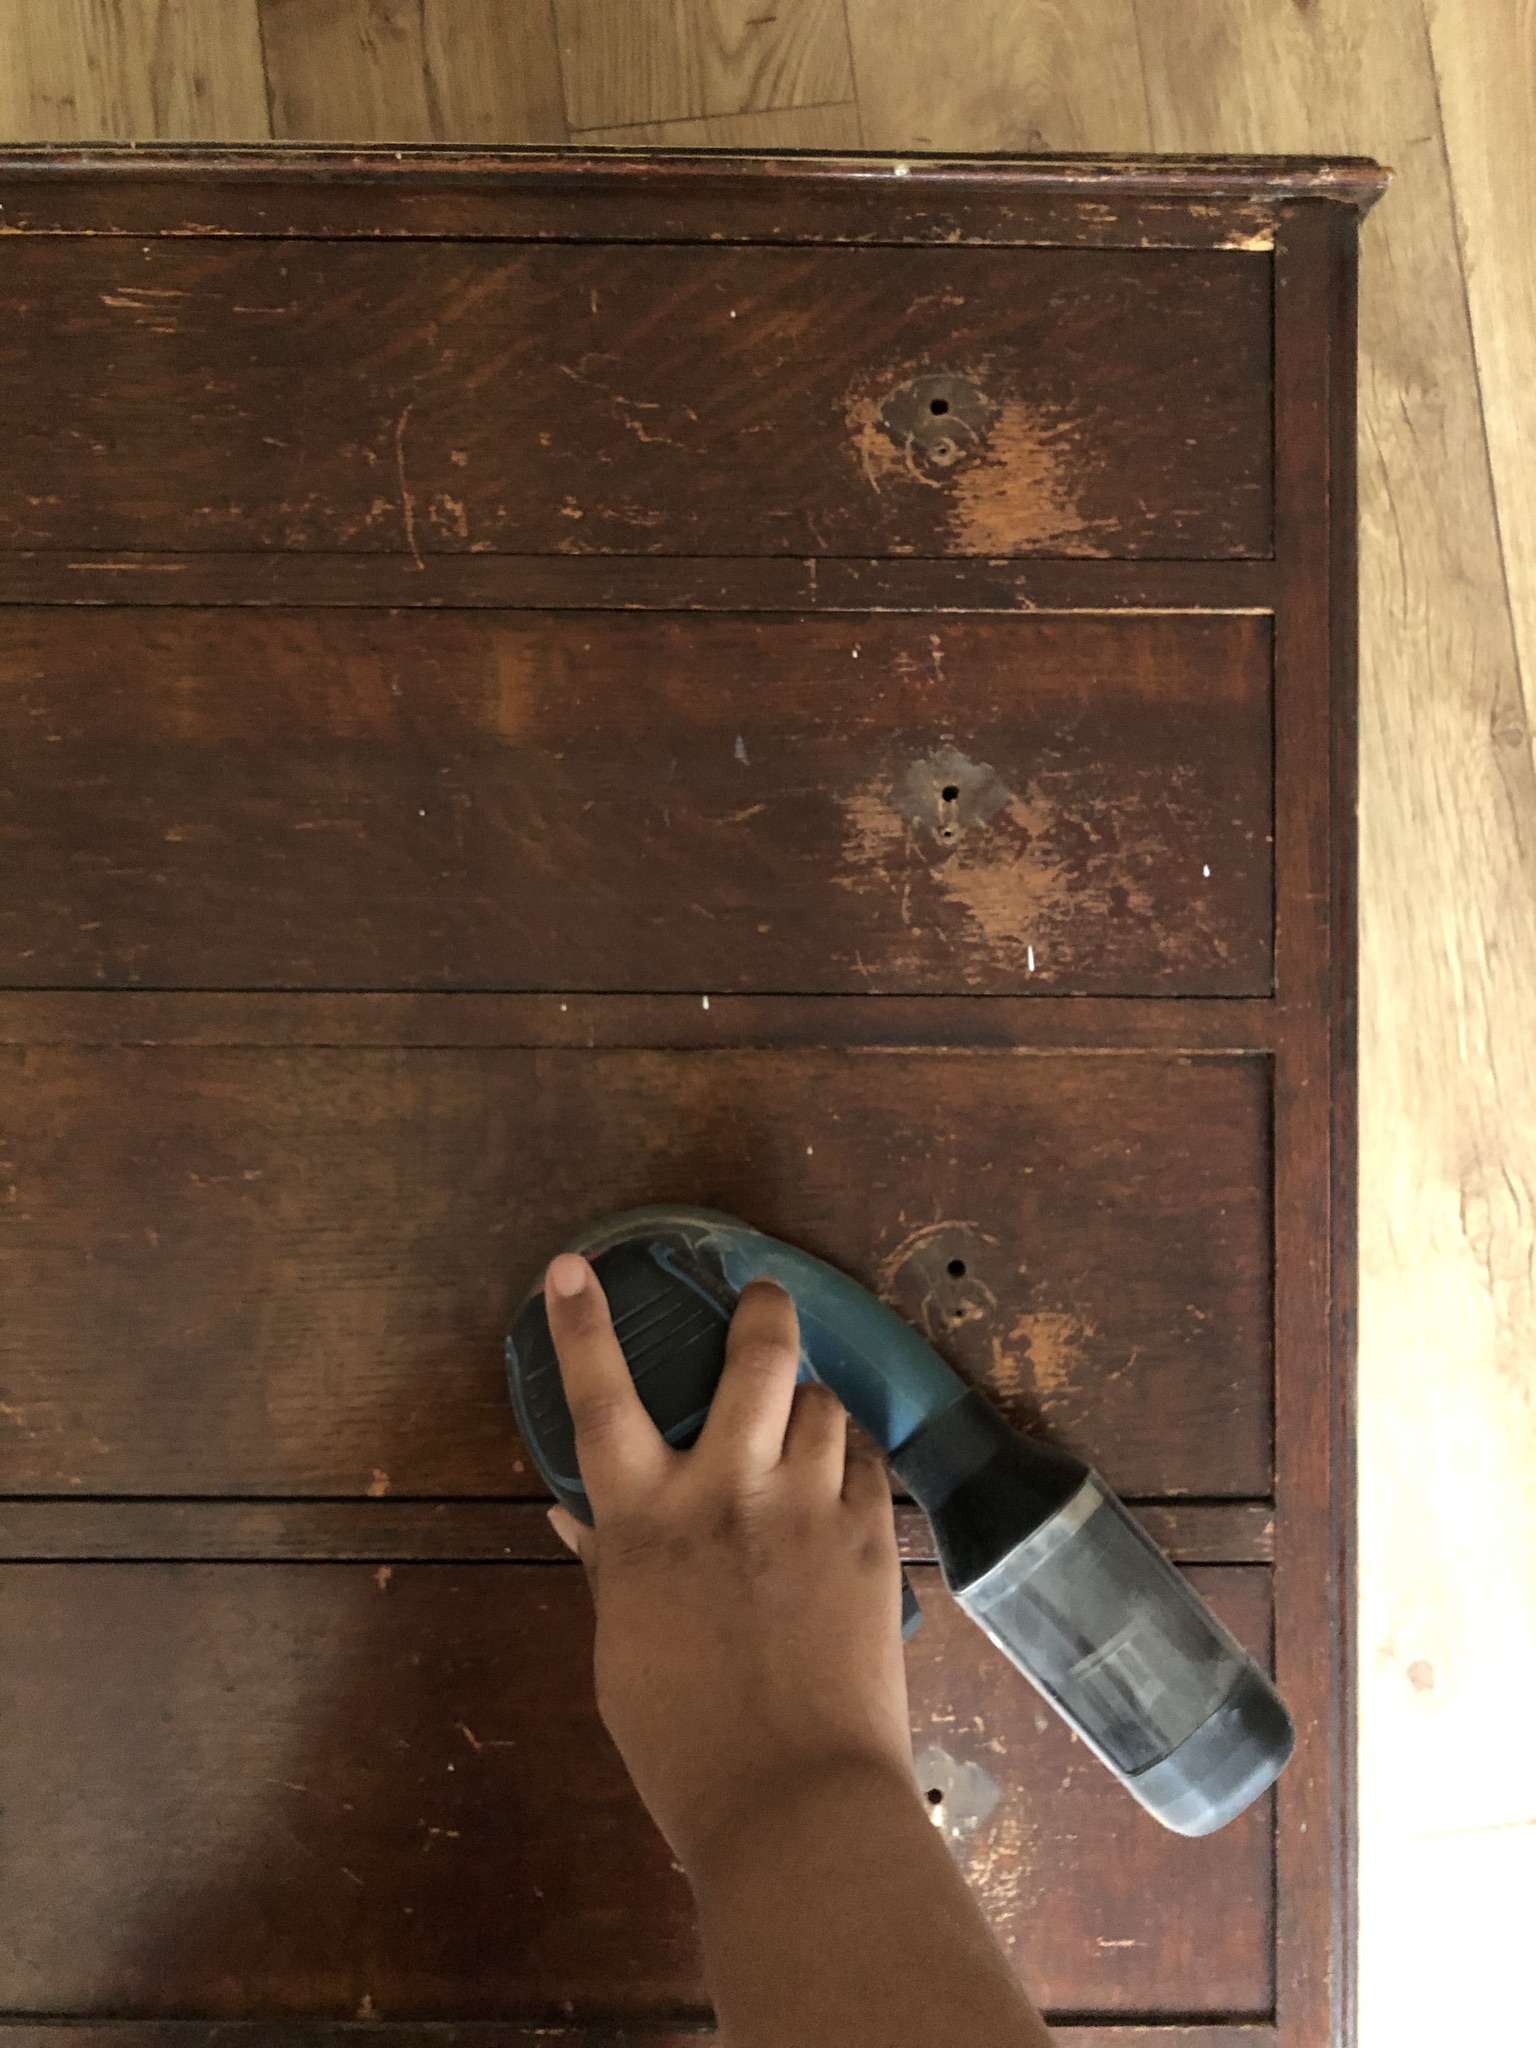
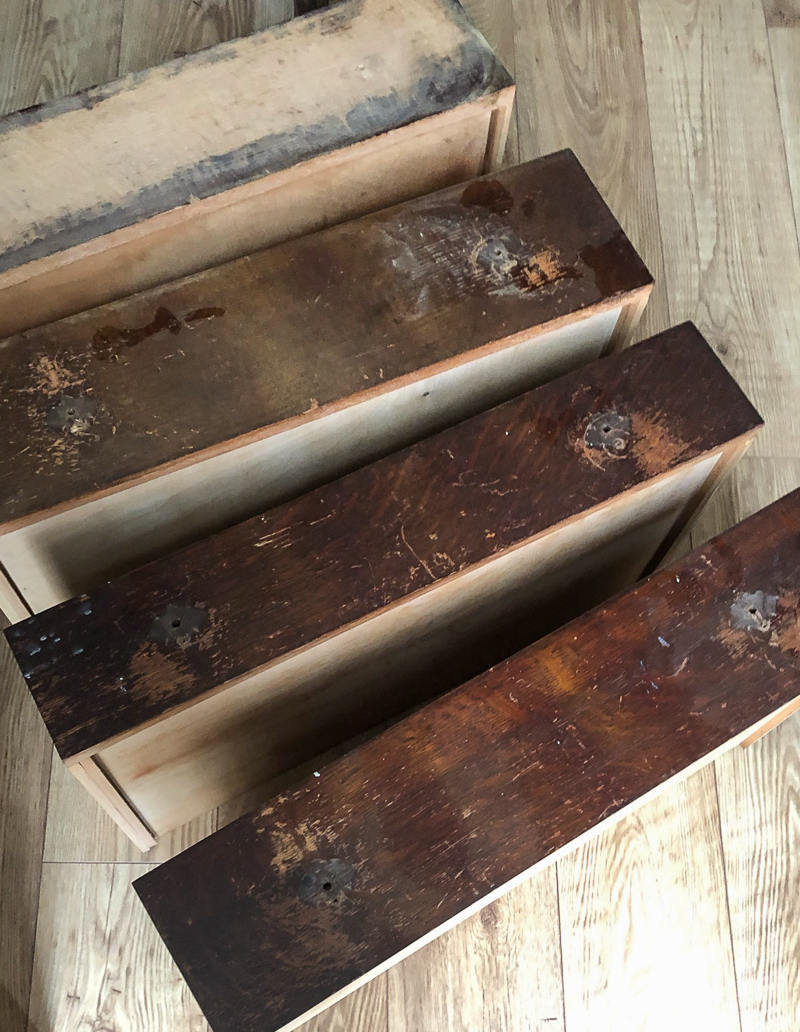
Then I removed the drawers from the dresser and sanded each one with a little more force than I had used previously, in order to remove the old coat of varnish.
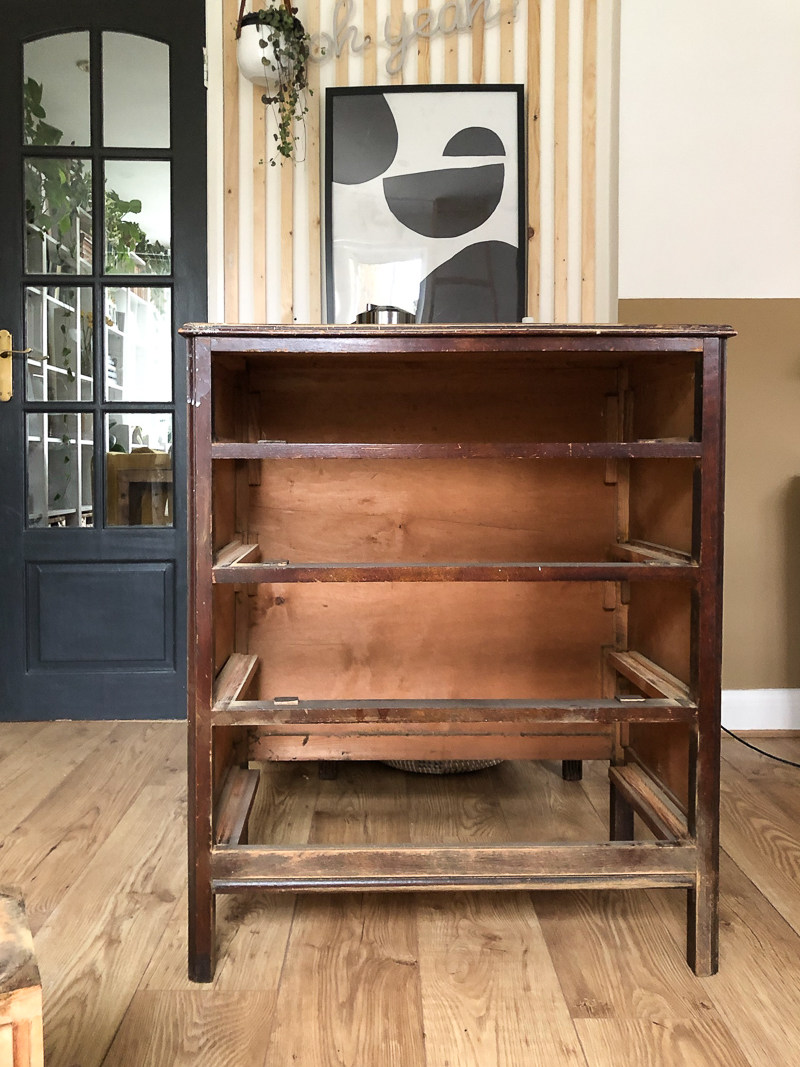
This was before sanding with the 120 grit paper.
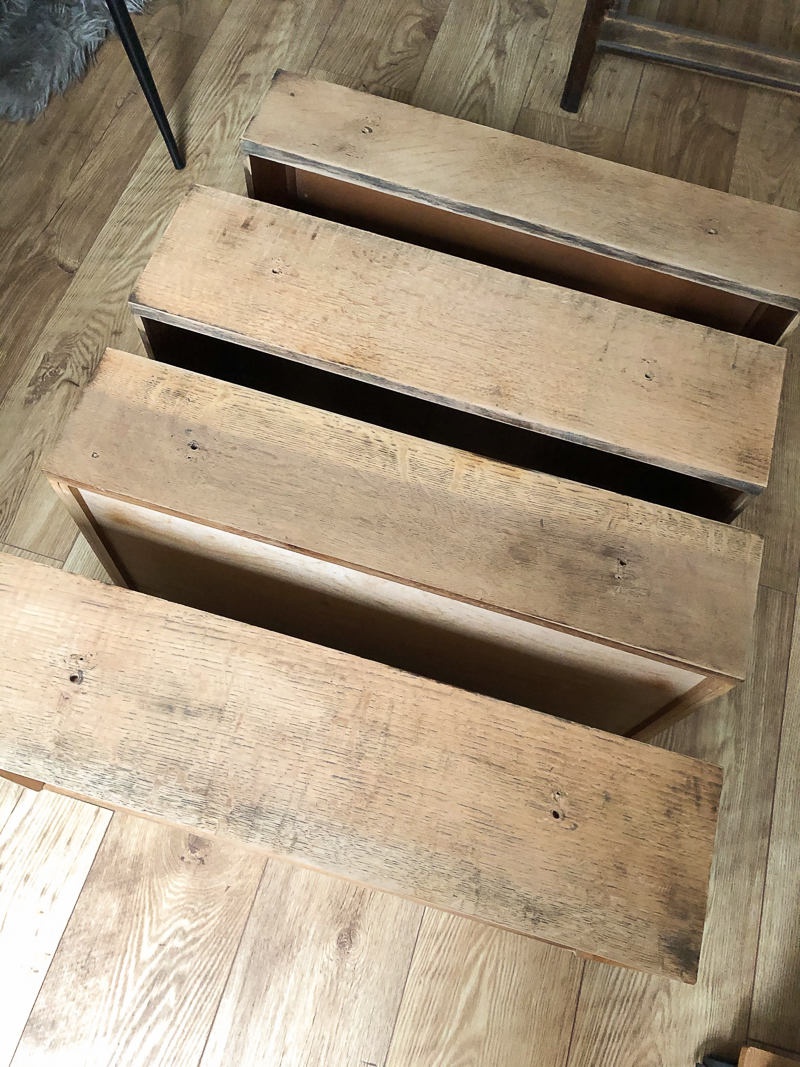
This was after.
Once the varnish was removed, I saw just how beautiful the grain of the wood was. Certainly too beautiful to be painted over.
4. Once sanding was complete, I cleaned all of the surfaces again, in preparation for the painting and staining.
5. I started painting the dresser first. I used a chalk paint called FRENCHIC which claims to require little to no preparation.

The paint is meant to go onto surfaces very easily, without having to follow the usual 5 step process when painting furniture. This is the first time I have ever used Frenchic paint and I have to say I was really impressed. Each coat of paint went on beautifully (it takes about 1 hour for it to touch dry), and I could tell quite early on, that this was paint that wasn’t going to be easily scratched off.
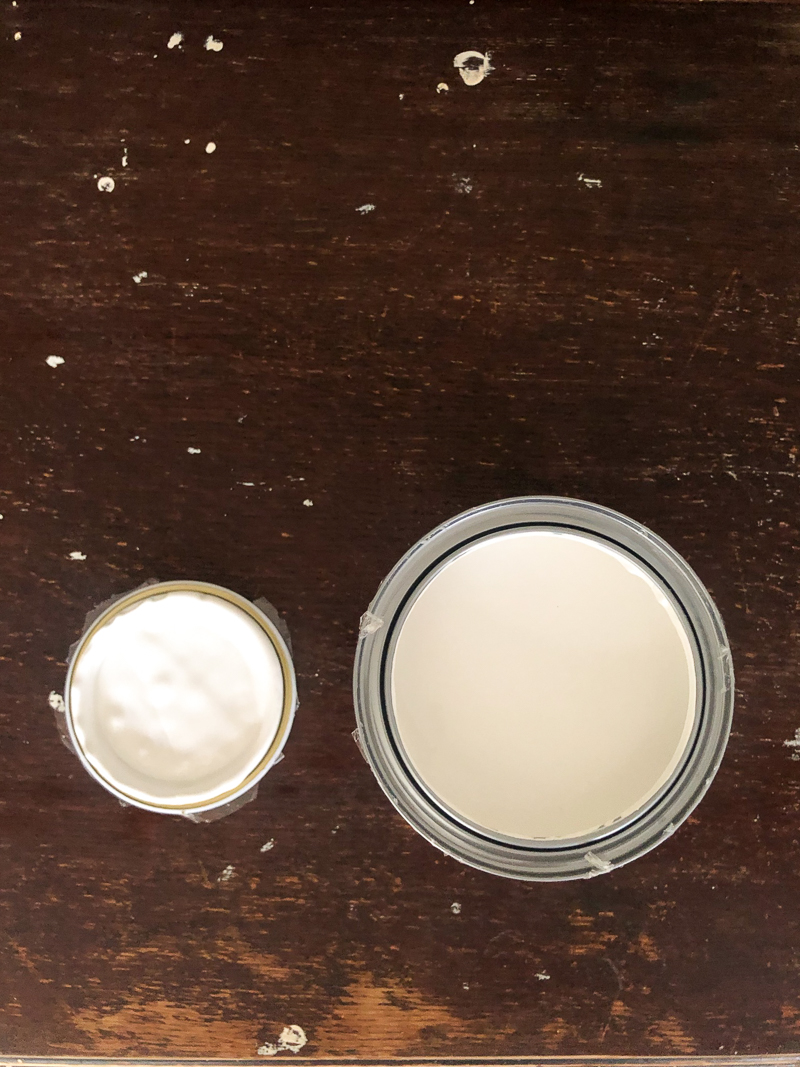
I used both a roller and a paint brush to apply the paint. The paint brush was used more for the corners, sides and edges that were too tight for the foam roller.
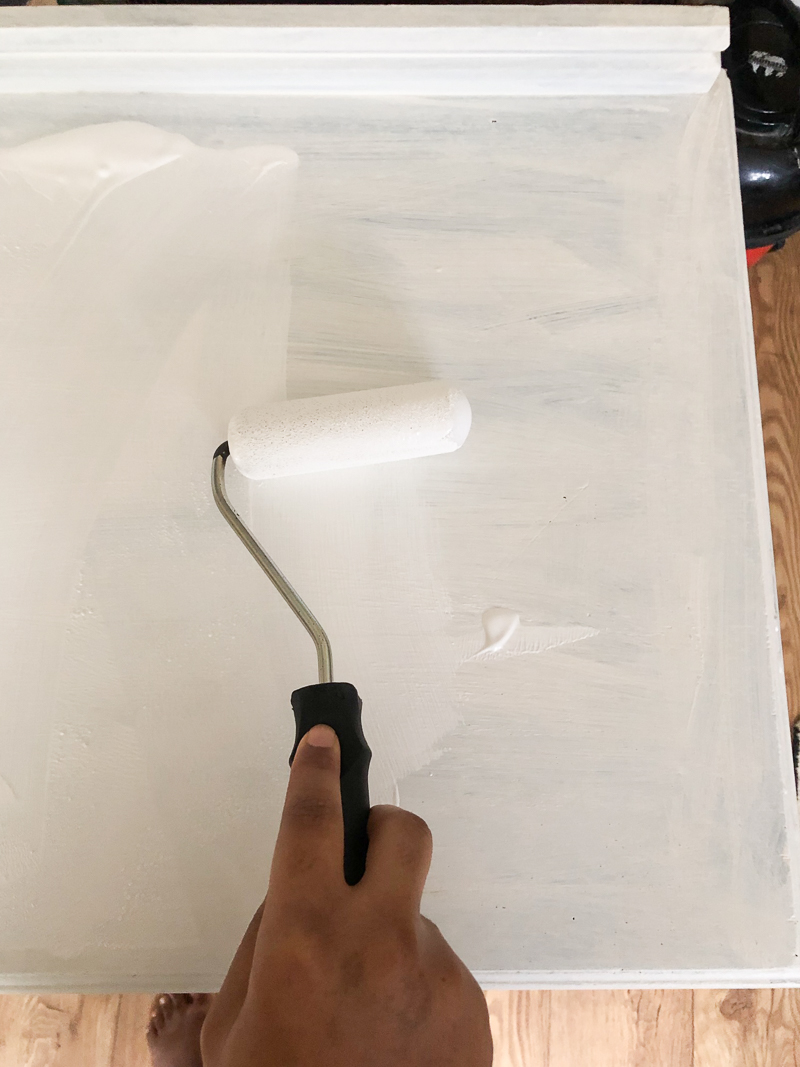
6. Between each coat of paint I lightly sanded with 320 grit paper to keep everything looking smooth.
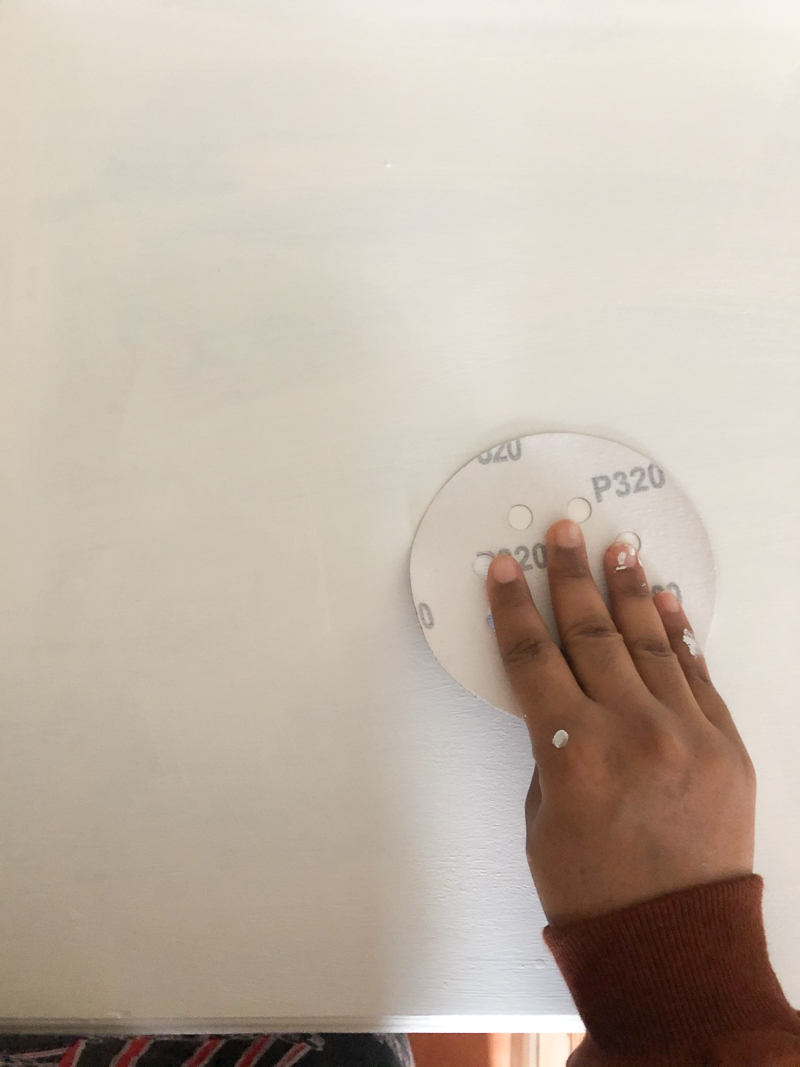
This was how it looked after the first coat. As the wood was darker than the paint, I knew I would need to apply at least several coats to achieve an even finish.
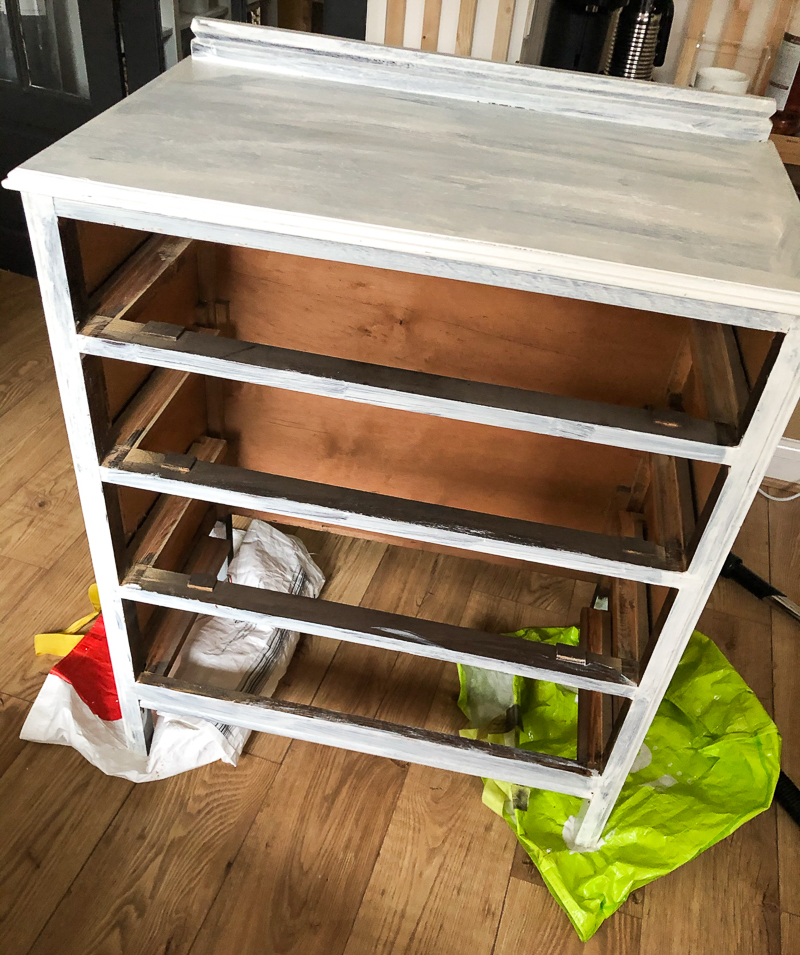
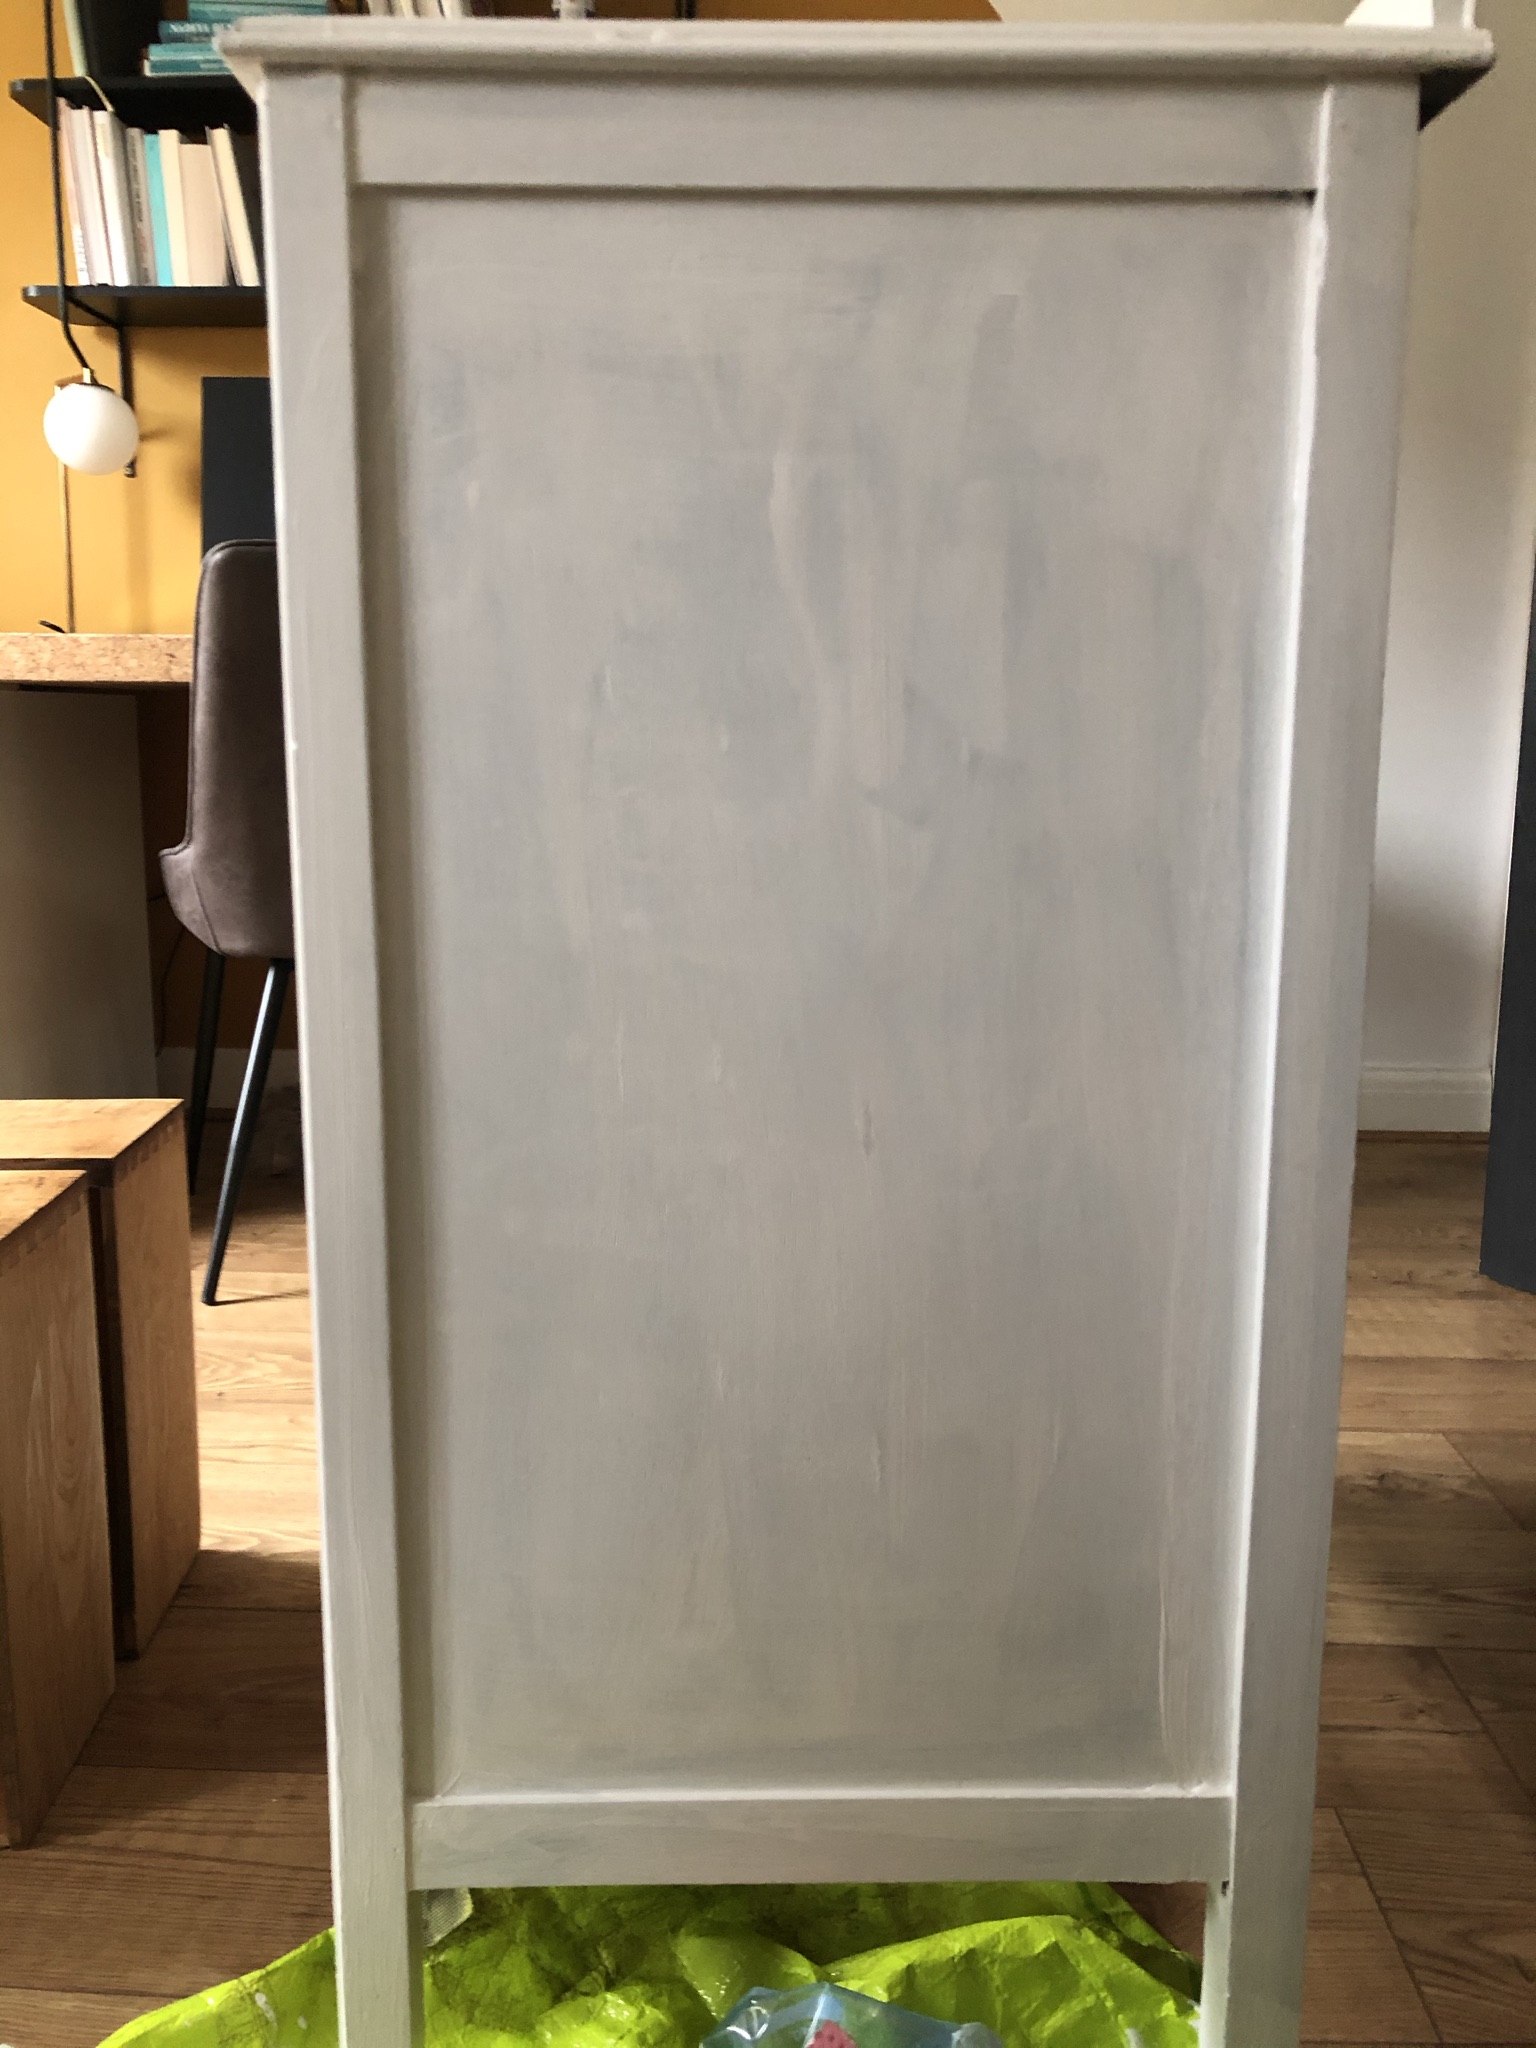
7. Whilst the paint was drying on the dresser, I began staining the wood on the drawers. This was the stain I used (in medium oak), it’s both a stain and a varnish (which meant I could skip the sealing step). If you don’t want any stain getting on to your hands, it’s probably a good idea to wear gloves at this point
You can use a brush but I like to use a regular sponge for application.
Open the can and give it a good stir. Then apply the stain to the wood, following along the grain of the wood. The stain is very watery, so be mindful of excess drips.
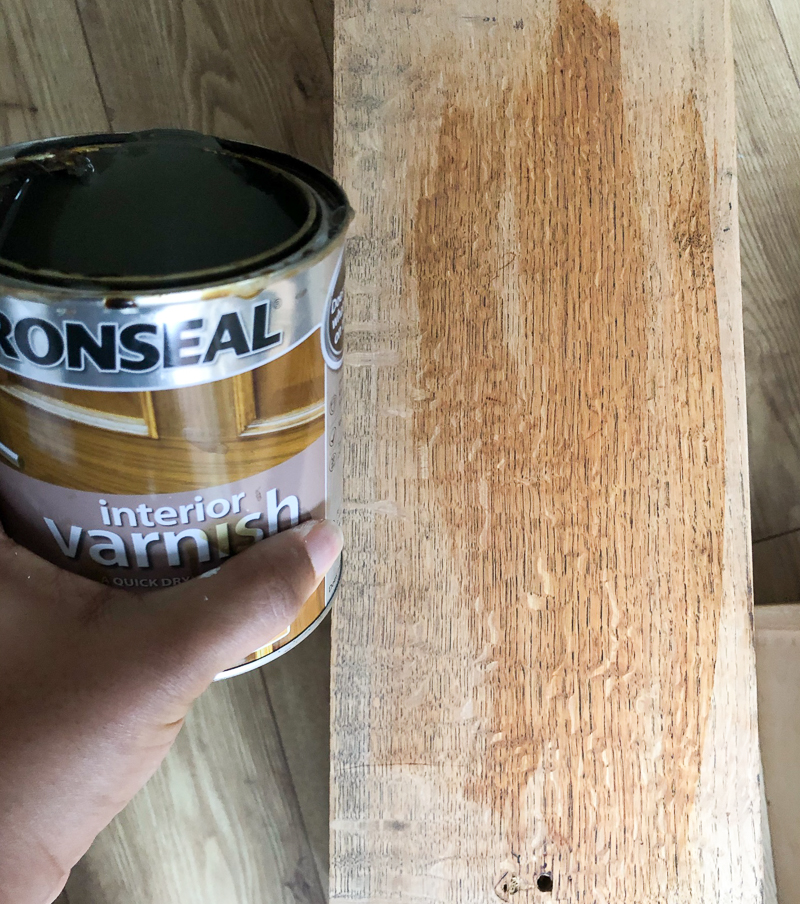
Allow the stain to sit for about 5-10 minutes, then wipe off any excess with a cloth or clean sponge.
You can apply another coat of stain once the wood is dry, if you want to darken the appearance of the stain.
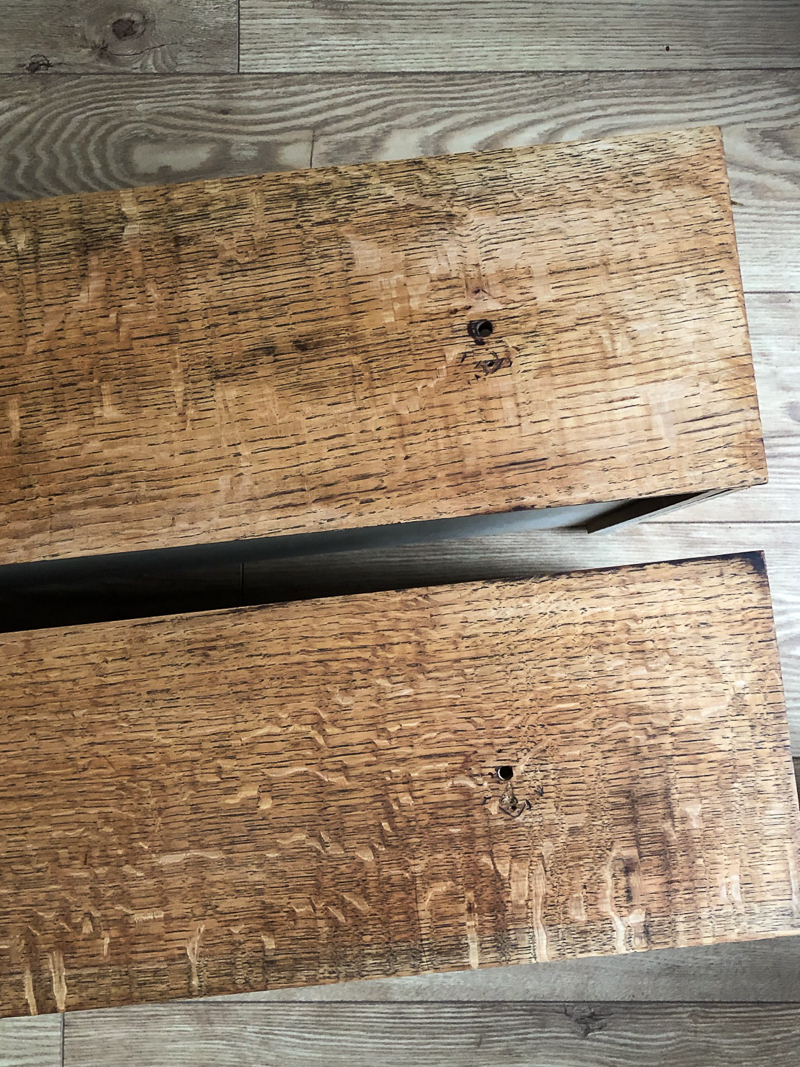
Once dry, if you are using a stain without varnish, you will need to apply 2 – 3 top coats of clear varnish/polyurethane.
8. Place the drawers back into the dresser (which should have dried by now – I ended up doing 5 coats) .
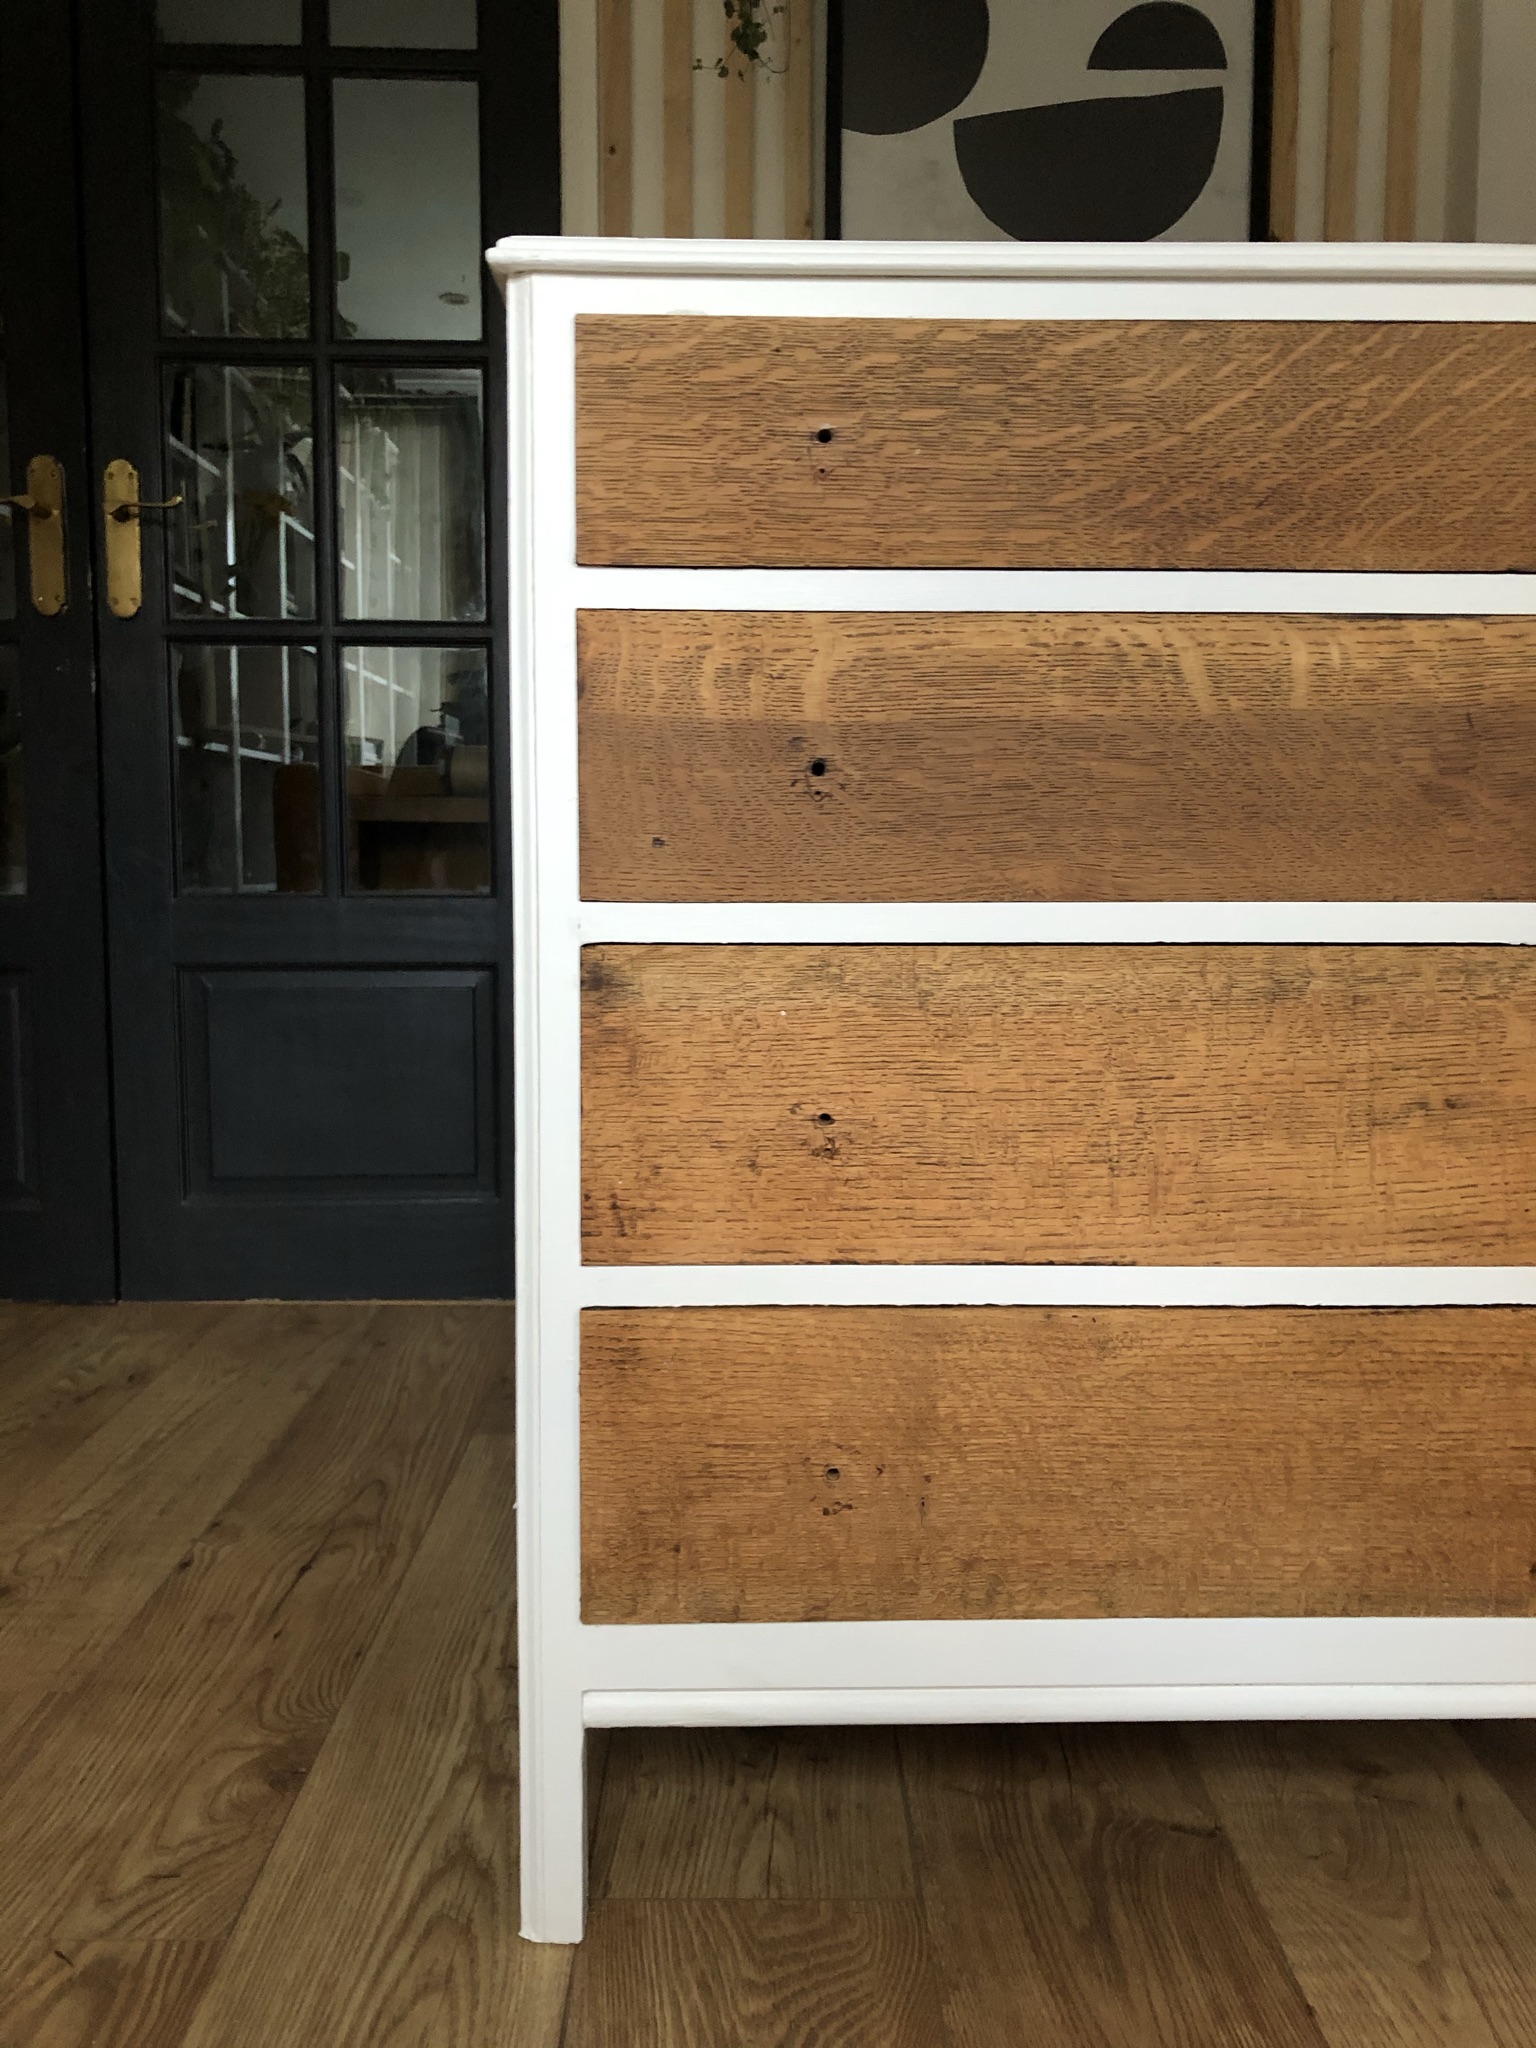
9. Put back existing, or add new hardware ( I went with new knobs) and move your newly upcycled dresser to its forever home. Notice that a day later, the drawers have darkened a little, and that was from only one coat of varnish.

This dresser went in my bedroom to replace my old drawers (do you remember this?). I honestly loved the previous drawers, but we were in desperate need of more storage. One of my friends has already said she wants the old dresser so at least I know it’s going to a good home.
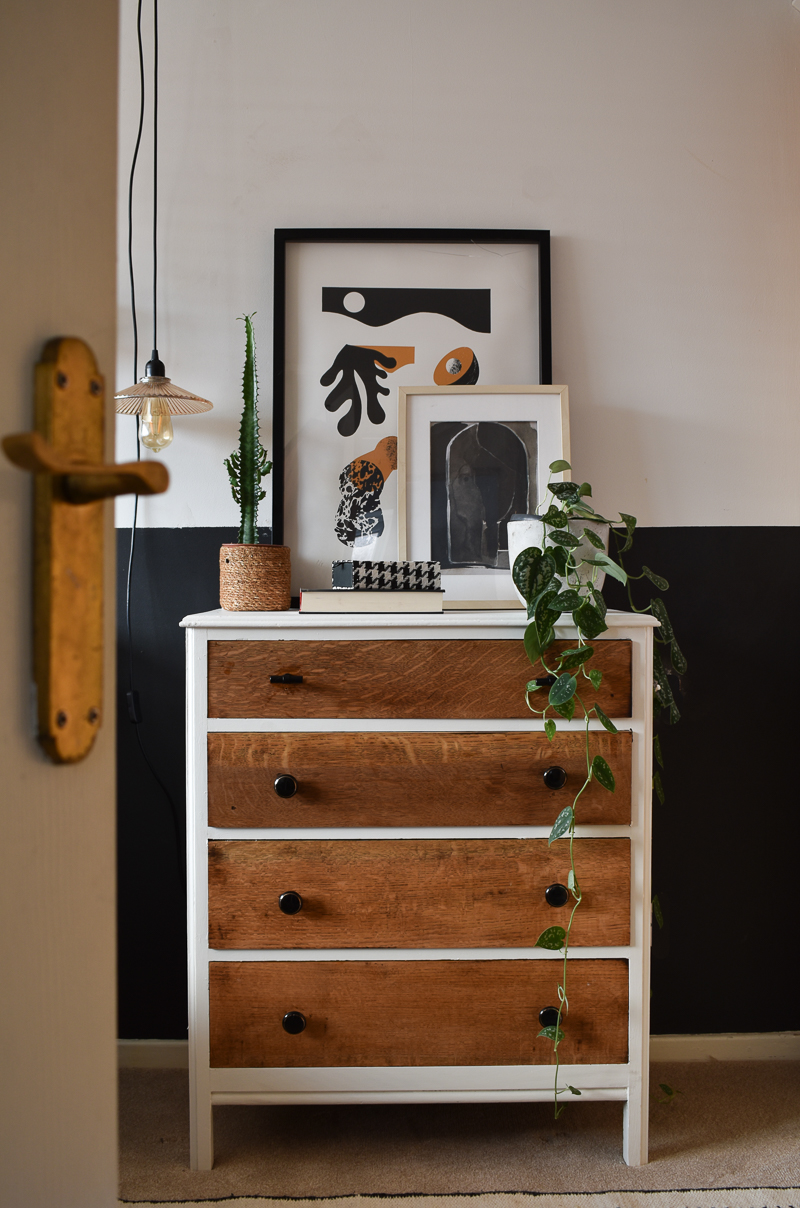


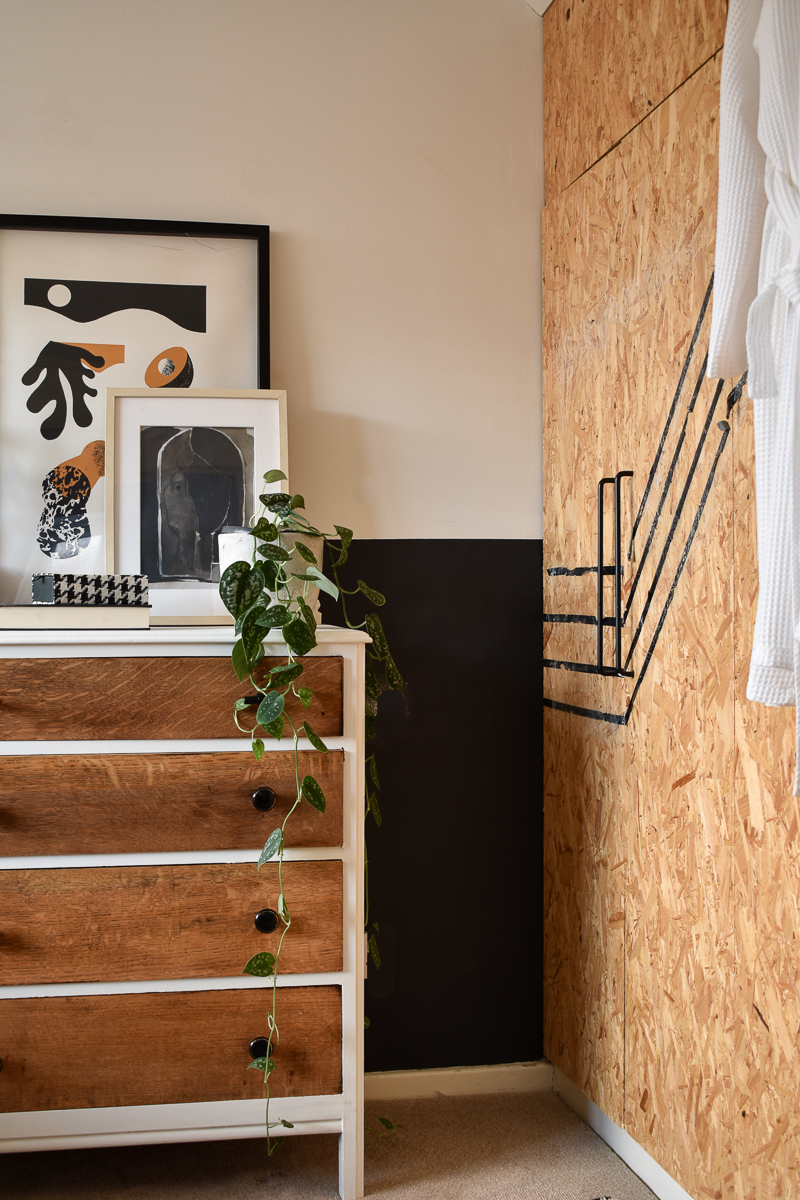
The new dresser works perfectly in this space. I love how it contrasts against the dark black wall. And the stained wooden drawers add to the other wood textures in this space. I have to say this room is looking a little different to how it looked 4 years ago .
What do you think of this up cycle? Do you have any questions about this project? Have you ever visited an Auction to buy furniture? Let me know in the comments below!
***This post was sponsored by FELLOWS. I received payment for my time creating this post. I only partner with brands I LOVE and think you will LOVE too! All ideas, photos and opinions are 100% my own.

If you liked this- how to paint and stain wood tutorial, click the image below to save it to Pinterest!


HOW TO PAINT GLASS PANEL DOORS (LIKE A PRO)
HOW TO CHALK PAINT A PICTURE FRAME


Gorgeous! Also I don’t think I’d heard of woodworms before and thankfully haven’t come across the signs.
Great work Medina. Fabulous transformation
Thank you!
Really admire your design aesthetic; it’s such a complete contrast, so individual. Love receiving your posts more regularly. We are now moving out of the short days into the long hot days of summer here in NZ. Enjoyed your chest makeover – chalk paint is so easy and quick to use, isn’t it? I make my own using calcium carbonate (Im still working through the huge box I bought some years ago!) Your chest looks so good in your room – I like the texture of the wood against the white – I wonder what type of wood it is – it seems very robust. Look forward to your next post. Thanks
This turned out so beautiful! I love the paint/stain combo, looks very intentional.
Thank so much!