
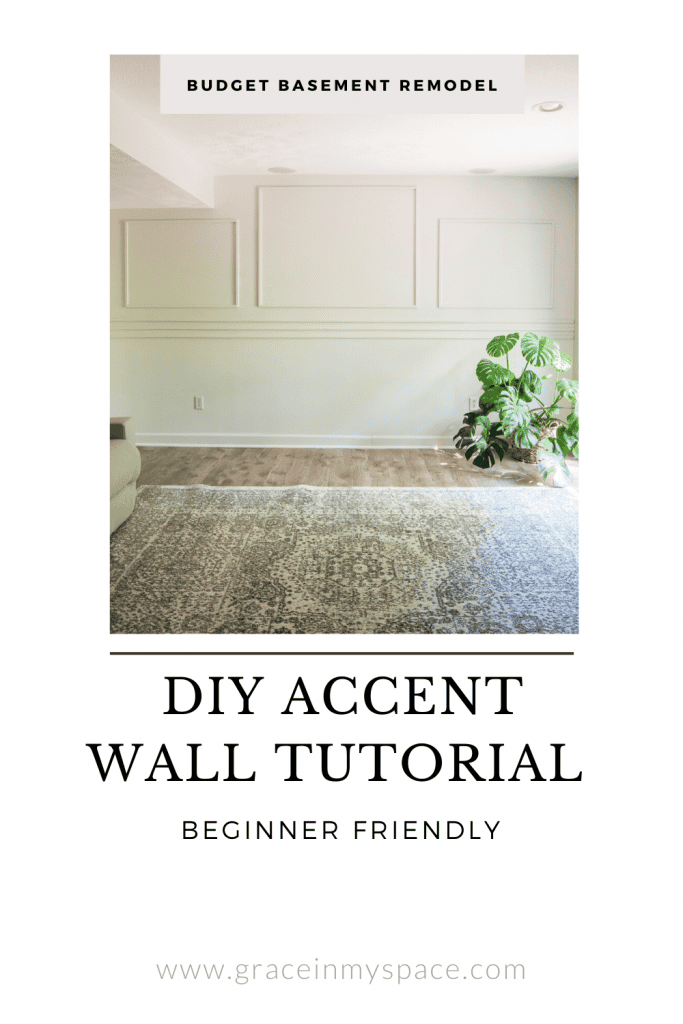
DIY Accent Wall Tutorial Using Simple Wall Moulding
Adding wall moulding instantly increases the wow factor in any room! Use this easy tutorial to create your own DIY accent wall that even beginners can do!
This post is sponsored by Woodgrain. All thoughts and opinions are my own.
This post may contain affiliate links where I earn a small commission on your purchases.
Basement Makeover, DIY Style
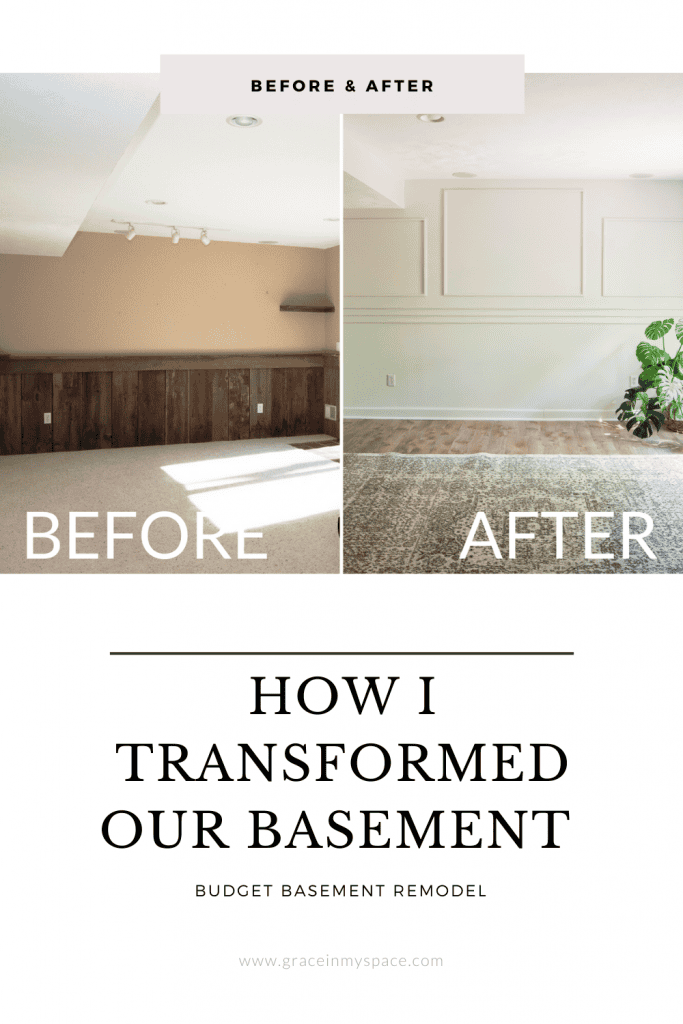
One of the spaces that I’ve rarely shown, but is heavily used, is our basement family room. When we first moved in, we remodeled the basement with new flooring and fresh paint, but that was about it!
Two years into owning this home, I am ready to create a family room that we love!
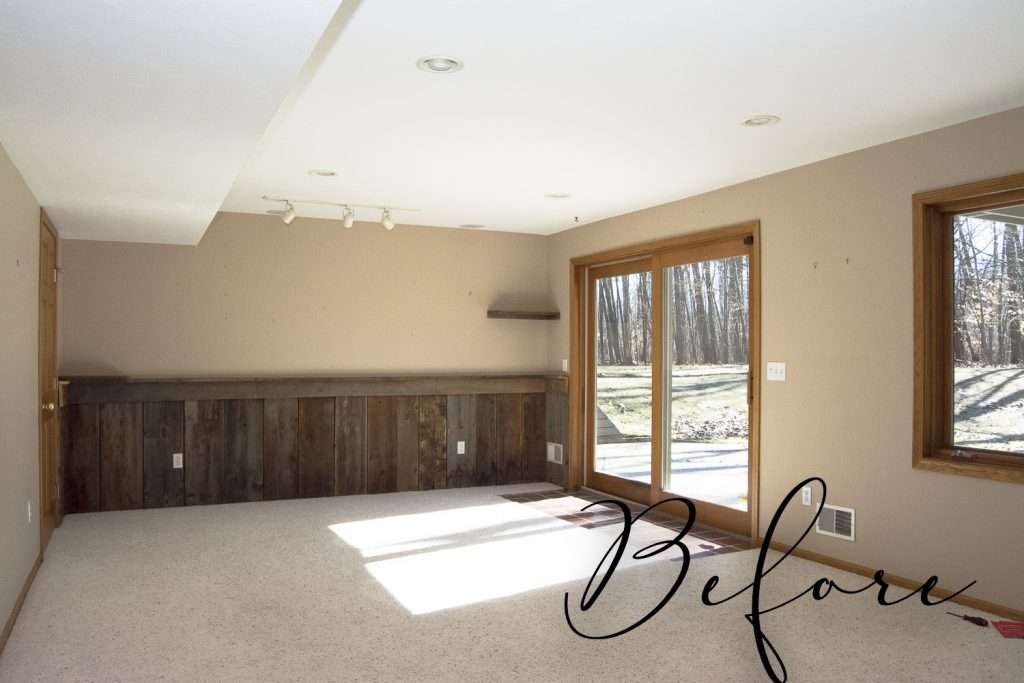
As you can see, the previous owners had a more rustic style than I do. The barnwood accent wall was never my style, so I did a temporary DIY fix using plaster.
With my plans to create a DIY accent wall down here, I had to begin by removing the barnwood.
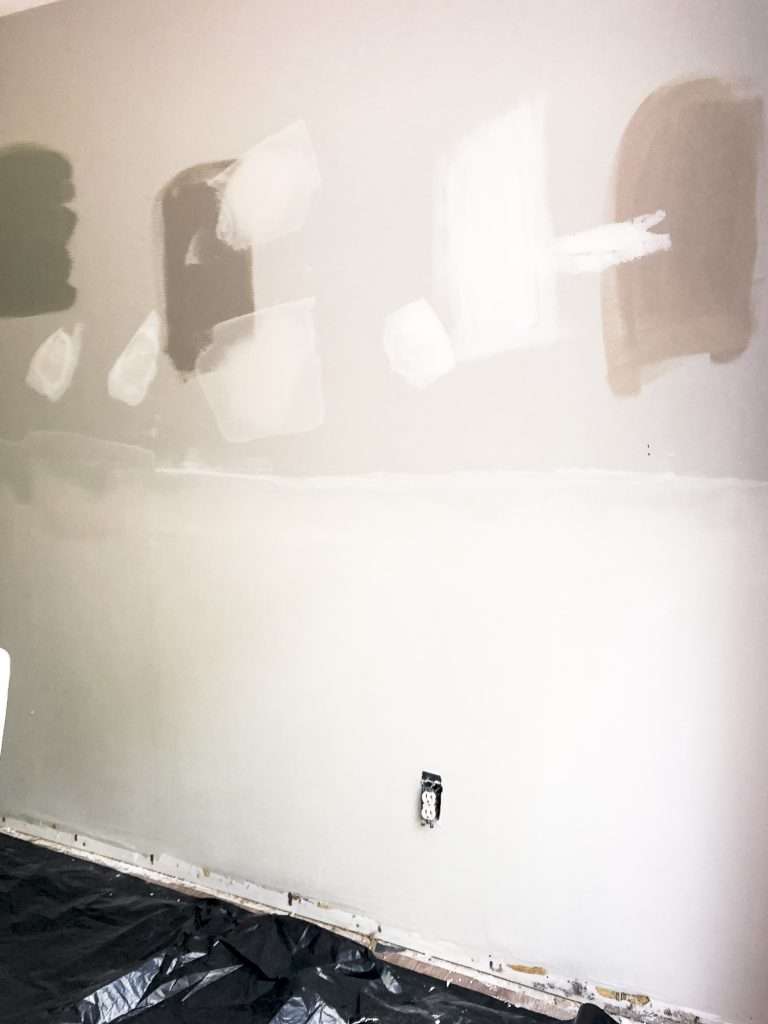
I love doing DIY projects, but there are some skills that I simply don’t possess. Drywall repair is one of them!
So, we hired out a drywaller to come in and skim coat the lower half of the wall where the barnwood used to be. This blank slate was exactly what I needed to be inspired to create my own design.
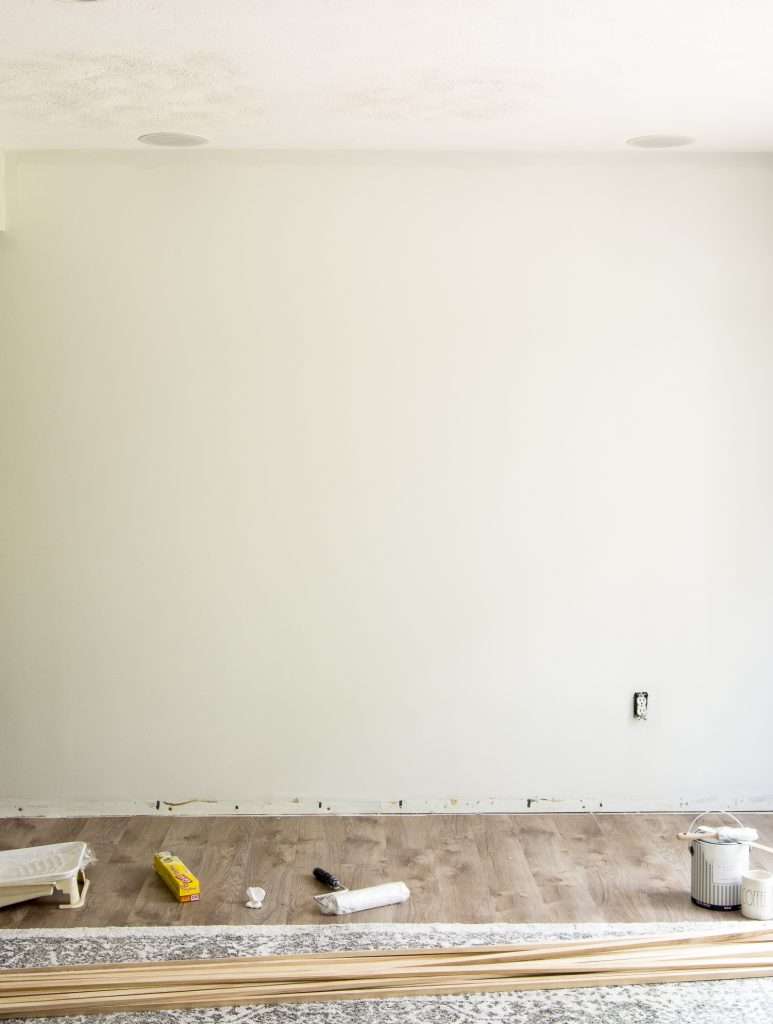
Once everything was painted and prepped, I got to work on my wood accent wall. Here are the simple steps I took to create a unique design with beautiful wall moulding from Woodgrain, available at Home Depot.
And if you are excited to get on the DIY train, make sure to download my free DIY beginner tool kit! This free download will help you start your tool arsenal and give you access to my free printable library and DIY renovation guides!
DIY Accent Wall Tutorial
Creating a wood accent wall has become my go-to method for adding character and customization to our home. Here are a few other ways I’ve used wood trim and moulding to increase the wow-factor in other areas of our home.
- Entryway Board and Batten Tutorial
- DIY Accent Wall in the Master Bedroom
- DIY Tongue and Groove in the Mudroom
- Faux Shiplap in the Basement
- Customized Bi-Fold Closet Doors
So of course, my first thought when preparing for the basement makeover was to add an accent wall! I love the quality wood that Woodgrain offers and chose simple wood trim for the prominent design.
Wood Accent Wall Materials
The materials I used for my space are all available from Woodgrain at Home Depot. If you’d like to replicate this design, here is a simple tutorial! Simply adjust your measurements to fit your space.
I used:
- 1/2 in. x 3/4 in. x 96 in. Wood Pine S4S Moulding
- 9/16 in. x 4-1/4 in. Solid Pine Base Moulding
- 3/4 in. x 3/4 in. x 96 in. Poplar Painted Finger-Jointed Quarter Round Moulding
- Miter Saw
- Nail Gun & Finish Nails
- Caulk
- Paint color of your choice
- Paint Brush
- Measuring Tape
- Long Level
Shop Materials

I love that this is completely customizable. I wanted to create an accent wall that felt traditional with a modern twist. I didn’t want it to be too trendy but I also didn’t want it to be bland. I am so pleased with how it turned out!
How to Create a Wood Accent Wall
Step 1: Inspiration
First, gain inspiration from other sources to design your pattern. If you follow me on Pinterest, you probably saw a slew of accents wall ideas being pinned a few weeks back.
However, I never like to simply copy another design. I find bits of pieces of several designs that I enjoy most and then put them together to fit my style!
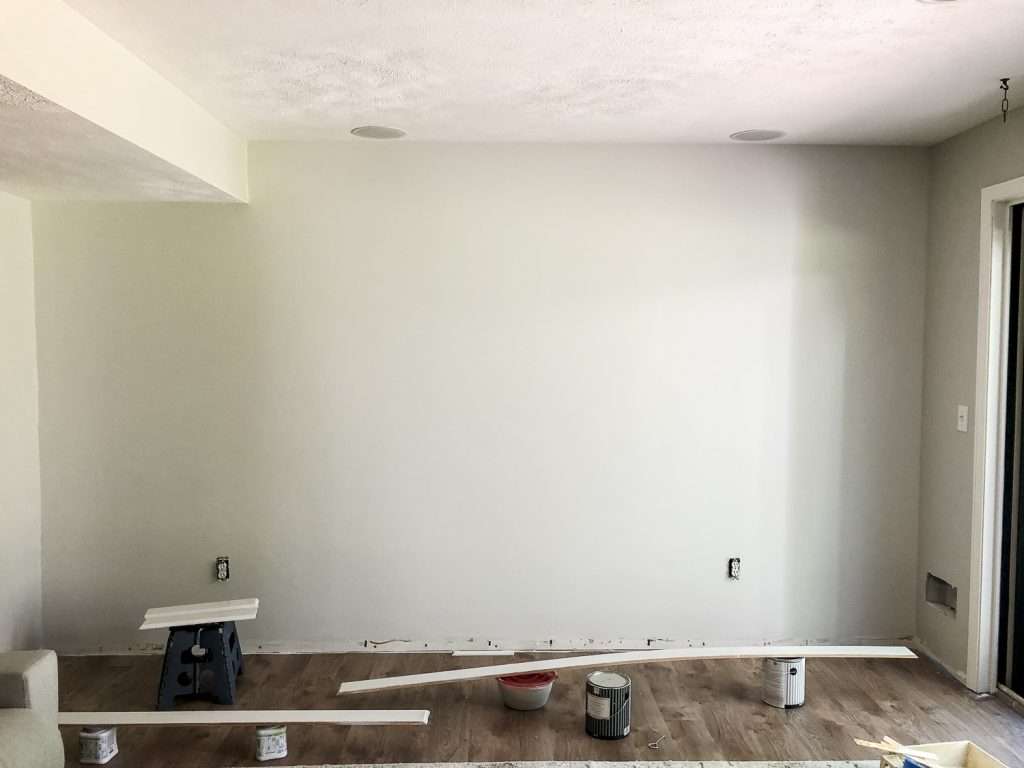
Step 2: Install Baseboards
The first step for installation was to place my baseboards. I like to do this first simply because this piece of trim will always be stationary! It always goes on the floor, since it’s a baseboard. Having it in place allows the rest of my measurements to take it into account.
I used 4 1/4 Pine baseboards from Woodgrain because I like the look of a substantial baseboard. The other baseboards in the room are only 3″, but the same style. Since this back wall doesn’t connect to the rest of the room, I felt comfortable increasing the size for the accent wall.
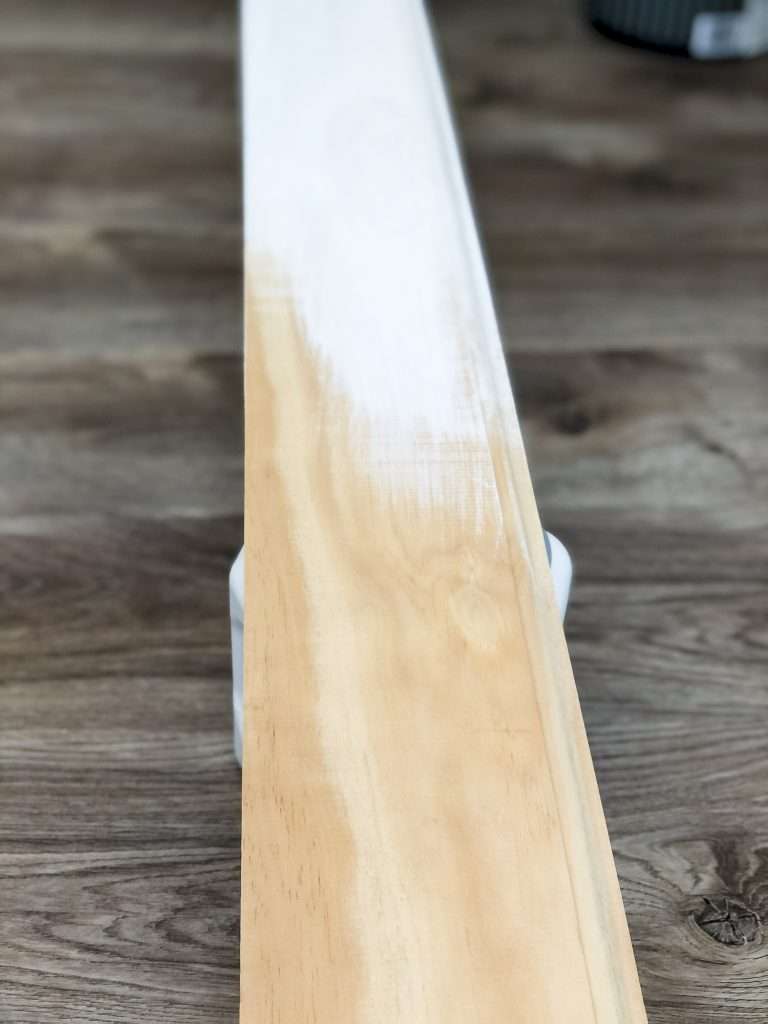
I painted the baseboard trim before installing it. That way, I can simply do a touch up later.
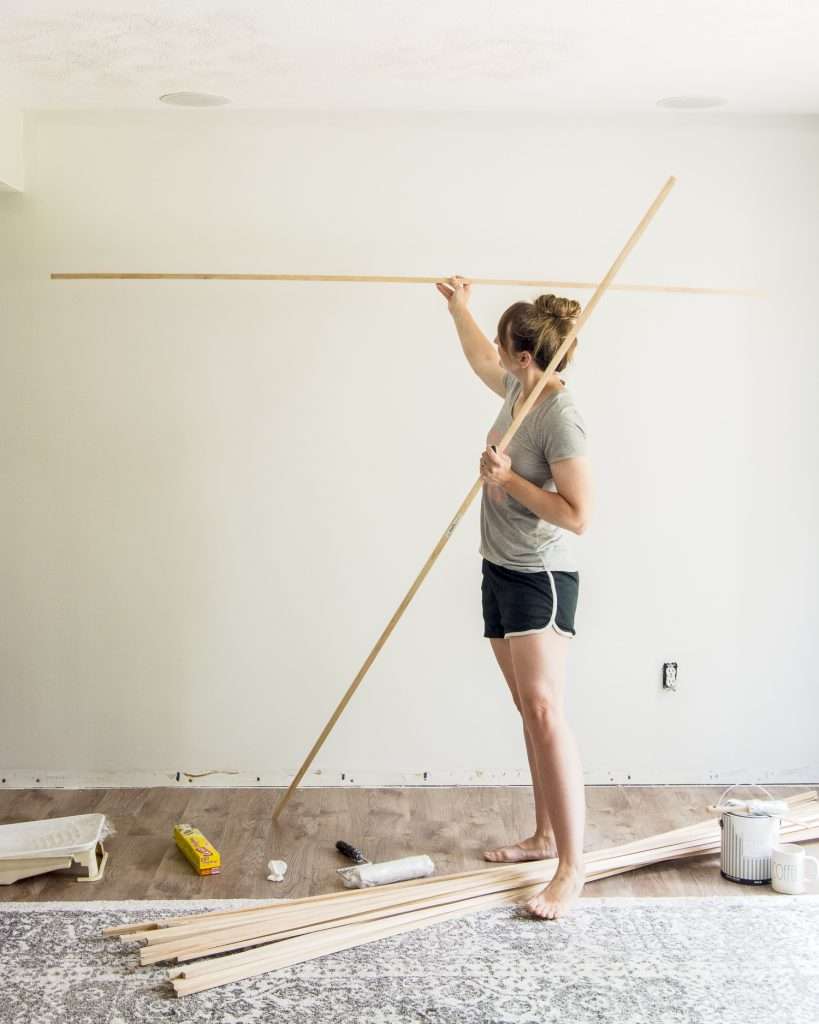
Step 3: Set Your Anchor Point
Once I had a general idea of what I wanted my accent wall to look like, I measured and set my anchor point.
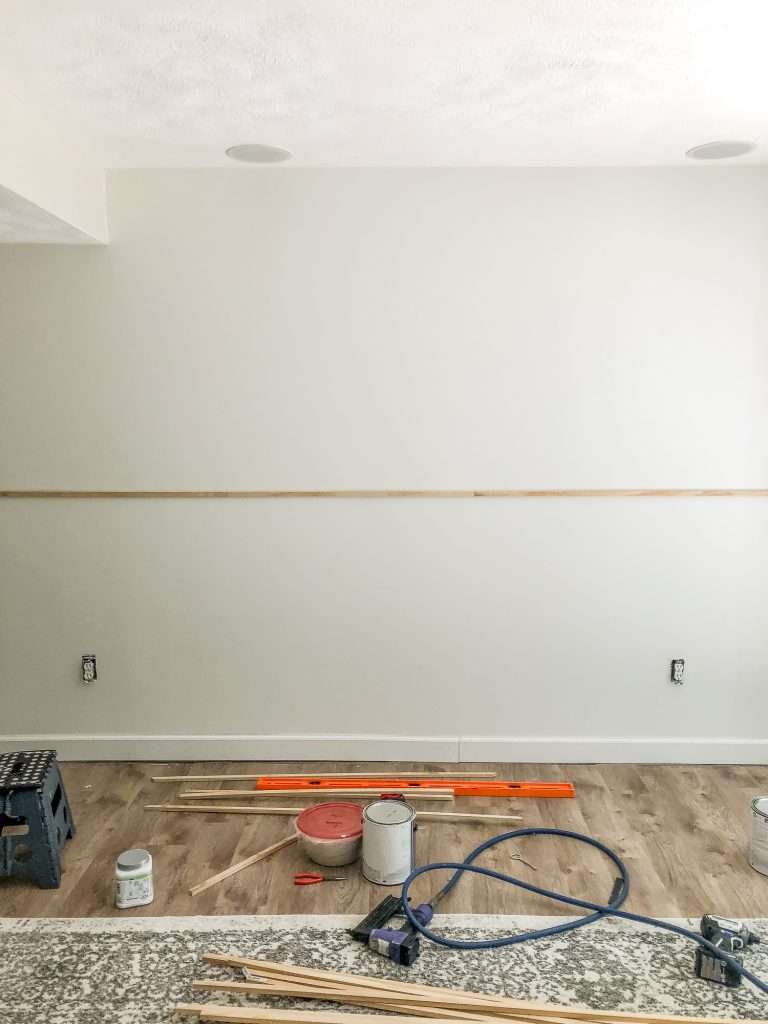
This 1/2″ x 3/4″ pine trim from Woodgrain was so easy to work with. I love that the smaller size has a traditional shape with clean modern lines.
I used one defined “chair rail” to separate the top and bottom of the wall. Our couch sits on this wall, so I wanted to make sure my design was high enough that it wouldn’t be covered by the furniture.
Step 4: Center Your Design
The next step is to find the center point on your wall. I simply measured the length of the wall, divided it in half, and marked my center point.
Next, I broke the wall into three equal sections to determine the size of my squares.
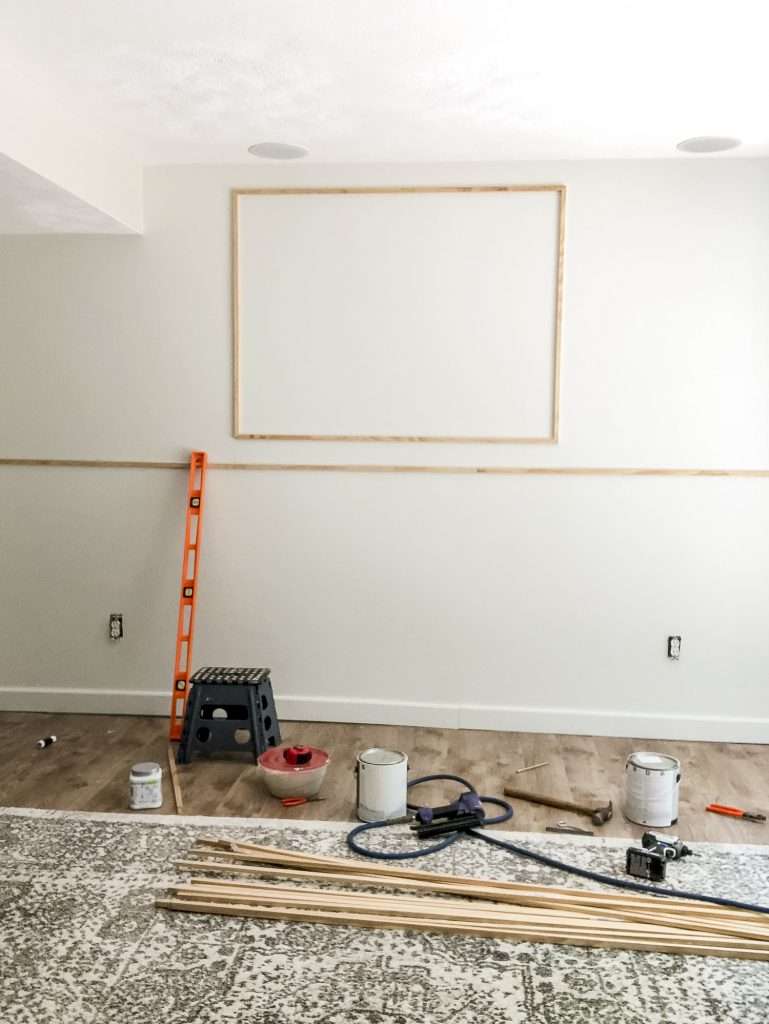
There is a lot of measuring and math involved in accent walls, but it makes it easier to find your center point first and work out from there.
I cut all my squares with mitered corners to give it a clean look.
Simply install the wood trim with a finish nail gun. You can also apply liquid nails or another construction adhesive, however I tend to avoid that so it is easier to remove down the road if my style changes!
Step 5: Add the Sides
Once you have your central square installed, center both sides and build out two more squares.
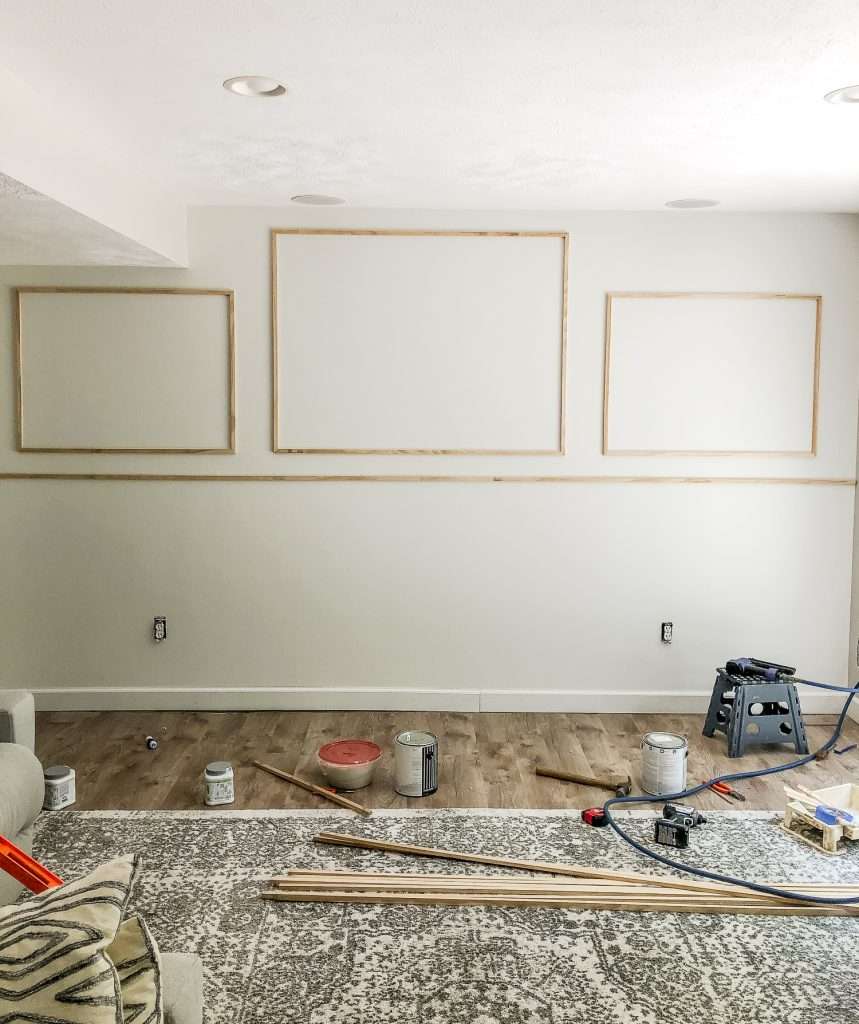
As you can see, the left side of my wall had to accommodate a dropped ceiling from our ducting. That determined the height of the squares flanking the middle, and thus, the entire design!
I made both side squares the same size to give the wall uniformity. This also makes it look intentional that the central square is larger than the other two.
Step 7: Finish the Design
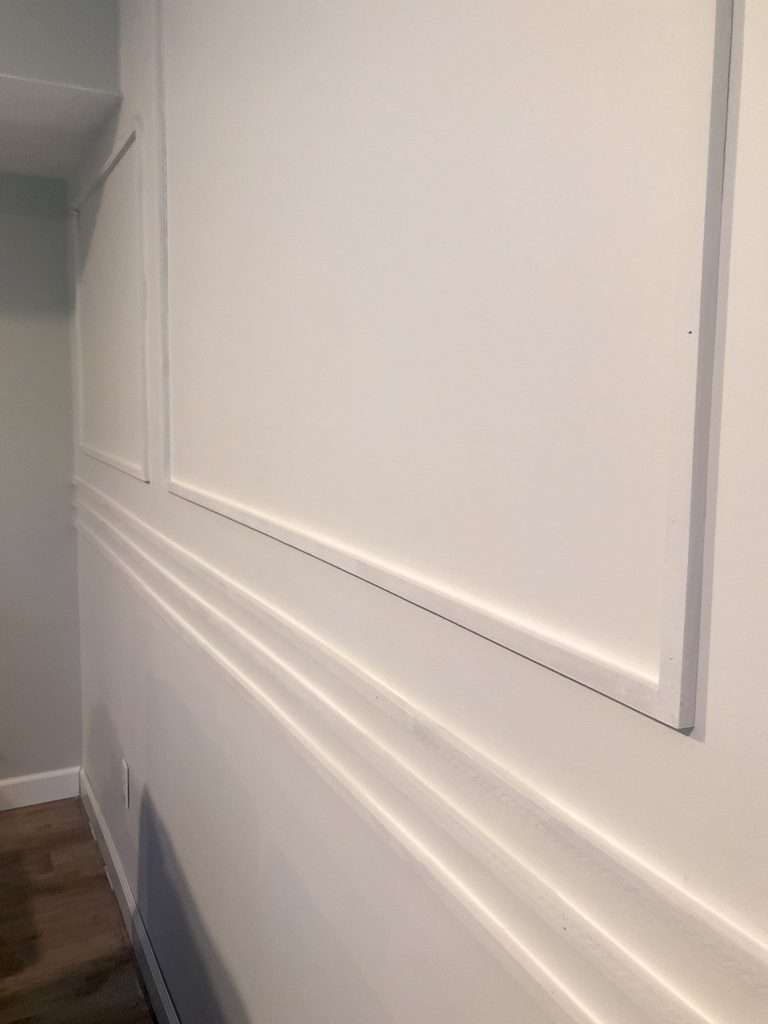
The last step in the installation of the trim was to modernize it. So far, it is a very traditional (and even bland) design. By adding two more rows to my anchor point, I gave it a modernized look without being trendy.
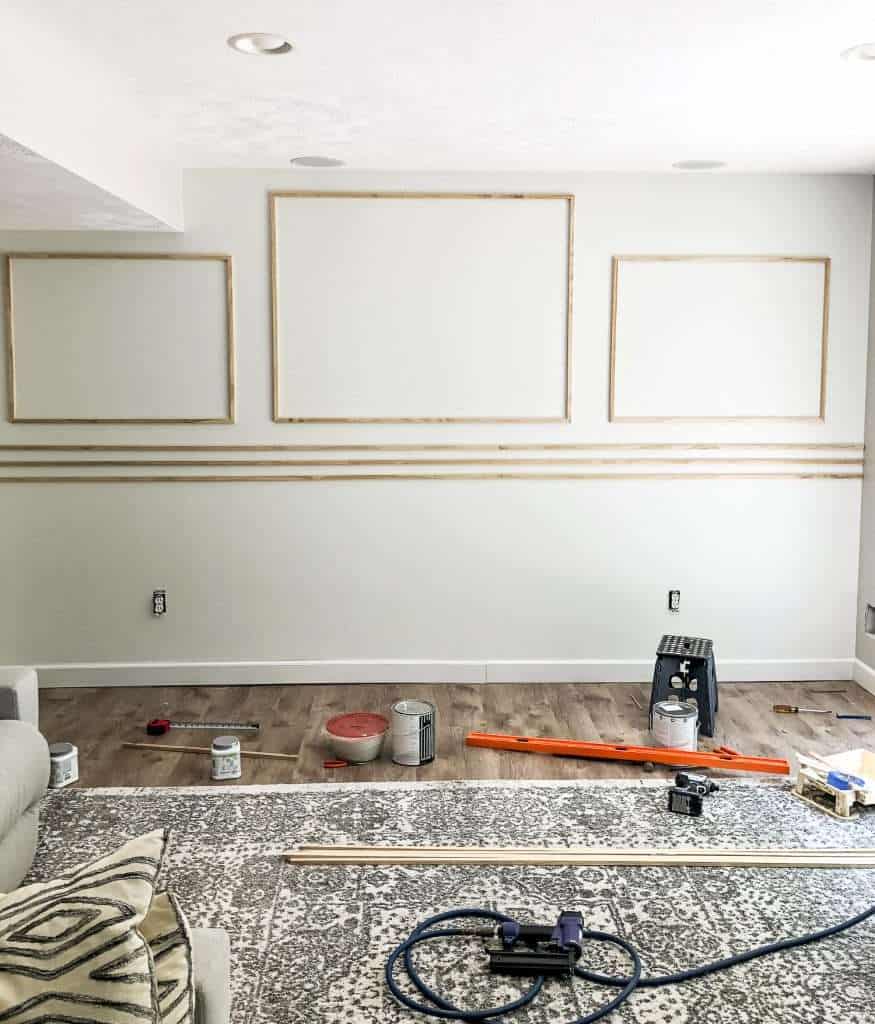
I spaced them all 2 inches apart to keep the design above where the back of the couch hits.
Step 8: Paint and Caulk
The last steps of this project are to paint and caulk. I always do one coat of paint, caulk, then finish with a second coat of paint.
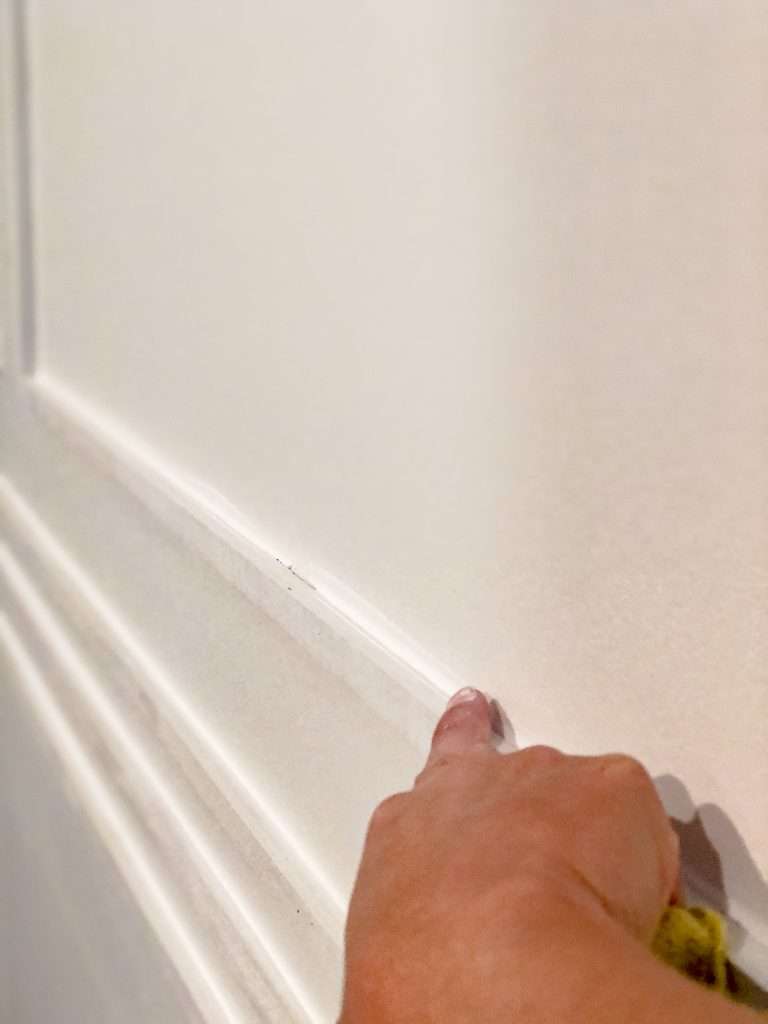
Caulking is the step that a lot of people overlook, but it really cleans up the design and makes it look built in. This is my favorite type of caulk. Make sure to buy caulk that is paintable!
Finish the project with a second coat of paint.
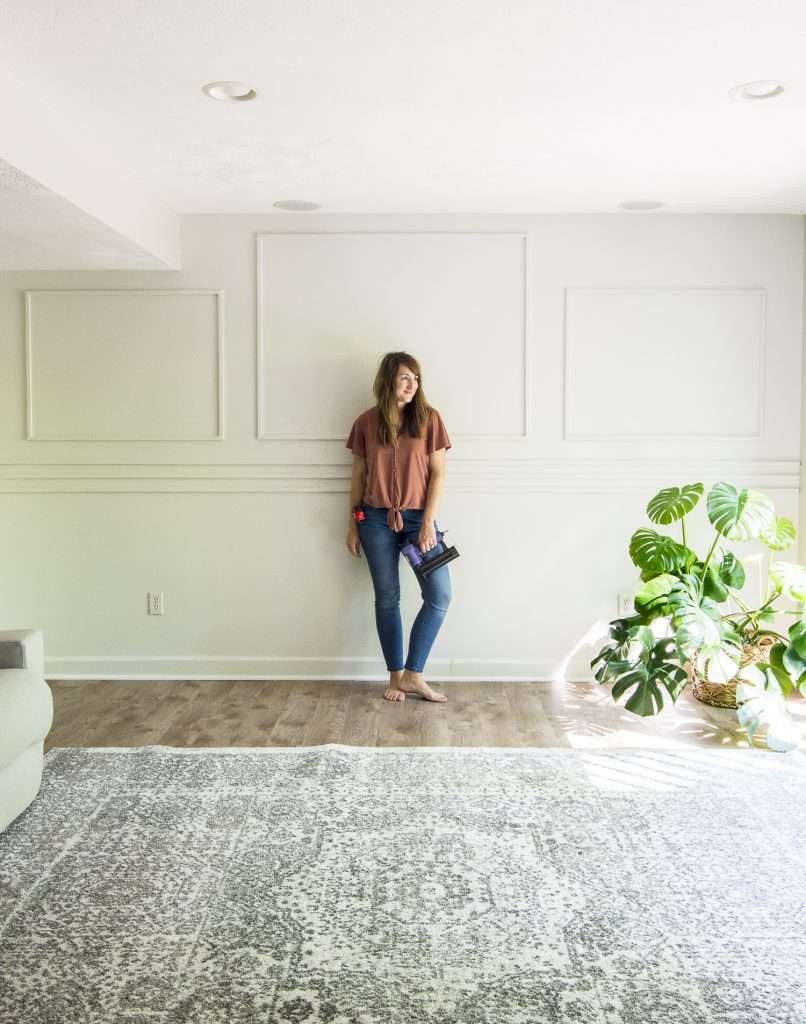
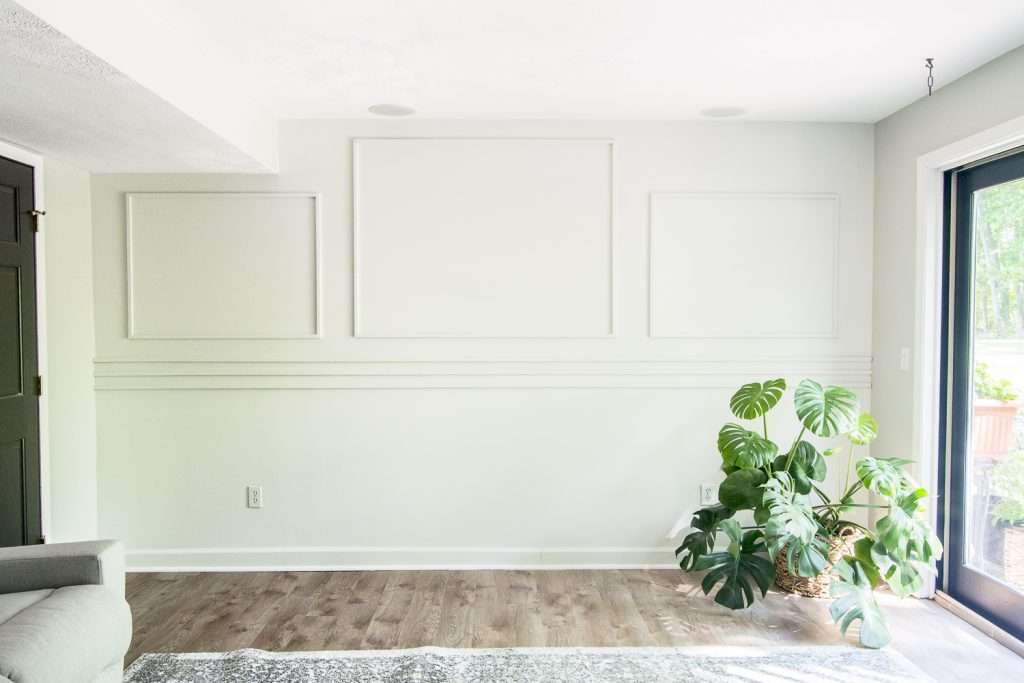
I painted the entire wall in Shiplap by Magnolia Home, including the trim pieces to make it look built in. You can also choose to paint your trim a contrasting color to make your design pop!
Completed DIY Accent Wall
And, it’s done! This is such a simple project with endless possibilities for designs.
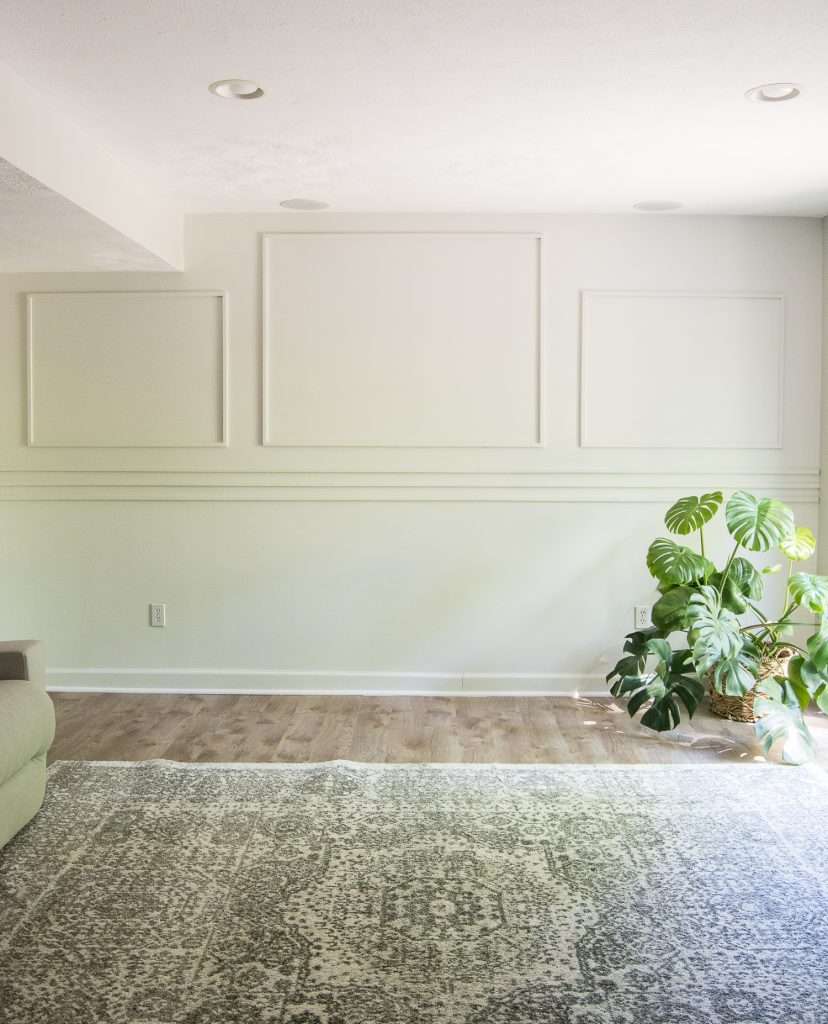
Now I just need to get all my furniture back in place and decorate. I love that this design using Woodgrain products is beautiful enough that it can stand alone as a statement wall, or can be used as literal frames for artwork or photography.
You could even wallpaper the insides of the squares for a really fun twist.
Stay Connected
Thank you so much for stopping by the blog today! I hope this tutorial has been helpful to you! Leave me any questions in the comments and make sure to check out Woodgrain products at your local Home Depot.
Their quality wood products made this project turn out polished and clean.


Great tutorial, we will definitely use it.
Where can you buy such wallpapers besides homedecor?