
Got cardboard boxes lying around? Turn them into your own DIY organizer you can use to declutter your home.

Decluttering – it’s every adult’s worse nightmare! Sure, you can use storage boxes and baskets – but don’t you notice how you can’t seem to buy enough of these?
You know what I mean. As soon as you’ve organized the last set of beddings into their brand-new storage space, four pairs of pillowcases suddenly appear out of nowhere!
Oh, and what about the oddly satisfying feeling of finally storing your little one’s last few Lego pieces into the toy chest you’ve recently purchased? The satisfaction is short-lived when grandma sends her grandkids another set of Legos!
It’s because of these things that I have decided to become creative with my storage solutions. Otherwise, storage boxes may end up becoming a part of my weekly household shopping runs, and that’s something I seriously want to cut off from the expenses list.
This post will show you how I made a classy storage box from something as simple as an ordinary cardboard box. Let the storage revolution begin!

Supplies for the Basket
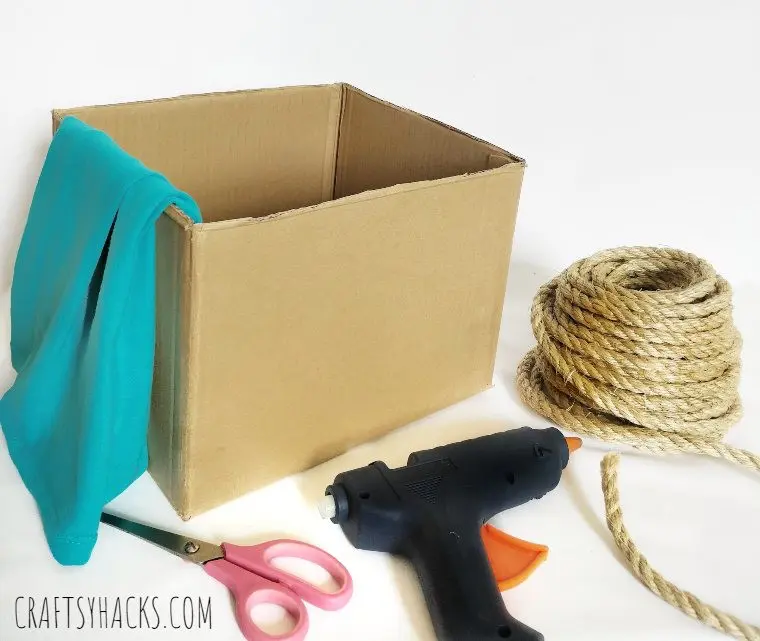
Cardboard box
Scissors
Fabric or just an old shirt

How to Make a Rope Basket?
These nifty rope baskets are straightforward to make and do not require specialized techniques. As long as you have the materials and you know how to cut and use a glue gun, you are all set to go! Simply follow the instructions, and you’ll have another storage in no time.
Beginner or expert, creative or not-so-much, all of us can do this DIY rope basket cardboard box.
Let’s get to work!
STEP 1
Start by taking your cardboard box that needs upcycling.
Cut the flaps, if it has any, and mend any punctures or cuts on it using any adhesive tape. For strength and durability, I would suggest using duct tape.
Craft tip: While you’re fixing any imperfections of your box or preparing your materials, switch on the glue gun, so it heats up just in time for when you’re ready to start wrapping the rope. Also, add a bit of extra glue to the starting corner to ensure it doesn’t come off later.

STEP 2
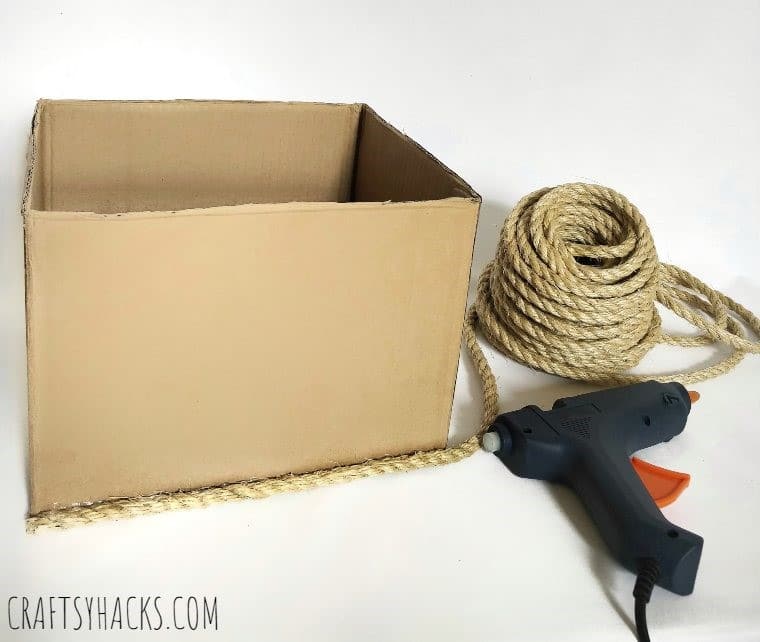
Once you’re satisfied with the condition of your box, take the rope or twine and use the glue gun to attach the rope to the box. Follow a wrap-around pattern, starting from the bottom of the box, working your way up.
Repeat this process in a careful and clean pattern. Ensure you add enough glue to enable the rope to stick (but not too much to create unsightly blobs of dried glue after).
Make sure the cardboard isn’t visible and also that the rope doesn’t double on itself.
STEP 3
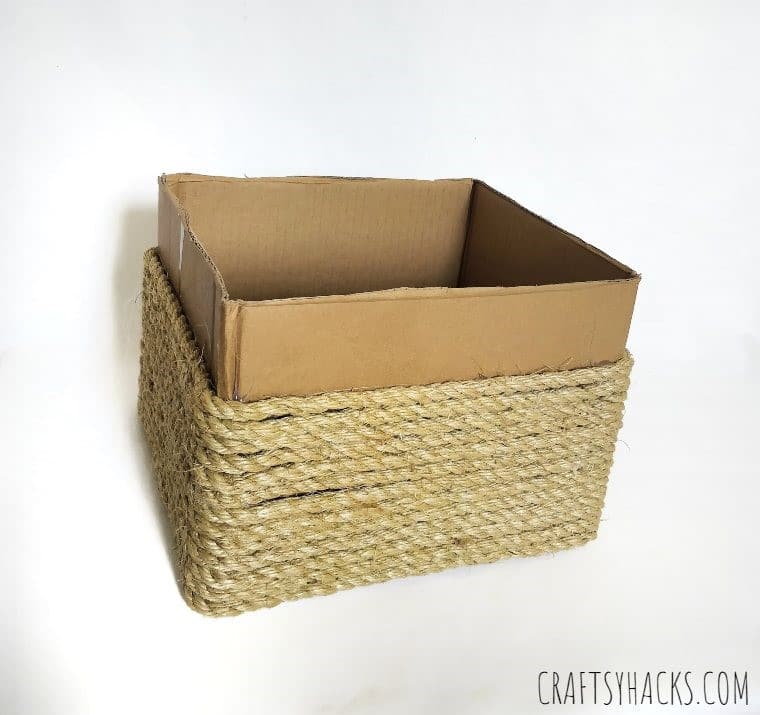
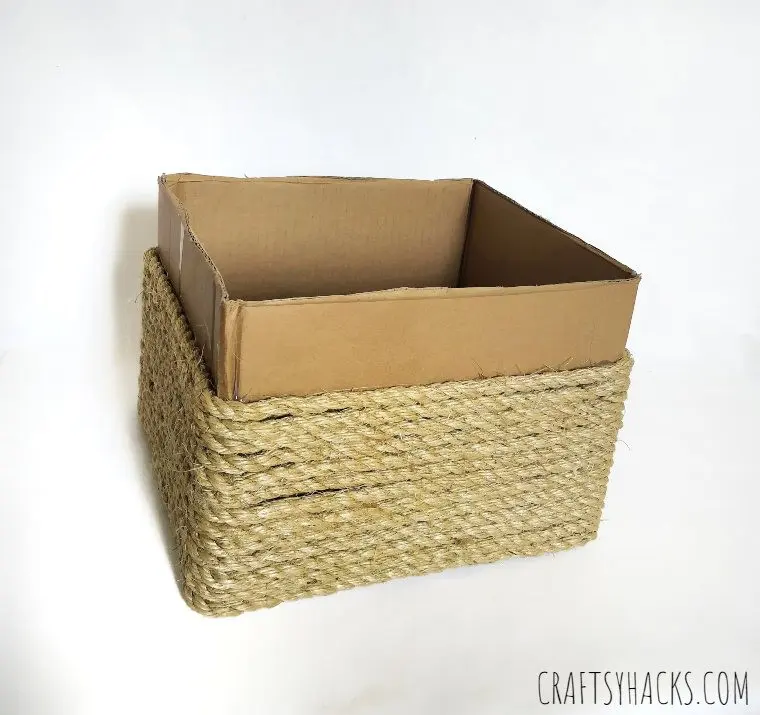
Continue wrapping the rope around the cardboard box until you cover about two-thirds of the box. Once you‘ve reached this point, cut the rope and use a bit more glue to glue the rope securely in the corner, ensuring a firm enough grip, so it doesn‘t come off in the long run.

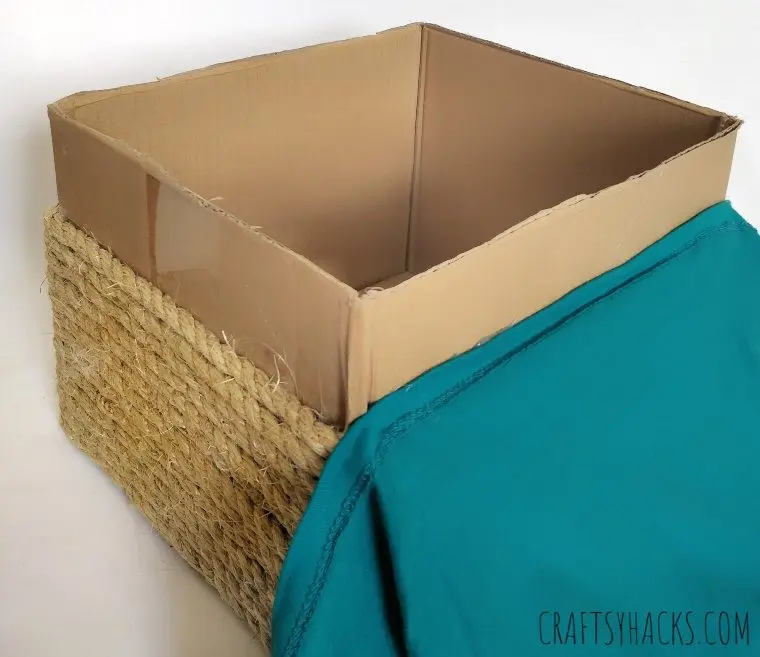
STEP 4
Once you‘ve secured your rope ends, take the fabric or discarded shirt and wrap it cleanly over the rest of the cardboard box. If you’re using an old shirt, make sure the exposed part is clean and free of any stitching.
Do this is by wrapping the hem of the old shirt or fabric around the box and gluing this at the exact spot where the rope wrapping ends – ensuring a well-covered cardboard.

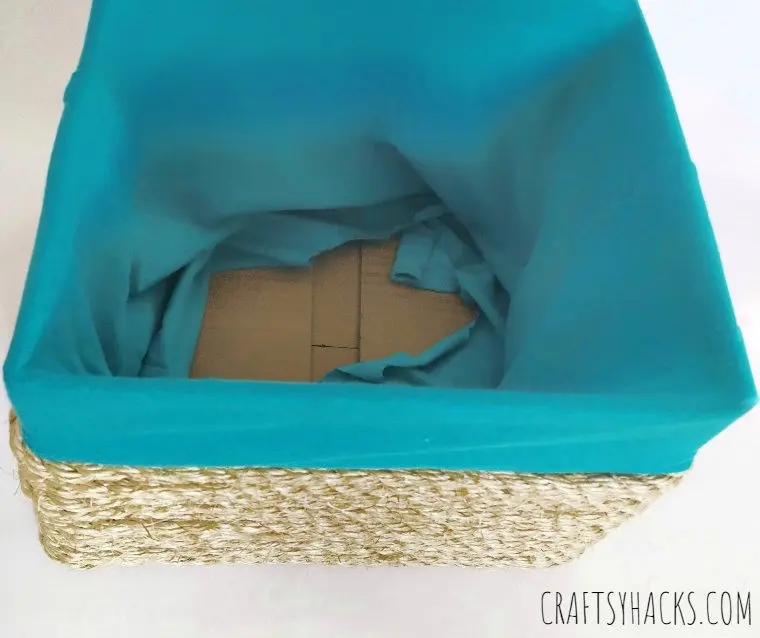
STEP 5
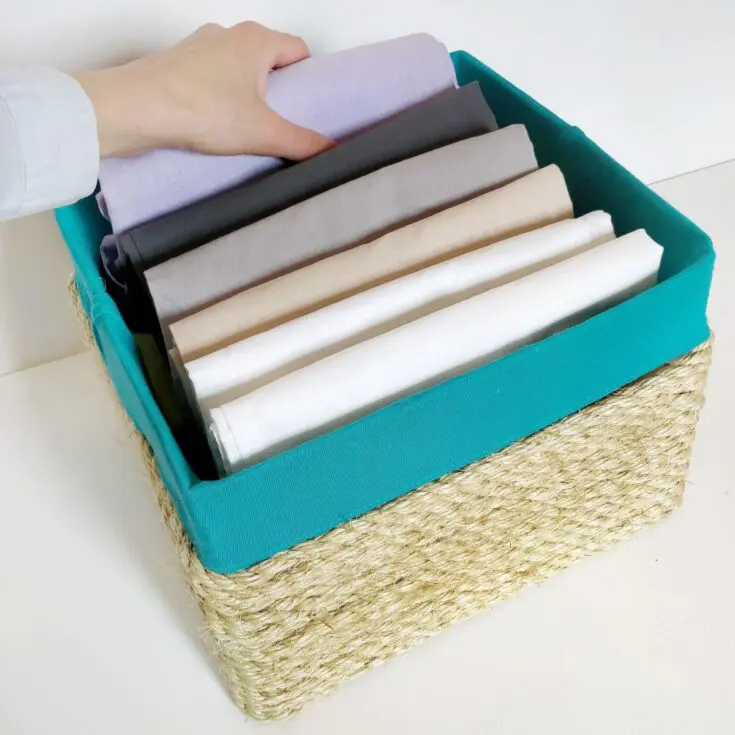
Once you‘ve glued the fabric around the exterior of the box, you can then easily flip the remaining bits of the material inwards, to line the interior of the cardboard box.
If you find there‘s too much fabric for the interior, feel free to cut off some of these. You want to ensure you have a well-covered interior, but you also don‘t want the fabric taking too much space inside the box.

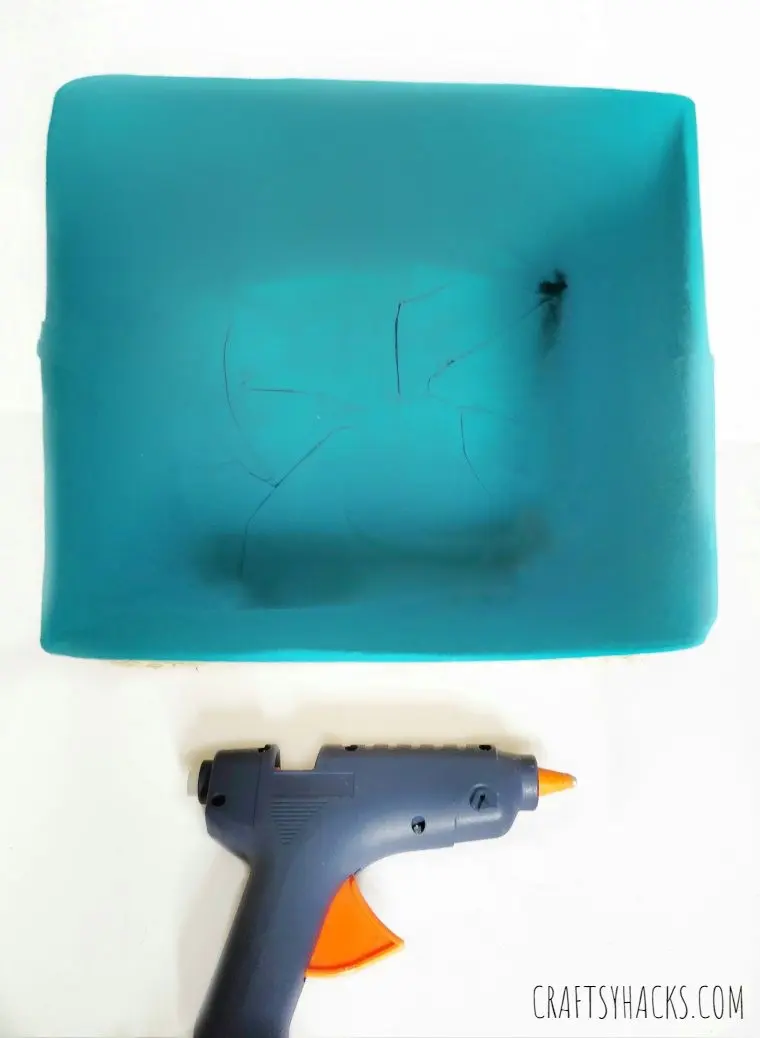
STEP 6
Use glue (and a bit of patience and a bit of ingenuity) to work out how you can lay out the fabric pieces to ensure a well-covered interior.
Once you‘re happy with the inside of the box, check for any other imperfections that need your attention.
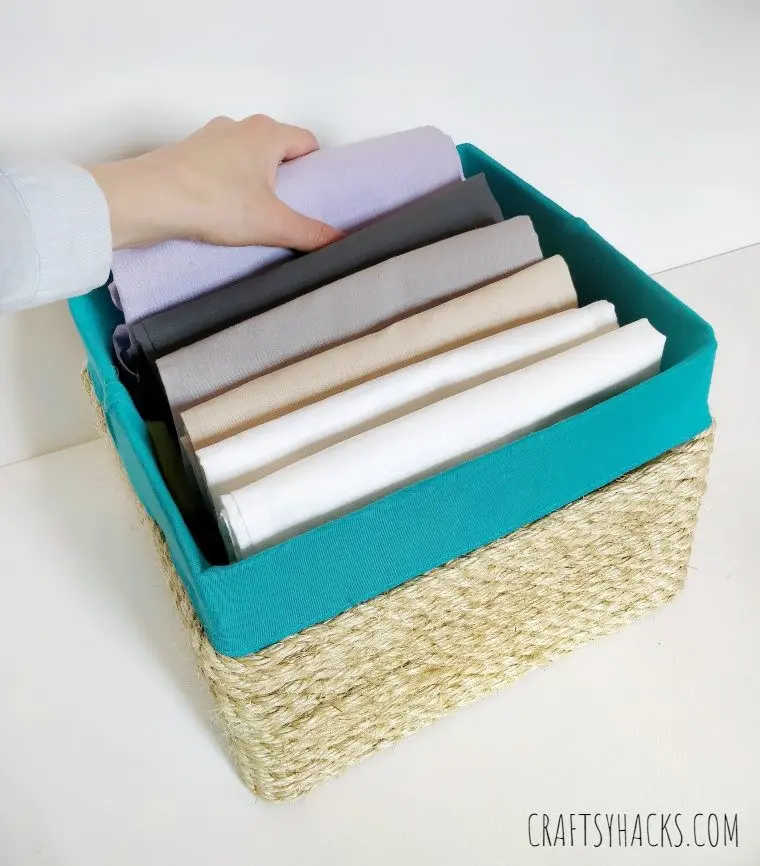
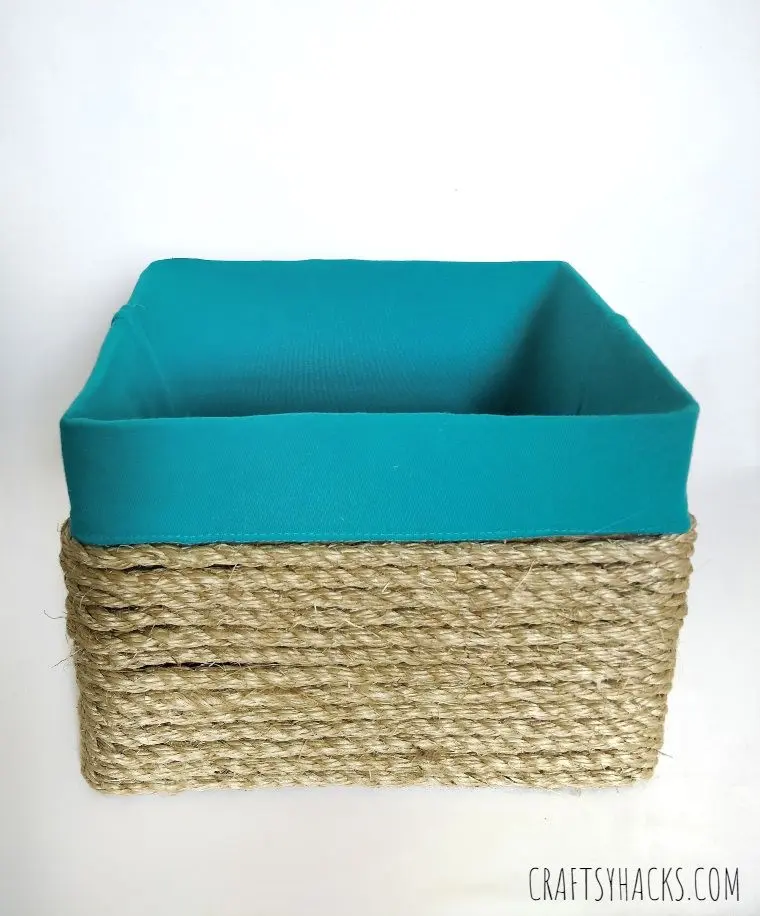
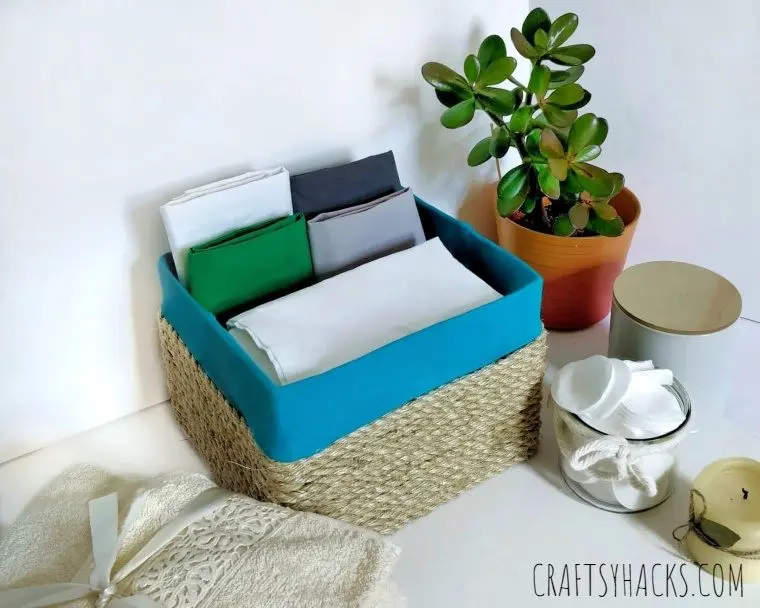
Just like that, your DIY rope storage basket is ready!
Your box is perfect as is, but you can also use ornaments to decorate it further, such as buttons or ribbons – whatever you prefer.

What You Can Use This Rope Storage Basket For
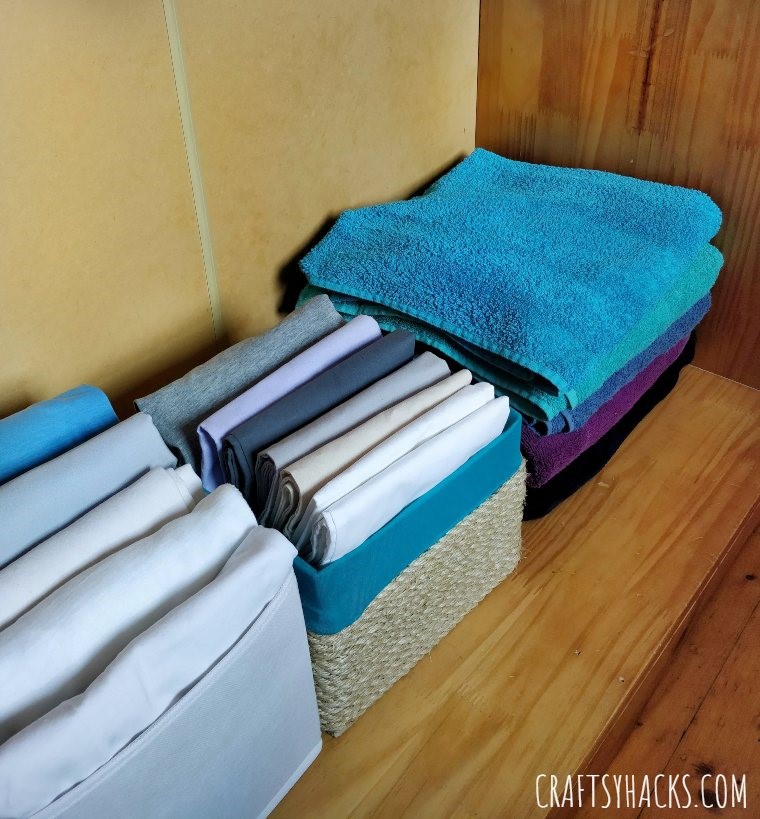
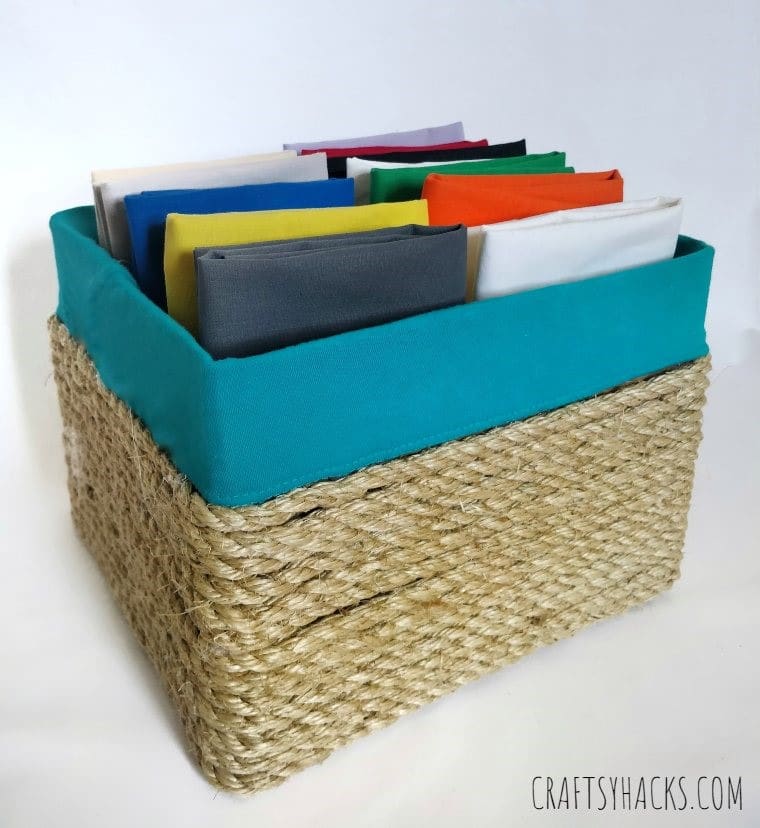
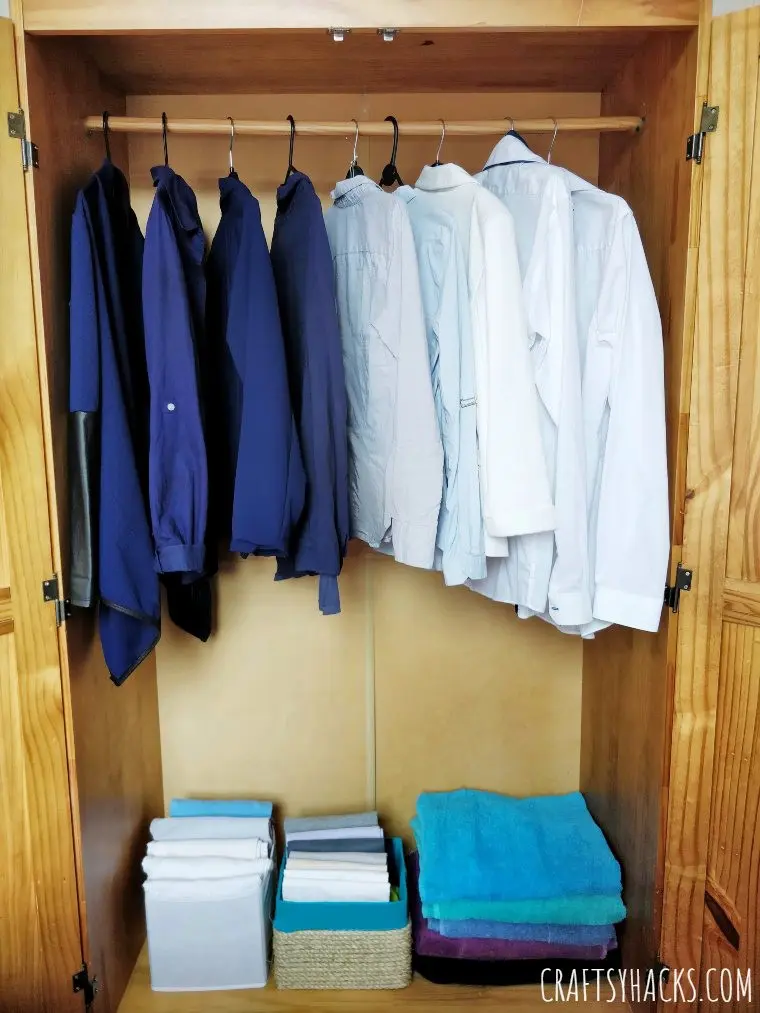
You can use this DIY rope storage box for storing anything and everything. I used mine in the linen closet to hold those pillowcases that magically made their appearance.
But I can also see them as perfect additions to your closets. They can store shirts, scarves, underwear, or ties – or whatever closet piece that always seems to need more storage space.
The larger ones are great for keeping the kids‘ toys organized – or at least tucked away for the night ready for battle the next day. This is also great for craft room organization or even office organizing.
The list goes on. But almost anything that you can tuck away neatly can be stored in these baskets.

Why You Should Turn Your Cardboard Boxes Into Baskets
Turning your cardboard boxes into storage baskets has so many advantages. One, you will save tons of money you would otherwise spend on store-bought storage boxes.
Two, you finally have a use for those cardboard boxes just piling up on the garage waiting for recycling day to come. This leads us to advantage number three. You’re doing your bit in saving the environment by upcycling cardboard boxes.
Finally, you get a better-organized home with more space and less clutter!

Other Posts You Might Like:
- 16 Great Ways to Organize Your Closet
- 41 Practical Storage Ideas for Small Spaces
- 40 Room Organization Ideas
- 25 Craft Room Ideas
- Garage Organization Ideas
- 47 Organization Ideas
- 23 Towel Storage Ideas
- DIY Rope Organizers for Your Desk

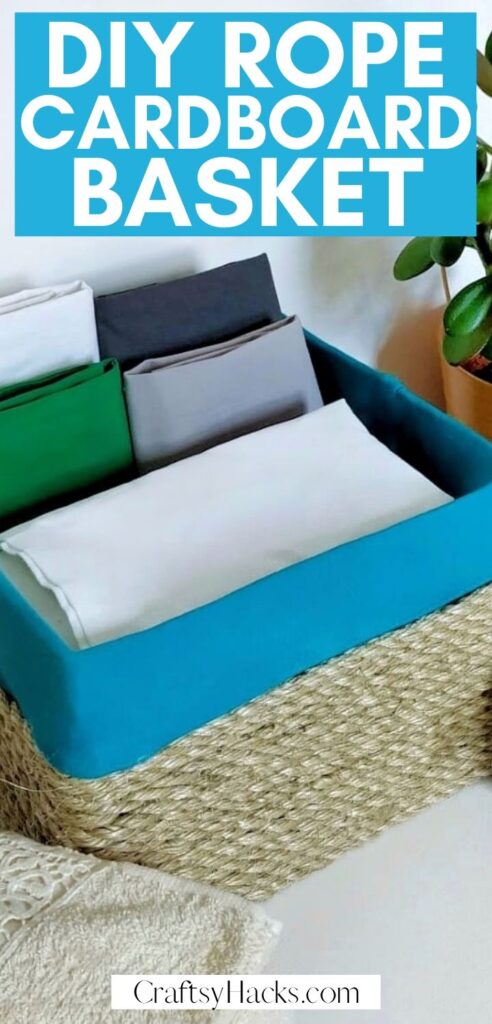
DIY Rope Basket Out of Cardboard Box

Make this DIY rope basket to increase storage in your closet and organize linen. It's a cheap but neat-looking organizer you can make out of a cardboard box.
Materials
- Cardboard box
- Manilla hemp rope
- Glue gun with glue sticks
- Fabric or just an old shirt
Tools
- Scissors
Instructions
- Cut the flaps off the cardboard box that you wish to upcycle.
- Glue rope around the box starting from the bottom until two-thirds of the way up.
- Use fabric to wrap around the remaining one-third, including the interior.
- Decorate the exterior or leave it as it is.
- Enjoy your new, inexpensive storage solution!
Conclusion
Creating this functional and beautiful storage solution with this DIY rope basket made of cardboard box proves that decluttering doesn‘t always have to be expensive.
Because it‘s inexpensive and the materials are readily available at home, you can make as many as you like, to store as much as you need.
Bring it on, clutter!