We are starting our bedroom makeover and I wanted to do an IKEA dresser hack with my IKEA MALM dresser.
I’ve had this dresser for well over ten years since my college days and it has been through multiple moves. It was due for an IKEA MALM dresser hack to fix it up!
Although, I’d love to get a beautiful, new, dresser, it’s not in the budget for this room makeover.
So I wanted to give this dresser which was looking run down and shabby a new, updated look that would fit in better with the rest of the room makeover.
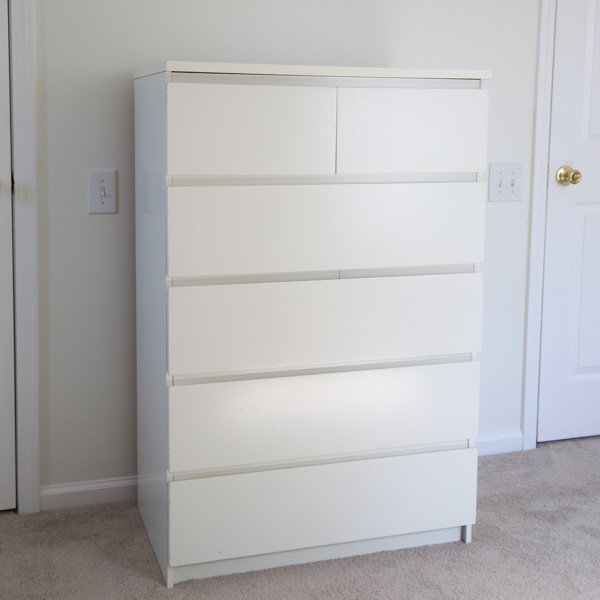
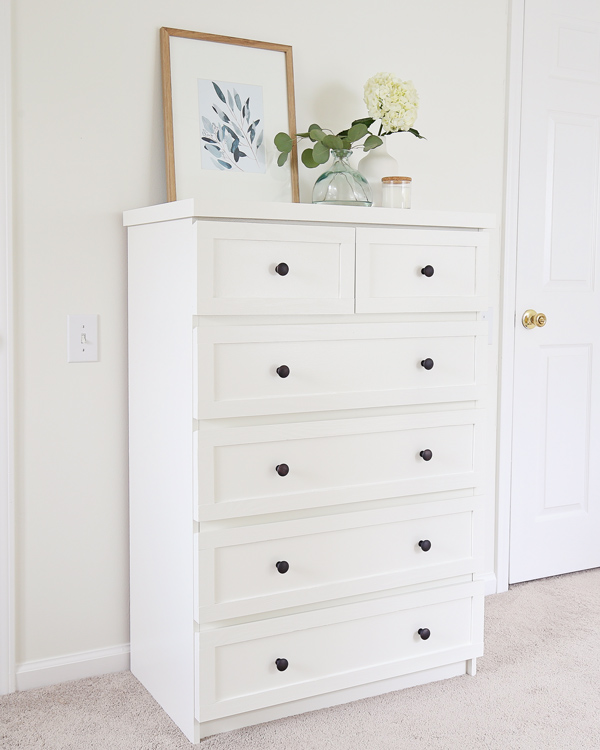
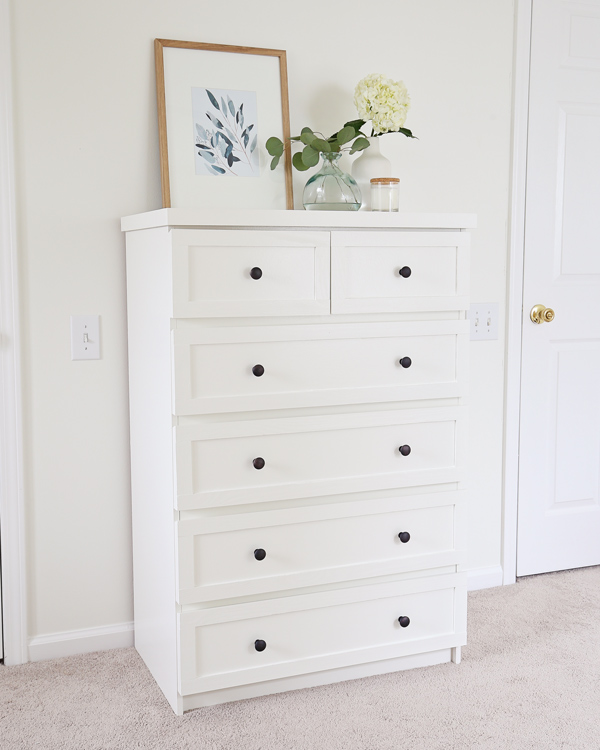
Here is a look at the before and after photos:
This isn’t my first furniture IKEA hack. For Jackson’s nursery I did an IKEA TARVA dresser hack. For my mom’s office makeover, I did one of my favorite IKEA hacks, a BILLY bookcase hack with shiplap. And for my old bedroom, an IKEA ANEBODA wardrobe hack.
As much as I love building furniture, building drawers is one of my least favorite parts…so starting with an inexpensive, old dresser and giving it a makeover is much easier!
Note, this post contains some affiliate links. I may earn a commission if you shop those links (at no cost to you). Thank you for supporting my small business. For more info see my disclosures here.
DIY IKEA Dresser Hack:
Materials Needed:
- IKEA MALM dresser
- (4) 1 1/2″ x 8ft lattice trim
- (3) 3/8″ x 2″ x 3ft pine boards for trim (I used these boards)
- 1″ Brad nails
- Shellac Based Primer
- Paint – I used White Dove by Benjamin Moore (satin)
- Paint Roller and Paint Brush
- Inexpensive paint brush for primer (I used this one)
- Caulk
- Construction Adhesive
- Lightweight spackle
- (10) Cabinet knobs
- 150 grit sandpaper
Tools Needed:
- Drill
- Miter saw
- Tape Measure
- Brad nailer
Video Tutorial:
Subscribe to my YouTube Channel here!
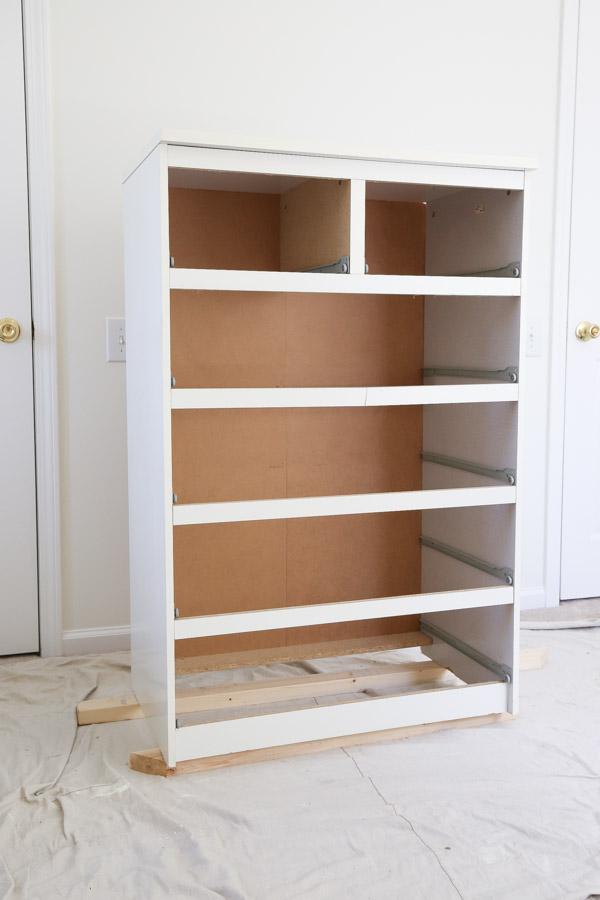
1. Assemble the IKEA MALM dresser (if new) or make repairs (if old)
Begin by assembling the bookcase using the directions included in the box (if it’s a new dresser). Leave the drawers out of the dresser.
If it’s an old dresser, make any needed repairs. Not sure if it’s just my dresser or all IKEA dressers, but some of the drawer bottoms on my drawers were drooping downwards and falling out of the drawer groove.
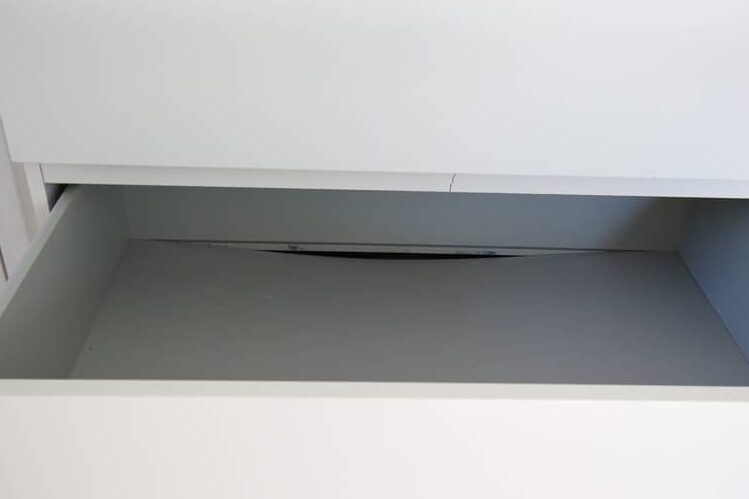
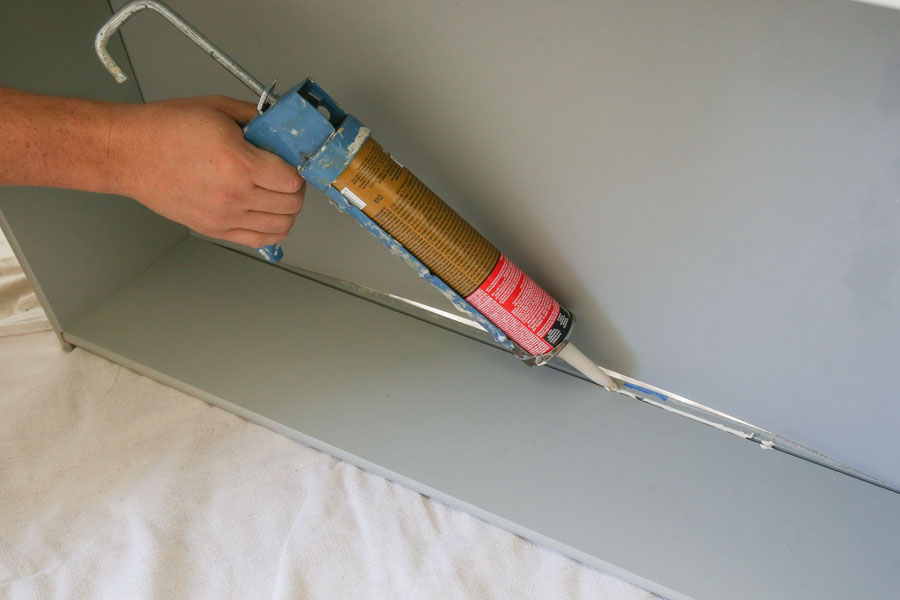
To fix this, we added some construction adhesive to the drawer groove and then placed the drawer bottom back into place in the drawer groove.
Also, one of the drawer divider boards had a partial crack in it. We glued a paint stick behind it to make it more sturdy and then filled the crack with spackle.
You can see both of these repairs in the IKEA dresser hack video tutorial!
2. Prep dresser for cleaning
Place a drop cloth or something similar under the dresser to prep for painting. Also, we used some scrap 2x3s under the dresser as well to make cleaning and painting the bottom edges easier.
Remove the drawers as well.
3. Clean the dresser and drawer fronts
The next paint prep step is similar to how to paint laminate kitchen cabinets. Use a degreaser cleaner to clean the dresser and drawer faces, (anywhere that is getting painted).
After cleaning with a degreaser, wipe the cabinets and bases down with water and allow them to dry.
4. Lightly sand the dresser and drawer fronts
Use a medium grit sandpaper (I used 150 grit) and lightly hand sand the dresser and drawer faces.
It’s really important to just lightly sand the surface just enough to scuff the surface so the paint adheres better but don’t sand too hard that you scratch the surface. Wipe of the dust with a damp cloth.
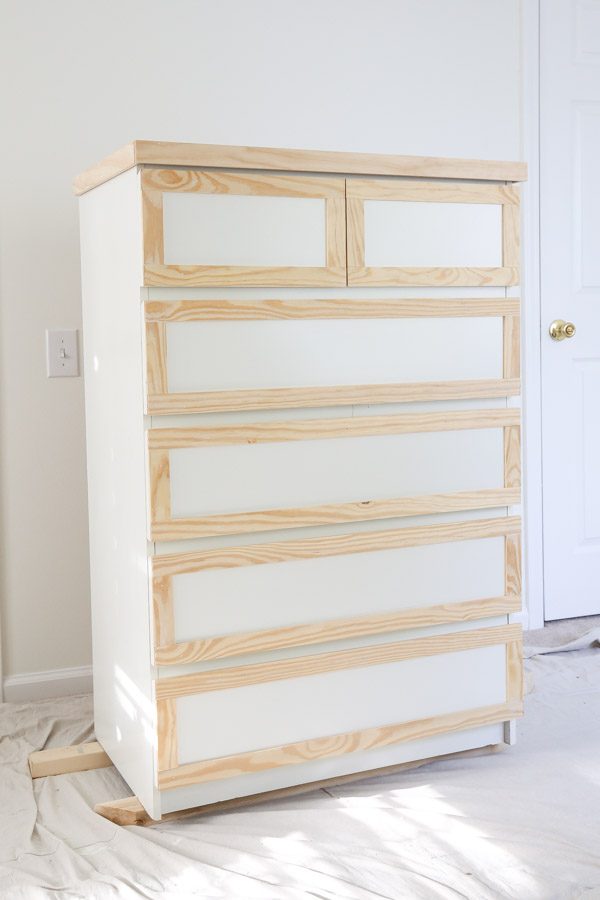
5. Add trim to dresser drawers
One of my favorite parts about this IKEA dresser hack is the custom trim on it!
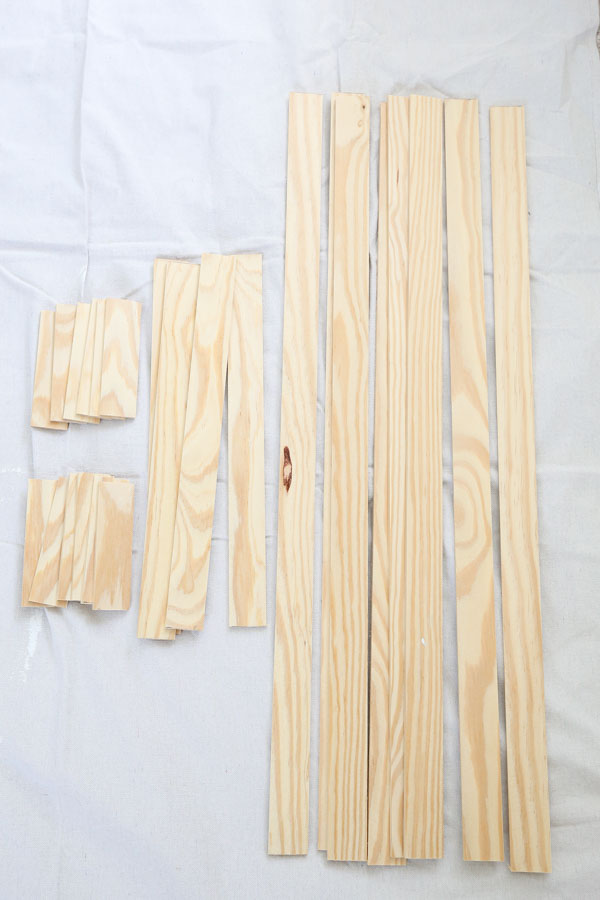
Use a miter saw to cut the 1 1/2″ x 8ft lattice trim for trimming out drawer fronts.
Below are the cut measurements I made for the drawer trim, but make sure to double check the measurements for your own dresser in case there is any slight variation in size.
Small Drawers:
- (4) @ 5″
- (4) @ 15 5/8″
Big Drawers:
- (8) @ 5″
- (8) @ 31 3/8″
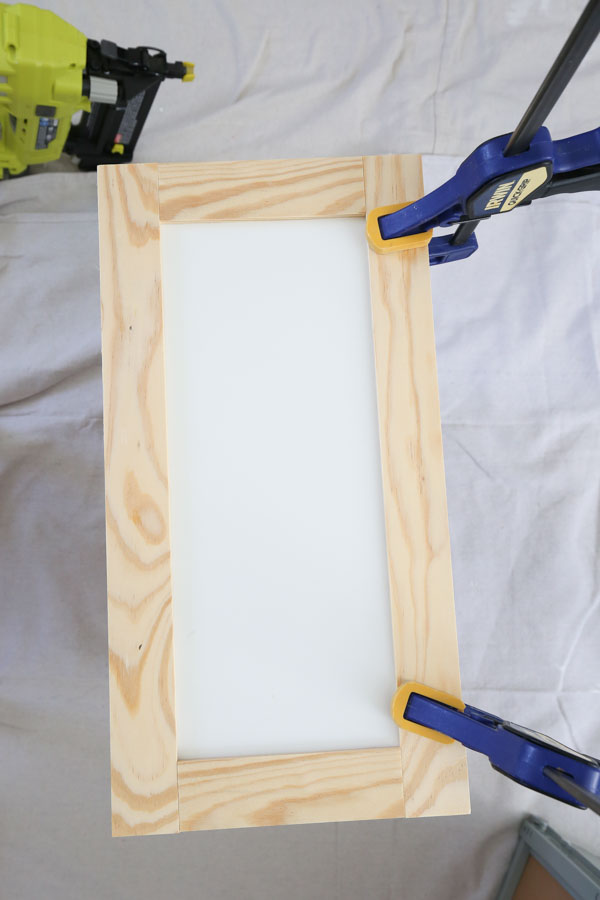
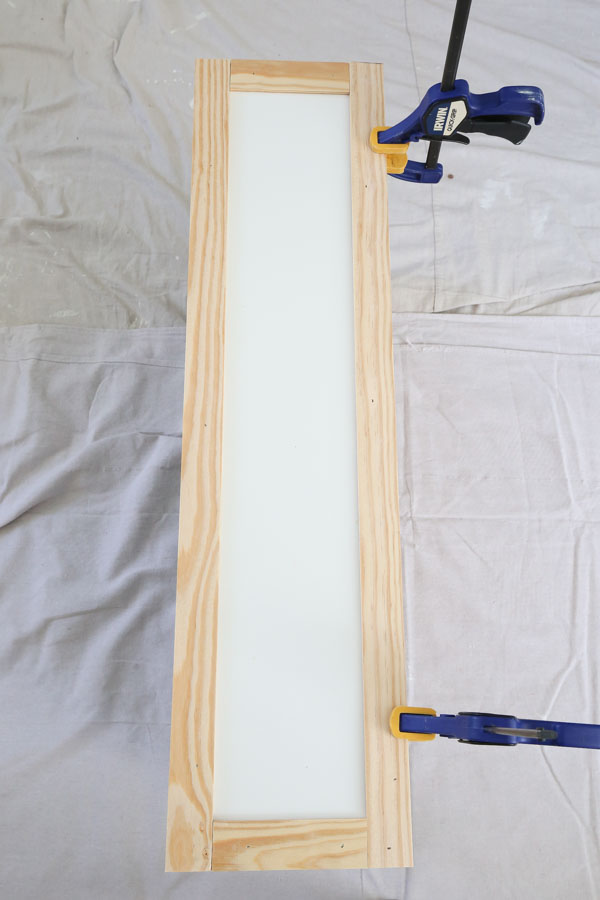
Attach the trim to the drawer fronts. Use dabs of construction adhesive on the back of them and secure in place with a few 1″ brad nails and a brad nailer.
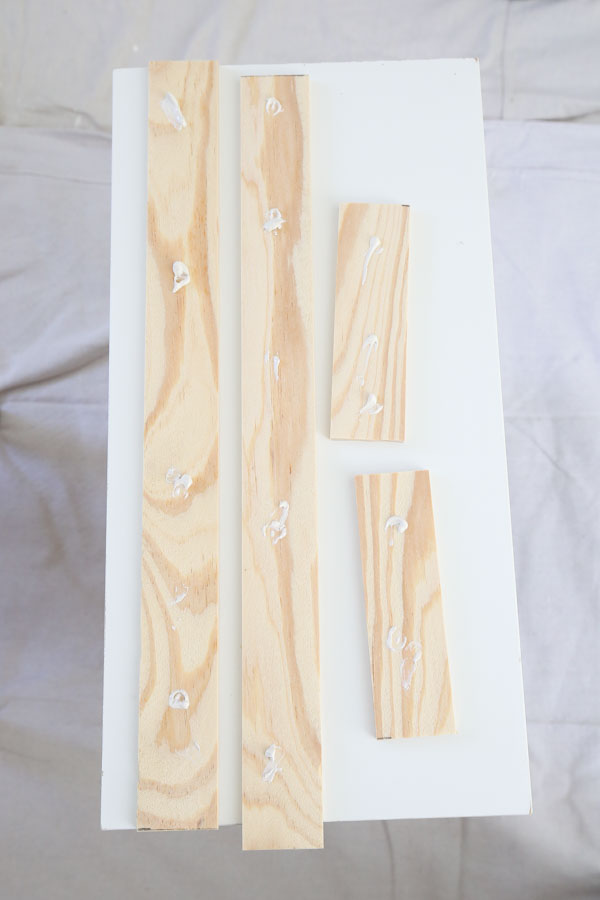
I found it easier to first attach one of the longer trim pieces in place using clamps since the trim slides really easily on the laminate dresser surface.
Then, I put the next longer trim piece in place, but before nailing it in, I put the two short side trim pieces in place to make sure everything was a snug fit.
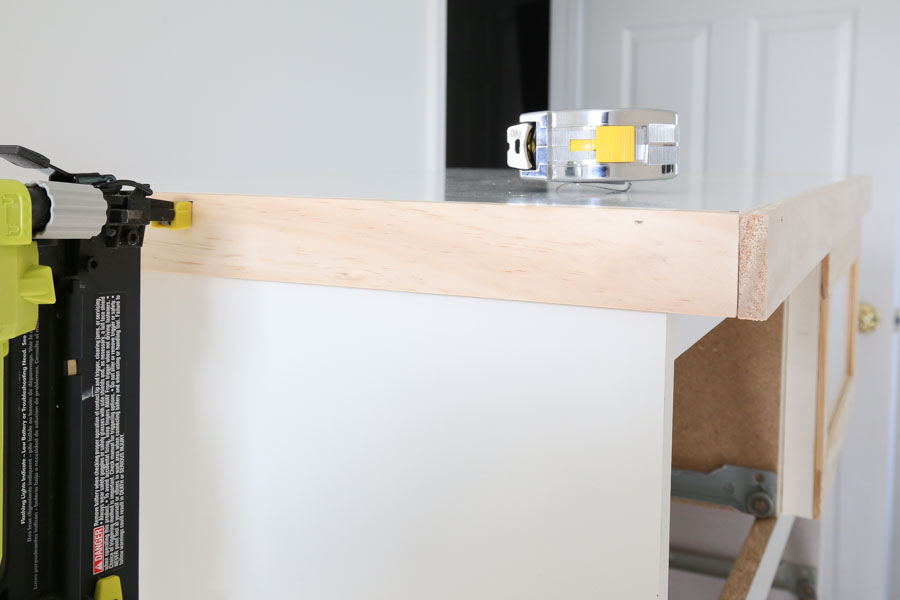
6. Add trim to the top of the dresser
Now it’s time to add the top trim. Again double check your measurements to make sure they are the same as my IKEA dresser. Use a miter saw and make the following cuts from the 3/8″ thick boards:
- (2) @ 19″
- (2) @ 32 3/8″
Attach with construction adhesive and 1″ brad nails along the top edge of the dresser.
7. Prep dresser and trim for paint
Fill all the holes in with a spackle and lightly sand. Also, caulk any gaps or seams that need it.
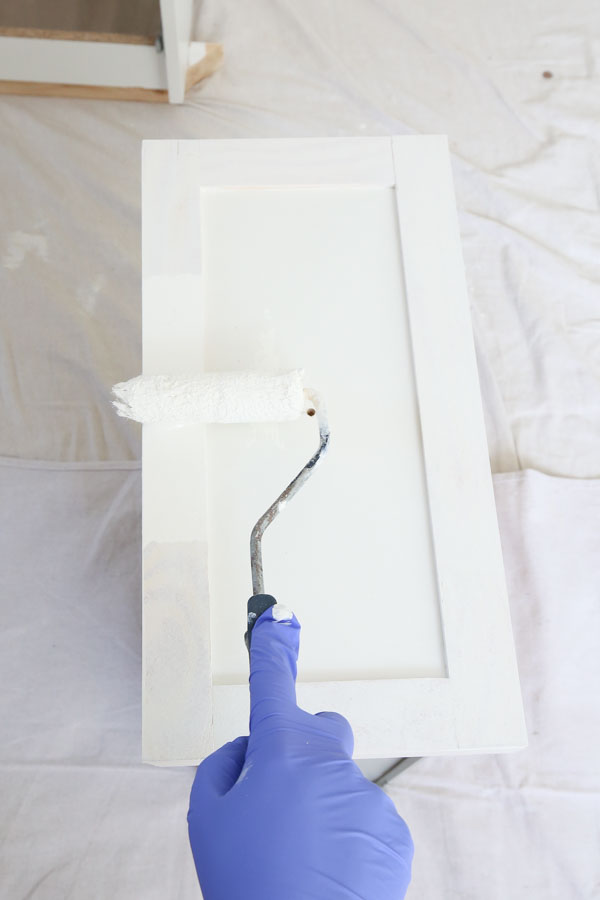
8. Prime the dresser and drawer faces
Prime your IKEA MALM dresser with a shellac, oil-based based primer and let it dry. I used this primer. Because the surface of the dresser is laminate and almost like plastic, you need an oil-based primer to prevent peeling of the paint and to provide coverage.
First, I primed all the corners and places I couldn’t reach with a roller with a cheap, $1 chip paintbrush that I could throw away since I was using an oil based primer and didn’t want to have to clean a good brush with mineral spirits.
Then, I rolled over the rest of the bookcase with a roller and the primer.
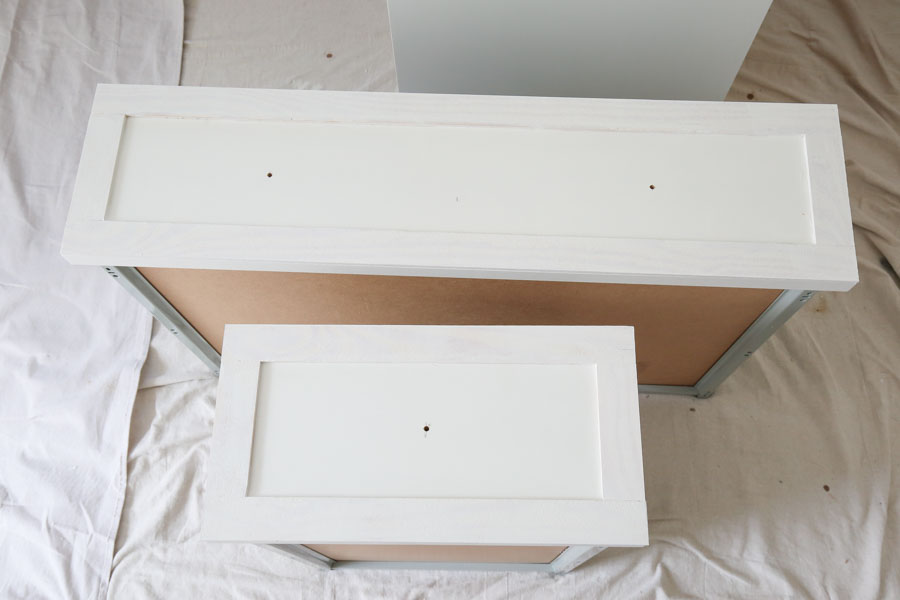
9. Add holes to IKEA dresser hack for cabinet knobs
I am so excited to be adding knobs to this dresser to make it easier for opening the drawers.
Mark and the drill one hole in the center of the two small drawers. Our center point was 7 13/16″ and 4″ for the small drawers.
For the larger drawers, we drilled two holes on each. We drilled them at 7 7/8″ across and 4″ down from the top for the left hole. And 23 5/8″ across and 4″ down from the top for the right hole.
10. Paint the IKEA MALM dresser hack
Again we started by cutting in any hard to reach areas with a paintbrush and then rolled the rest. We used two coats of paint. I used White Dove by Benjamin Moore in a satin finish.
Allow the paint to dry.
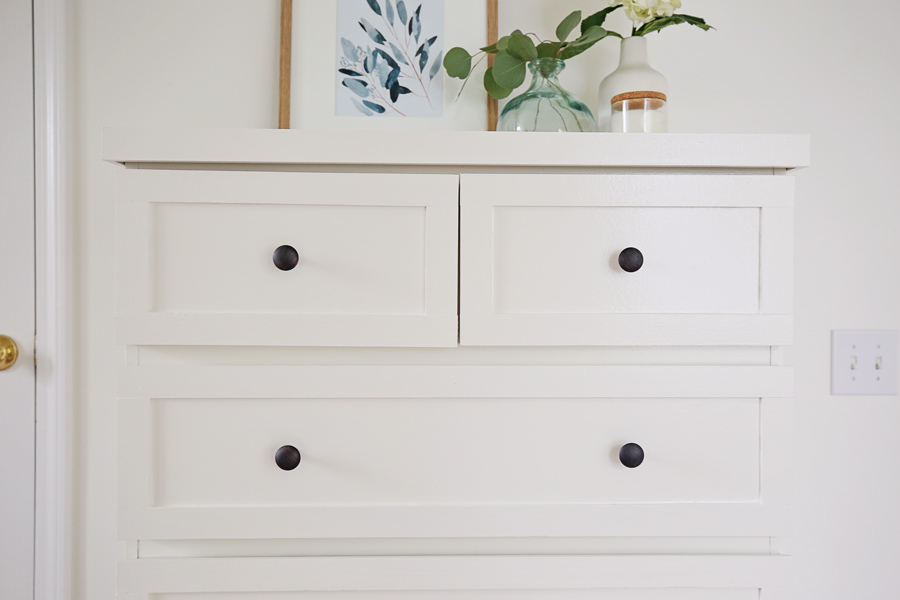
11. Add cabinet knobs
Add your cabinet knobs for the finishing touch. I used cute mushroom knobs. And that’s it!
Compared to BEFORE:
And after:
For less than $60, I think this was a fabulous IKEA dresser hack! I think this updated and freshly painted dresser is going to look great in our final bedroom makeover which I can’t wait to share more about soon!
Follow along on Instagram stories for sneak peeks of our bedroom makeover progress and follow along on YouTube for video tutorials of all the DIY and decor projects!
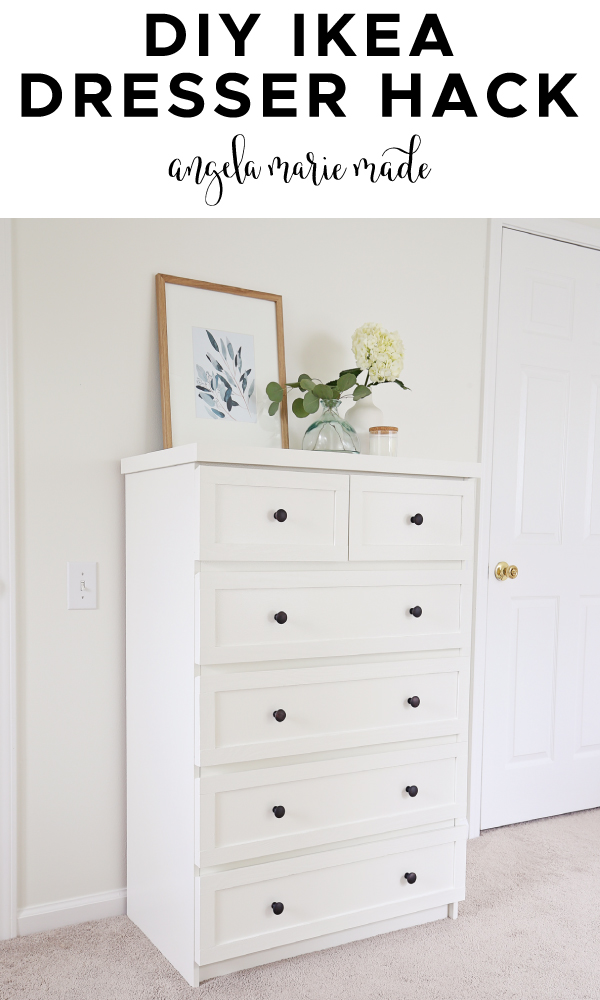
Want to save for later?! Pin it here:
Nicole Kristal
Saturday 23rd of December 2023
Did you seal your project with anything after painting?
Angela Marie Made
Friday 29th of December 2023
No I did not!