
Easy DIY Steps & Video for How to Caulk A Kitchen Counter. With Answers to Common Questions. Replace your old grout in under an hour.
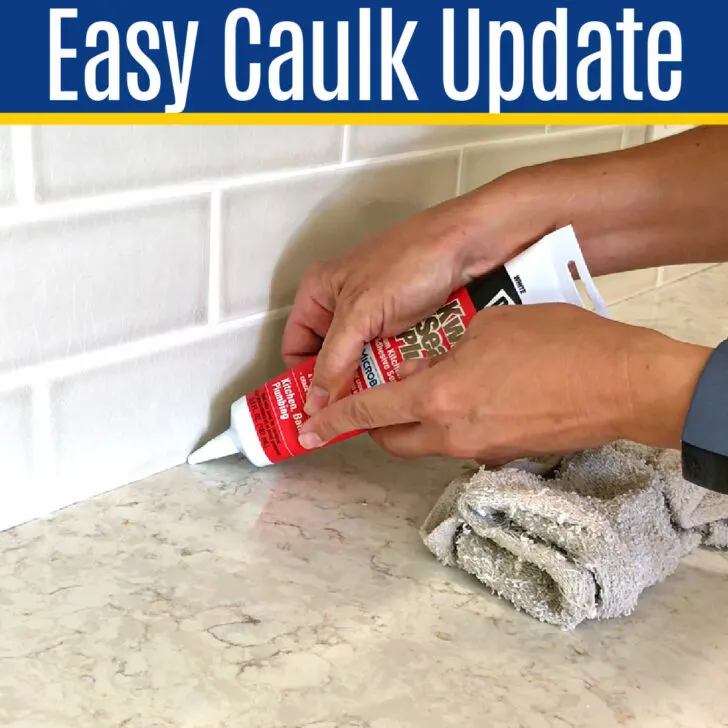
How to Caulk A Kitchen Counter
Give your kitchen a quick refresh with this easy tutorial for caulking a kitchen counter. When the tiler installed our kitchen backsplash, 3 years ago, I knew immediately I’d have to fix it one day.
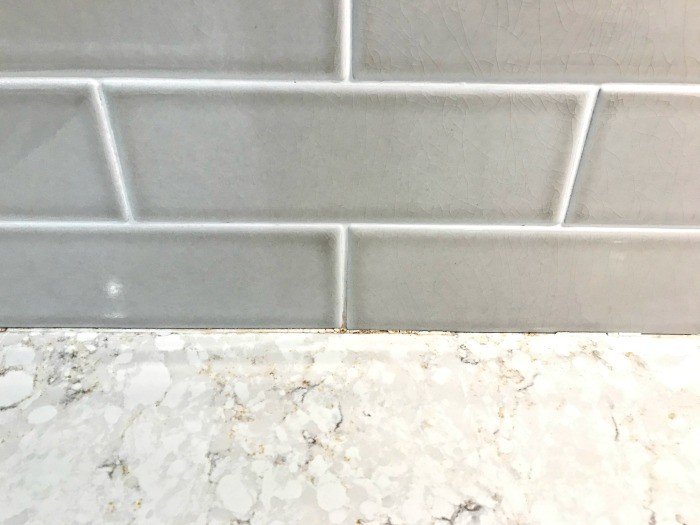
That’s because he used grout in the joint between the kitchen counter and backsplash. Which always fails.
I should have had him fix it. But I had a 12 month old and no kitchen for nearly 3 months at that point. So, I just wanted the remodeling crew out of my house. 😉


So, after 3 years of procrastinating and watching that original grout job crumble, it was time for me to replace the grout with caulk.
And, I wrote up this guide and recorded a video showing my steps for caulking kitchen backsplash and counter joints to help you do this easy DIY too. Let’s get started!
Table of contents
What to Use to Fill the Gap Between a Backsplash and Counter
Typically you need to use caulk whenever tile meets a solid surface, like a counter or tub surround. Actually you need to use caulk when a solid backsplash meets a countertop.
Those 2 surfaces will have slight shifts with the temperature changes and natural settling in a house. The seam that connects them needs to be flexible enough to handle that.
The grout along the countertop in my home was crumbling because it wasn’t flexible, like caulk.

But, no worries, replacing grout along the joint with sealant is generally going to be a pretty quick and easy job.
Keep reading, this tutorial covers how to caulk tile backsplash along a counter in a kitchen, bath, or laundry room.
What Kind of Caulk do you use for Countertops
The best caulk for caulking kitchen counters and bathroom counters is a quality silicone caulk that is made for kitchens and bathrooms.
The silicone and latex mixture means the caulk stays flexible and still sticks to the surface over time.
The Silicone Sealant or Caulk needs to be made for Kitchens and Bathrooms because that type is designed to be mildew resistant. Which is absolutely critical in wet areas that are prone to mildew.
Here are 3 of the Best Caulks for Kitchen Counters
- GE Supreme Silicon Kitchen & Bath Sealant
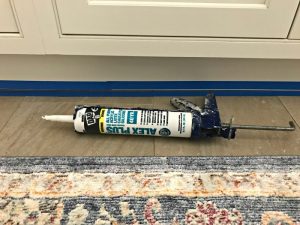
- DAP Kwik Seal Plus Kitchen & Bath Caulk
- Red Devil Duraguard Kitchen & Bath Caulk
Pick a sealant color that will either match the grout OR blend into the counter top color. I usually go for white caulk on white counters. And clear caulk on darker counter tops.
You can see how I prevent mildew and clean our shower tile and grout here.


What I Used to Caulk our Kitchen Backsplash and Counter
- Kwik Seal Plus, Kitchen & Bath Adhesive Sealant
- Damp Cloth
- Utility Knife
Steps For Caulking Kitchen Counter And Backsplash
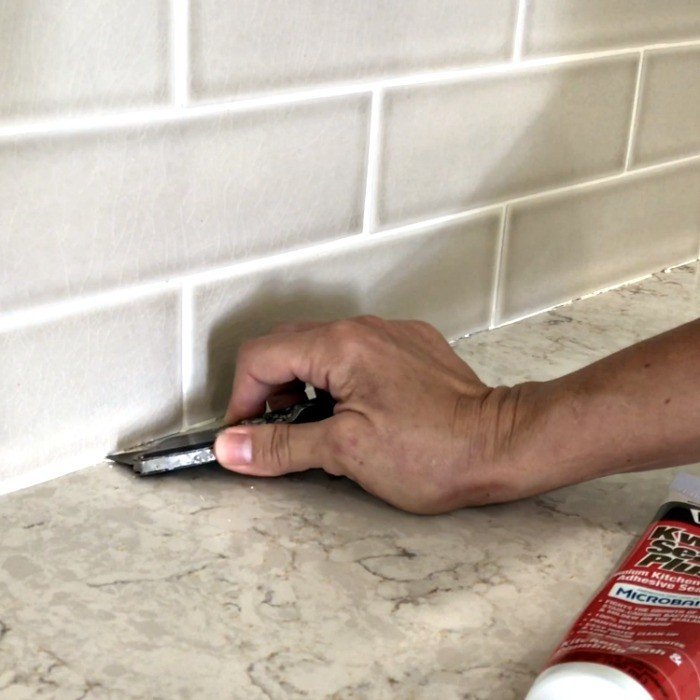
Step One
Carefully cut out the old grout with your utility knife. Unless you have an unusually thick grout line, this shouldn’t require much effort.
Just be sure to keep the blade in the grout line and off the counter and tile as much as possible. Some tile and counters are made from materials that can be scratched by a utility knife.
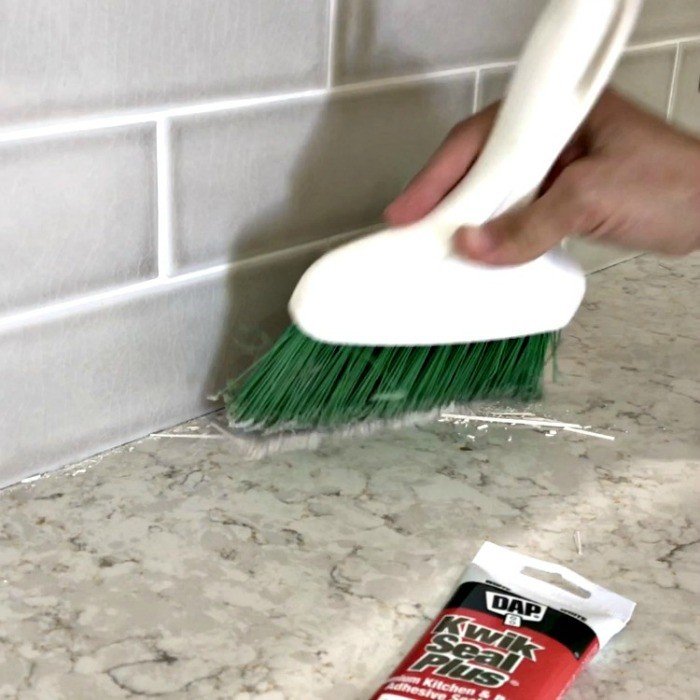
Step Two
Cut away the old grout completely, then sweep up with a brush or vacuum. Make sure all the old grout, between the counter and backsplash, is off the tile and counter top too.
If you’re replacing old caulk instead of grout, you can still use the steps in this “How to Caulk A Kitchen Counter” tutorial. But, it will take longer to remove and more effort.
Be careful with the utility knife to avoid scraping the tile or counter.
Step Three
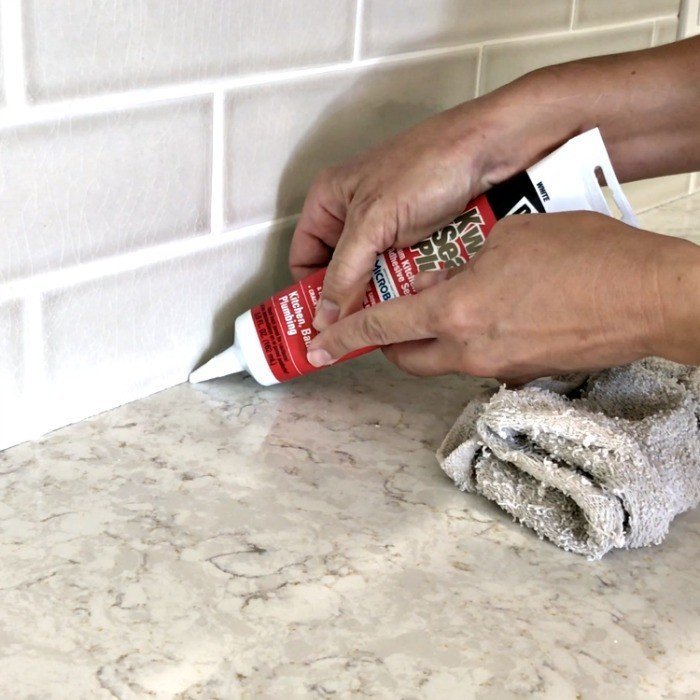
Once the joint between the counter and tile is clean, you’re ready to apply the new sealant. Apply just a small bead (line of caulk sealant) so that clean up is easier and you waste less sealant.
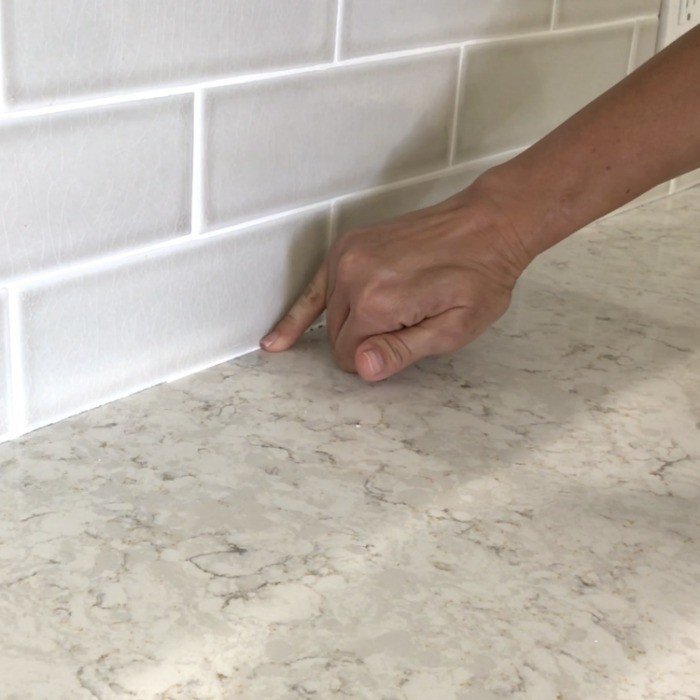
Wipe your finger across the bead to press it into the joint while smoothing it.
Keep cleaning your finger on the wet rag as needed to keep the joint looking smooth and nice. You can see me doing this in the short video below.
Lightly wipe a clean part of the wet rag across the new sealant to clean up the excess caulk. Use your finger again to give the joint a final smoothing.
Be sure to remove any sealant that has gone up the grout lines between the tiles. The sealant should just be in that line across the counter for the best look.
Do a second coat of sealant caulk the next day, if you see any cracks or gaps in the first coat. Let that dry for 24 hours before getting it wet.
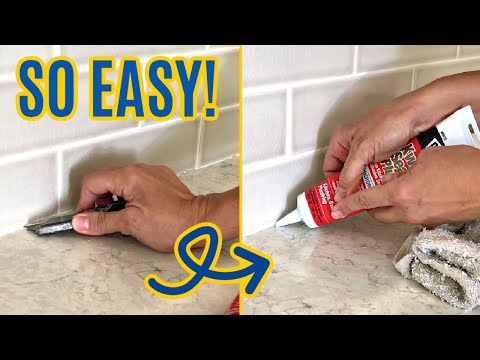
How to Remove Grout Along A Counter – Video
Watch this video for a quick step by step look at how I removed the crumbling grout along our counter top and replaced it with a nice clean line of caulk.
That’s it for this How to Caulk A Countertop tutorial. Here’s a printable version of this tutorial.
More Home Maintenance Projects For You
Learn the 4 Super Easy Steps To Fill The Gap Between Cabinet and Floor here.
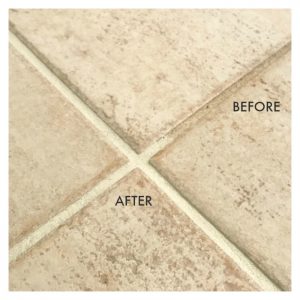
Want to see more home maintenance tips? Check out my super popular fix for ugly grout color tutorial. I love this stuff!
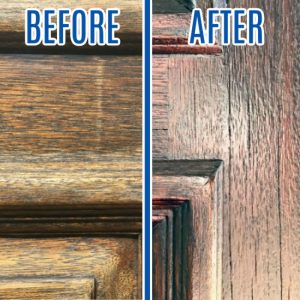
Check out the Easy DIY Steps for How to Restain a Door without stripping or removing it.
Here’s How to Clean Car Seats At Home, the easy way. This is a-mazing!

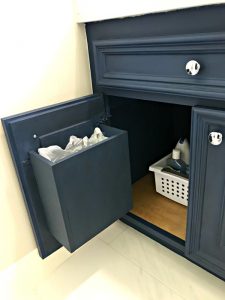
You might also like this DIY Cabinet Door Mounted Trash Can for your bathroom.
Feeling inspired? Now that you’ve seen How to Caulk A Kitchen Counter, you can too. Let me know if you have questions.
Don’t forget to sign up for the Abbotts At Home email newsletter to get DIY, Remodeling, and Crafty ideas in your inbox.
How to Caulk A Kitchen Counter


Materials
- Kwik Seal Plus, Kitchen & Bath Sealant
- Utility Knife
- Wet Rag
- Dust Brush or Vacuum
Instructions
- Carefully cut out the old grout with your utility knife. Just be sure to keep the blade in the grout line and off the counter and tile as much as possible.
- Cut away the old grout completely, then sweep up with a brush or vacuum. Make sure all the old grout, between the counter and backsplash, is off the tile and counter top too. If you're replacing old caulk instead of grout, you can still use the steps in this tutorial. But, it will take longer to remove and more effort. Be careful with the utility knife to avoid scraping the tile or counter.
- Once the joint between the counter and tile is clean, you're ready to apply the new sealant. Apply just a small bead (line of caulk sealant) so that clean up is easier and you waste less sealant. Wipe your finger across the bead to press it into the joint while smoothing it.
- Keep cleaning your finger on the wet rag as needed to keep the joint looking smooth and nice. You can see me doing this in the short video. Lightly wipe a clean part of the wet rag across the new sealant to clean up the excess caulk. Use your finger again to give the joint a final smoothing.
- Be sure to remove any sealant that has gone up the grout lines between the tiles. The sealant should just be in that line across the counter for the best look. Do a second coat of sealant caulk the next day, if you see any cracks or gaps in the first coat. Let that dry for 24 hours before getting it wet.
Notes
Tip: Pick a sealant color that will either match the grout OR blend into the counter top color. Wipe away all excess before drying for the best finish.


Stephanie Abbott has been remodeling homes, updating & building furniture, and working on DIY home maintenance and cleaning tips for over 20 years. Her remodeling has been featured in Better Homes and Gardens Magazine. And, her DIY YouTube channel has had more than 8 million views.
Most of the DIY tutorials and videos on this site focus on beginner to intermediate level DIY Projects that can be done in an affordable way without high-end, expensive tools. All of the cleaning tips on this website have been tested in her home.
Candice
Monday 26th of August 2019
I totally need to recaulk in my kitchen and bathrooms. Thank you for sharing this tutorial!
Stephanie
Monday 26th of August 2019
Thanks so much, Candice. It's one of those home maintenance jobs we all like to put off. :)
Jean | Delightful Repast
Monday 26th of August 2019
Stephanie, this is exactly what I needed! Must re-caulk the counter very soon, so Pinning this so I don't lose track of it! Of course, I'd really rather you came over and "showed" me how it's done! :D
Stephanie
Monday 26th of August 2019
LOL, I wish I could come over and help. But, don't worry, you got this! :)