I’m so excited to share one of my favorite projects to date!
 We picked up a pallet off the side of the road when we were living in Springfield and I had been mulling over what to do with it for a while. I finally decided to use it to make a holder for all of our coffee cups! (Or at least some of them.)
This was actually a pretty easy project! We did it in two days, but we definitely could have done it in one.
Materials and Equipment:
- Pallet
- Hooks and screws
- Paint, letter stencils, sponge brush (Optional)
- Sandpaper
- Right angle ruler
- Ruler or tape measure
- Pencil
- Safety glasses
- Circular Saw
- Cordless Drill
- Screwdriver
First, a couple of notes: (1) You may want to power wash your pallet before you dive into this project since you’ll be hanging things that you drink out of on it! (2) I added the COFFEE detail on the top, but this is obviously optional! The top board was longer, so I decided to add some words instead of hooks.
Okay, let’s get started!
We used a fourth of the pallet, so first we decided which fourth looked the best and had the most stable and best-looking wood.

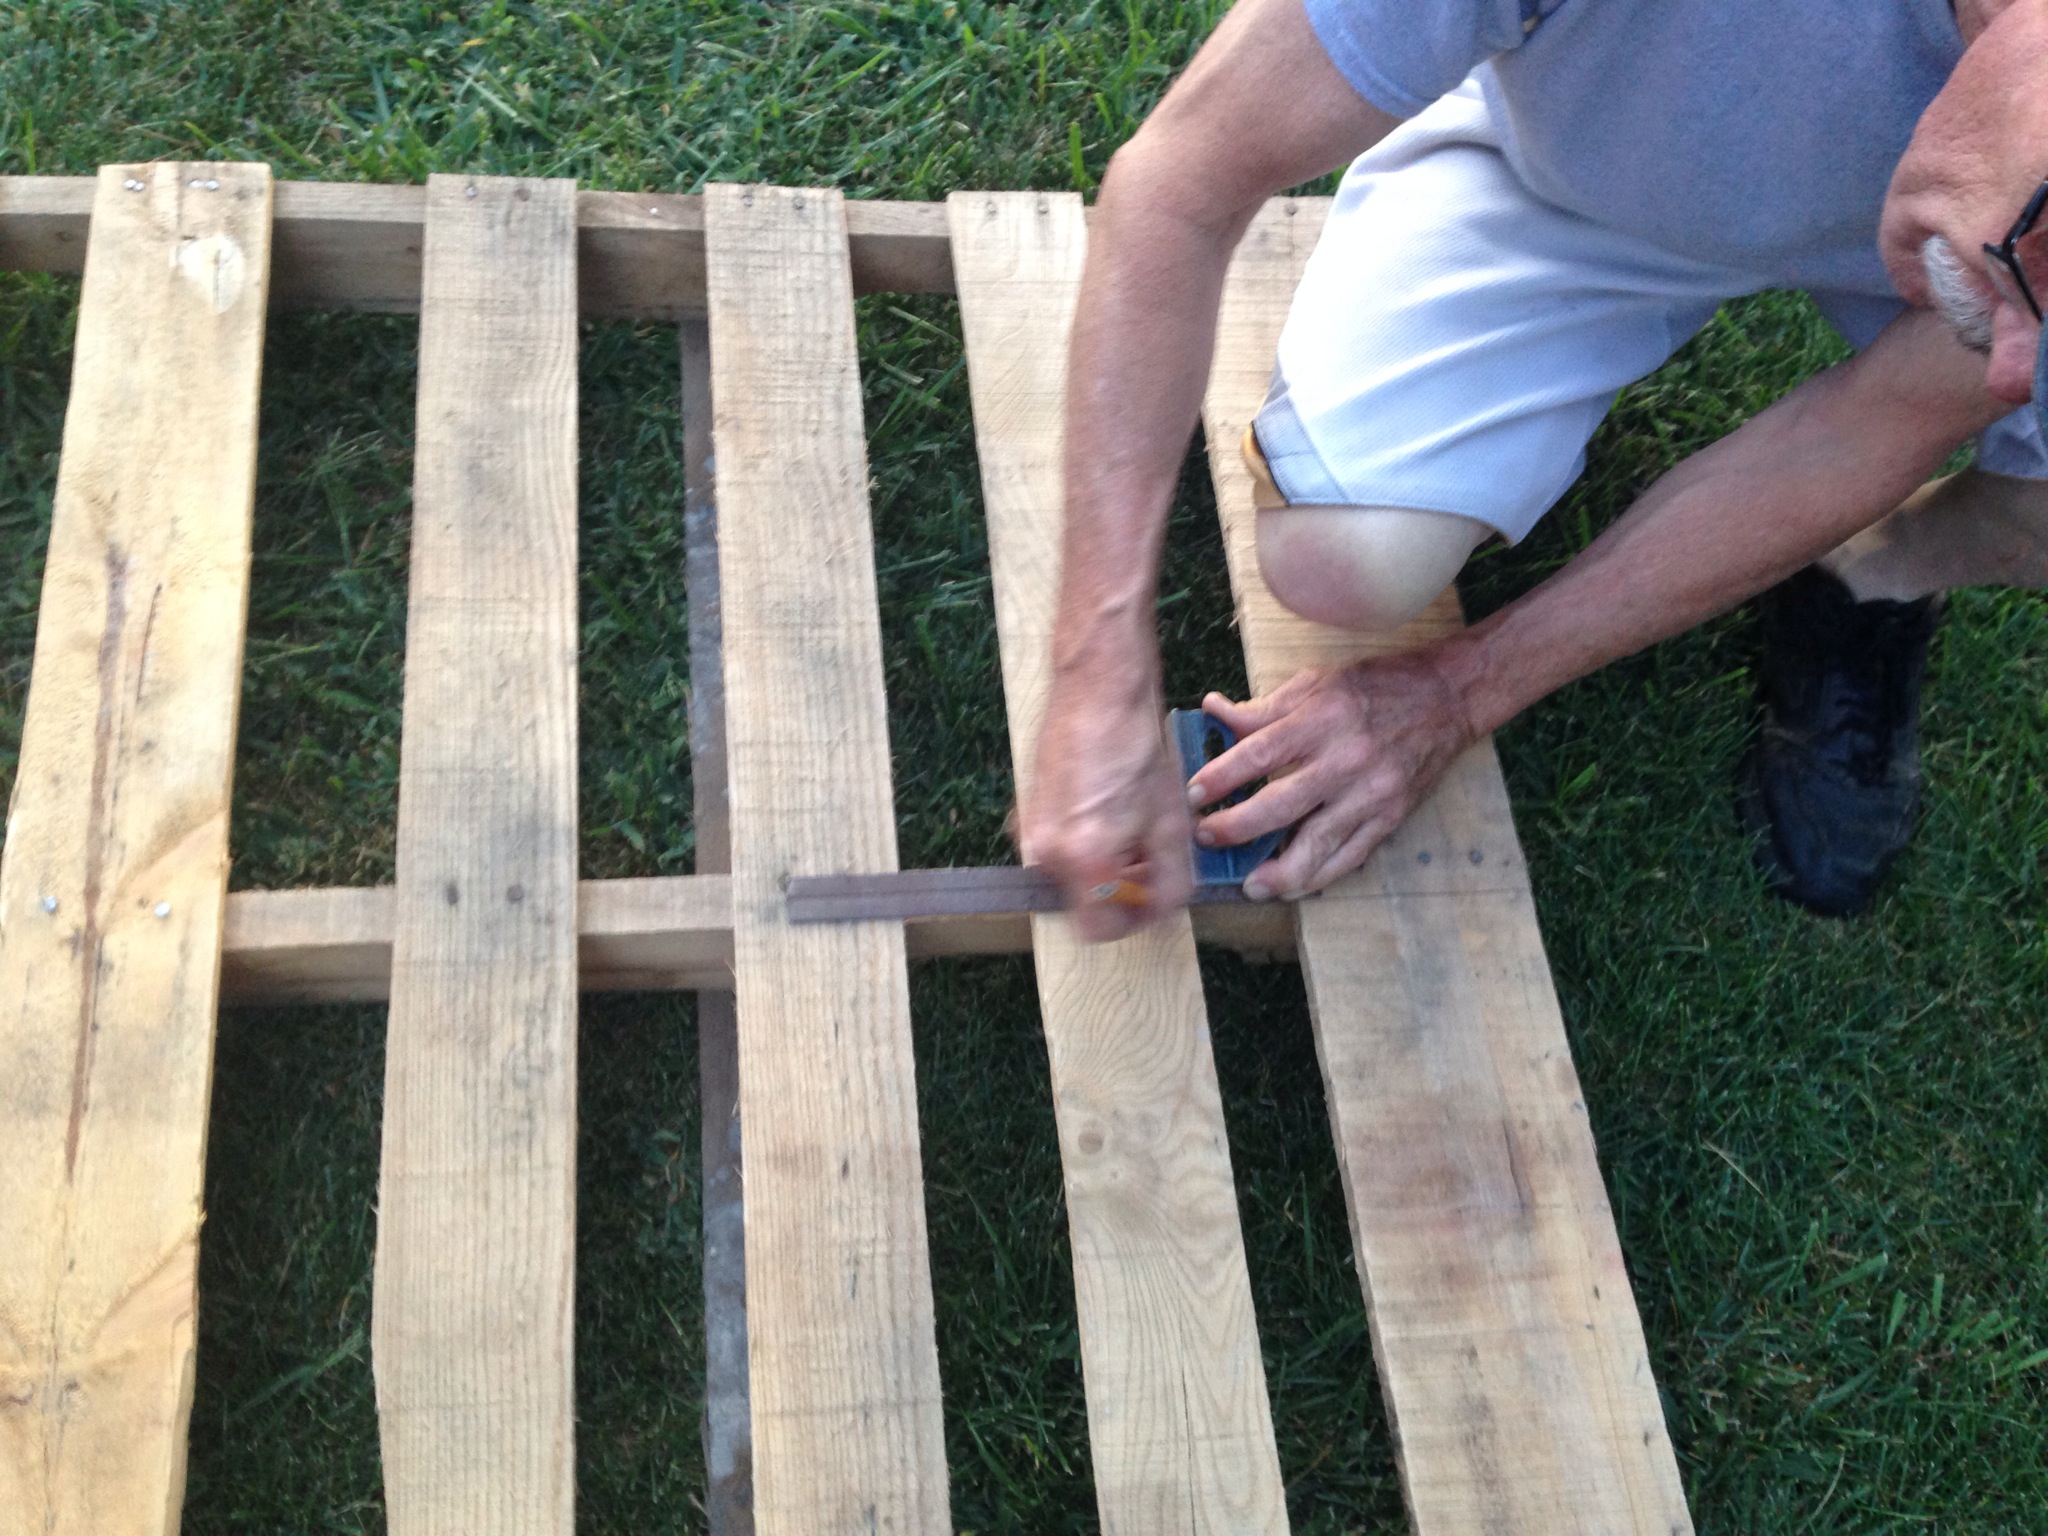
We marked where we wanted to cut using a pencil and right angle ruler.
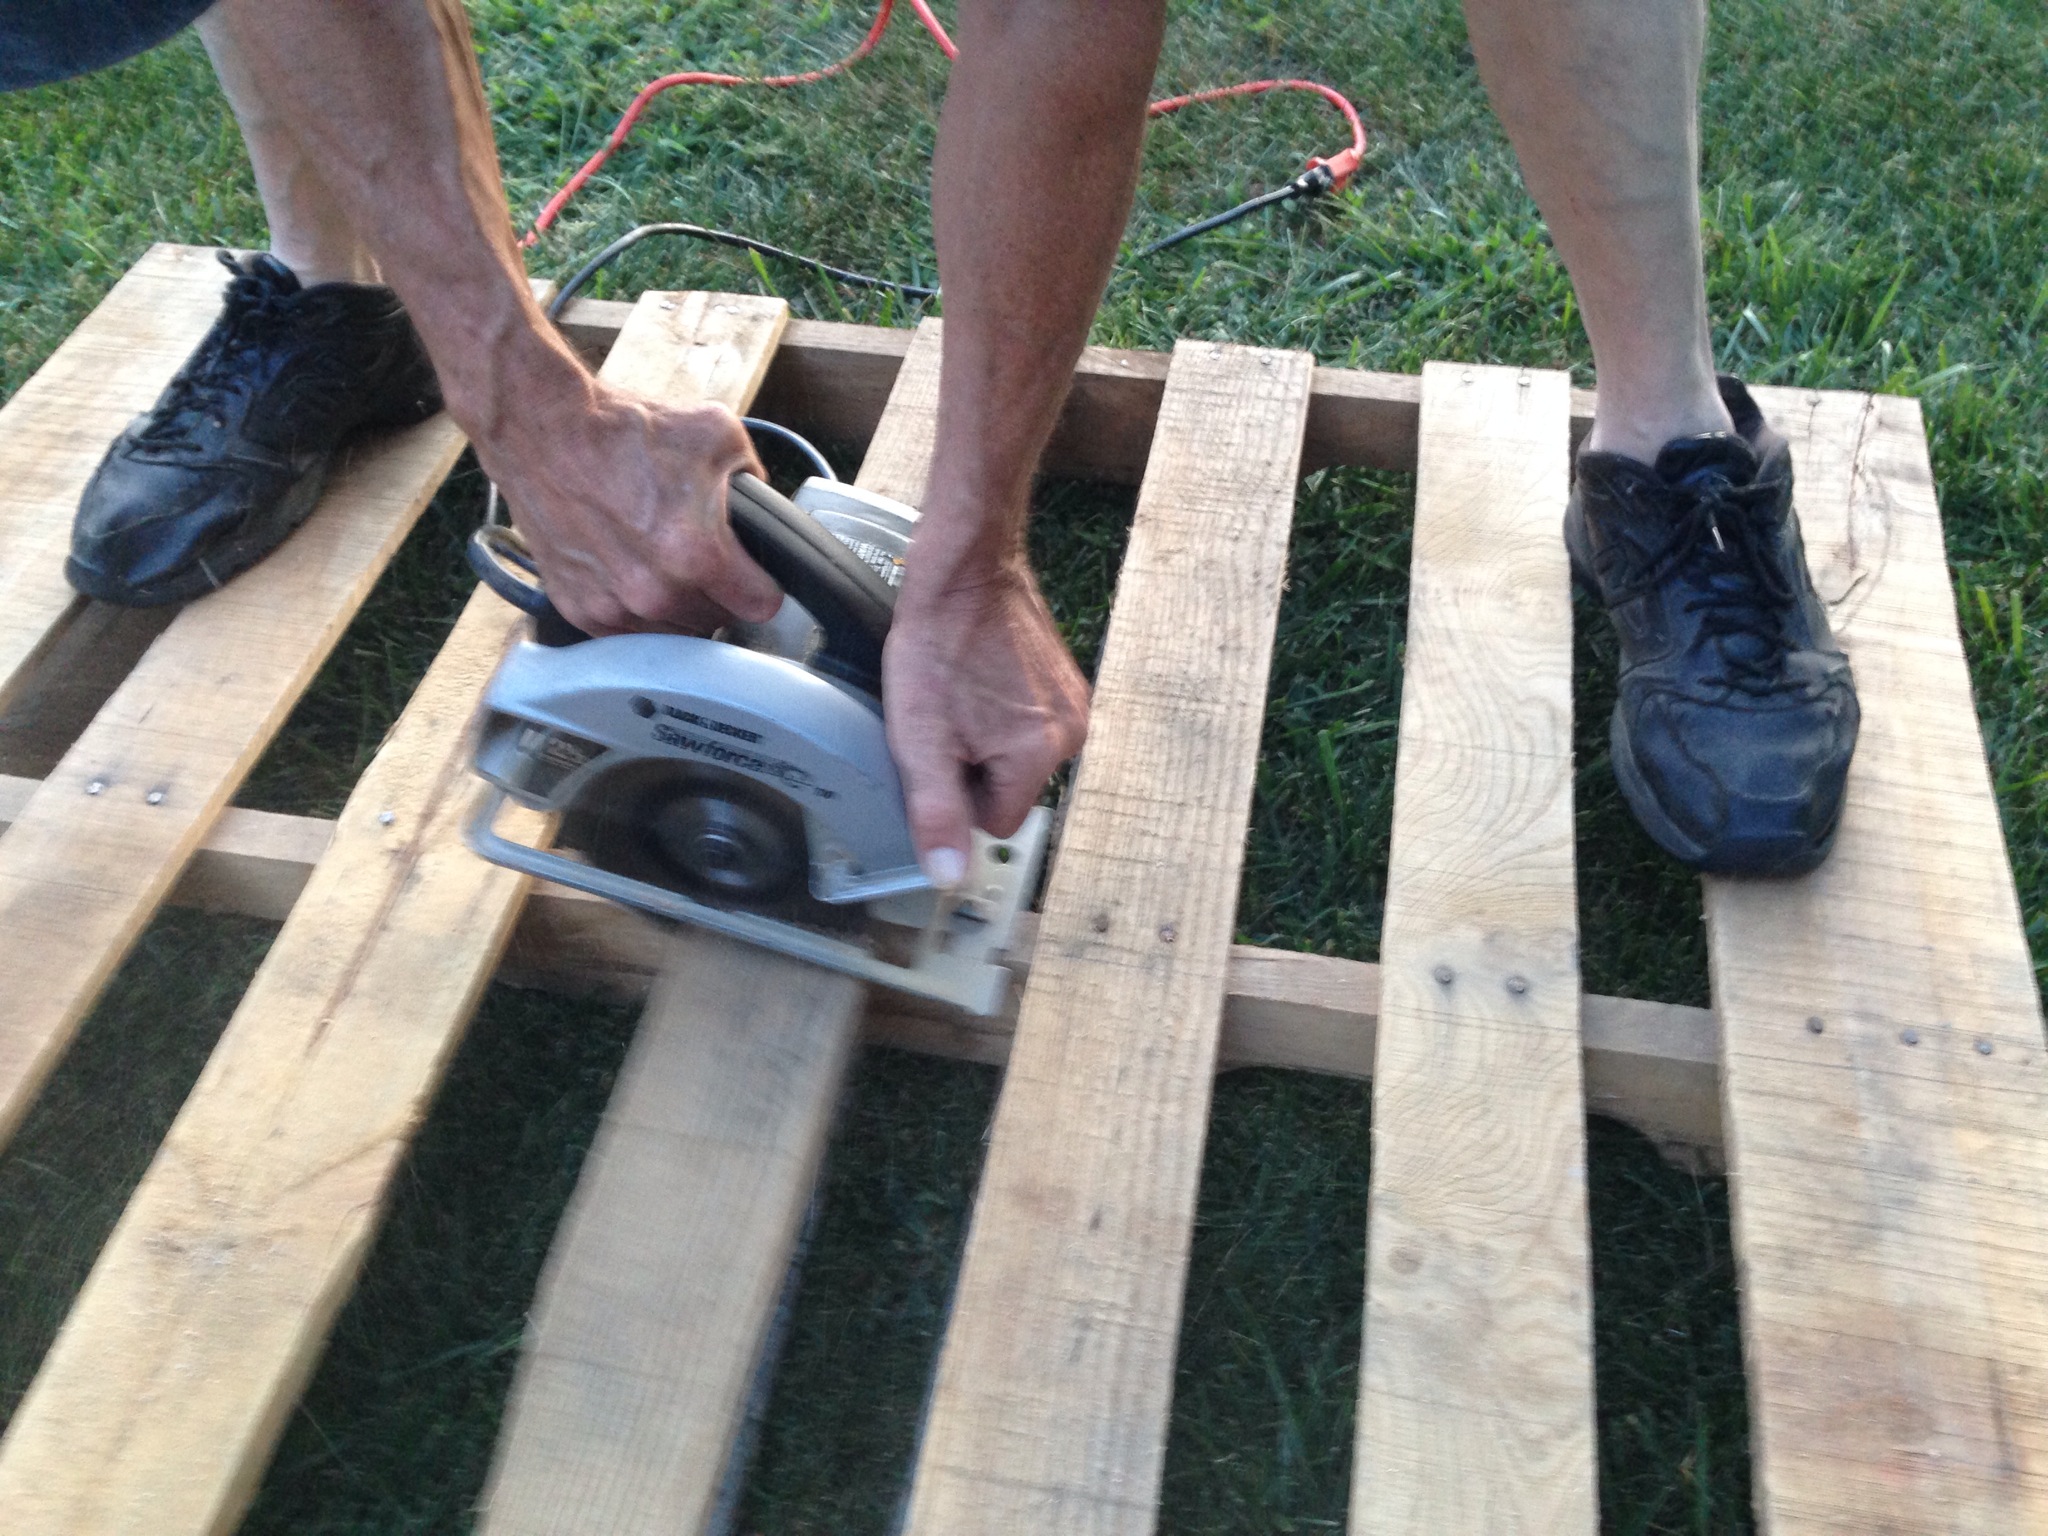
Next my dad cut where we had marked using a circular saw. ****Make sure to wear safety goggles****
Once you have your mini pallet, sand it down! How much you sand is up to you, but make sure it is smooth enough that you won’t get splinters when you hang up your coffee cups!

Next I painted COFFEE on the top. I used letter stencils and a sponge brush. I’m really happy with how it turned out! (Sorry I didn’t get a picture while I was doing it!)

Putting on the hooks was probably the most difficult part. Use a ruler (or tape measure) and pencil to mark exactly where you want the hooks to go, then drill them in. My hooks weren’t totally even, but once we hung the coffee cups you could hardly notice!


We bought these hooks at Lowes for $1.50 each, so we spent a little less than $20 on them. There were cheaper hooks, but I’m so glad we opted for these! I think they make it look really polished. Plus, this was the only material we had to buy for this project!


I love how well this project turned out! A big thanks to my dad for helping plan the project and for cutting the pallet, Brad’s dad Danny for advising us on how to hang it, and Brad for always being supportive of my projects and for drilling in the hooks!

*******UPDATE********
I’ve had several questions about this project, so here are a few additional facts and tips!
The final “mini pallet” is 20.75″ x 25″. The top board is 5.5″ and the other 3 are 3.5″ tall. The stencil letters I used are 3″ tall.
Here are a couple of pictures of how we hung it up. As I mentioned in the comments, we kept one of boards on the back of the pallet and rested that on two nails in the wall.


I hope that helps and makes things a little clearer! Thanks for all of the positive feedback everyone!

Nice!! And great job giving directions! :-)
How was it attached to the wall? Did you screw it directly onto the wall or did you have another method?
We left one of the original boards on the back of the pallet. We put 2 nails in the wall and rested it on them by that back board. I hope that makes sense!
A more stable and stronger option would be to make a French cleat out of the back board.
Can you snap a picture of what you did to hang it please :)
What were the dimensions of the final piece of the pallet?
The final demensions are 20.75″ x 25″ approximately.
I don’t have a pallet but I have extra wood pieces. Im curious if the boards there in front, are they measuring 3 inches maybe 4 inches. Same with top board 6 inch? I think I can possibly pull this off without a pallet. thanks
Joy – the top board is 20.75″ x 5.5″ and the other three are 20.75″ x 3.5″. I think you could totally pull this off with scrap wood!
What size stencils did you use?
The letters are 3″ tall.
Very nice looking, ty for the good directions. I know what you mean about a supportive husband for all the projects!
Can you snap and post a picture of how you hung it up on the wall please?
Also I love this DIY! Great job
Okay, I LOVE coffee, but I LOVE this more! This is such an awesome idea and I’m in love with the simple, elegant stencil. I’ve featured this post on my blog and wanted to share the bloggy love so that everyone can see how great this is!
Thanks for rockin’ the inspiration!
Thanks so much Jen! I’m right there with you – coffee is the best!
did you [ut our nails in a stud cause . just finished mine’ came out great
did you put your nails in studs because of its weight
Yes, one of the nails is in a stud.
I love this! And I love the stencil letters you used. Can you tell me what font they were?
I’m not sure what font it is… Probably something similar to Times New Roman. I bought them at Hobby Lobby.
Great, thank you!
I came across this image on pinterest and literally just finished making this! Before I came across your blog I, too, got the same exact hooks for $1.46 each at Lowes. My dad got the pallet from his work where it was leftover. My total for this project came out to $19.02. Great price for such a beautiful decor piece! Thanks for sharing!
That’s awesome Katie! I’m so glad someone made one too! It’s such a fun project :)
Hey! I am looking for those hooks at lowes! What were they called? Does anyone know?
I don’t remember the name. Sorry!
I found them at Hope Depot!
Me too! I got two packs of 6 each for $7.50 a pack!
It is a Robe hook, gatehouse is the brand. It should be in the hardware department with the various hinges. At least it is at Lowe’s
I love this! I actually started a mug board just Saturday but I like this one so much better that now I want to start over. I found it through pinterest and then saw that you are from KC (how fun!) and I kept thinking that you and your husband look familiar- then I saw the post of your crochet blanket and realized I probably have seen you before! My daughter danced with Heather all through high school! Great blog, you are adorable. Thanks for sharing your mug board idea.
Hey! Thank you so much! And what a small world!!
About how far apart do you place the hooks? If I had to guess I would say 4 to 5″ but I am a precise person… Can you help me out here? Thank you! BTW Awesome idea! I am making one to free up some space in my cabinets!!!
I would say they are about 3.5″ apart. It kind of depends on how large your pallet is! And thanks!! It’s been great for storage!
This is a very nice project! Do you think the hooks are spaced far enough apart that mugs on the same row wouldn’t cling?
They cling if I have a really big mug, but in general they don’t touch!
I had my husband to help make this for our daughter & husband & they love it! Since then, we made three more. One hangs on our wall! So many compliments we get! Done some pallet projects but this one is special! Thanks so much for sharing!
Just love this pallet idea looks countryish but still fancy in its own way made one everyone is talking about it and is the center of attention in my kitchen . Thanks for sharing Donita
Simple & clever idea. I’ll be building this as a Christmas gift for my wife :D
Hi! For some reason I can’t find your contact info so I thought I’d leave you a comment. My name’s Jen and I started my blog last month. I was thinking of writing a post about DIY gift ideas to make for your mom and I think your pallet coffee cup holder would work well in my post! Would you be open to me using one of your photos and linking back to your post? Please let me know. Thanks! Jen
Yes that’s fine with me, just make sure to link and credit!