Easy (and Inexpensive) Cabinet Updates: Adding Trim to Cabinets Drawers
/Good morning everyone! I was supposed to have this up last night, but the hubs and I had a date night for the first time in months so, you know, priorities. :-)
For part 3 of the Easy (and Inexpensive) Cabinet Updates series we are talking about drawers. I don't know about you, but the little drawers in my kitchen are flat panel drawers. Why they chose to do this when every other drawer in the kitchen has trim is beyond me.
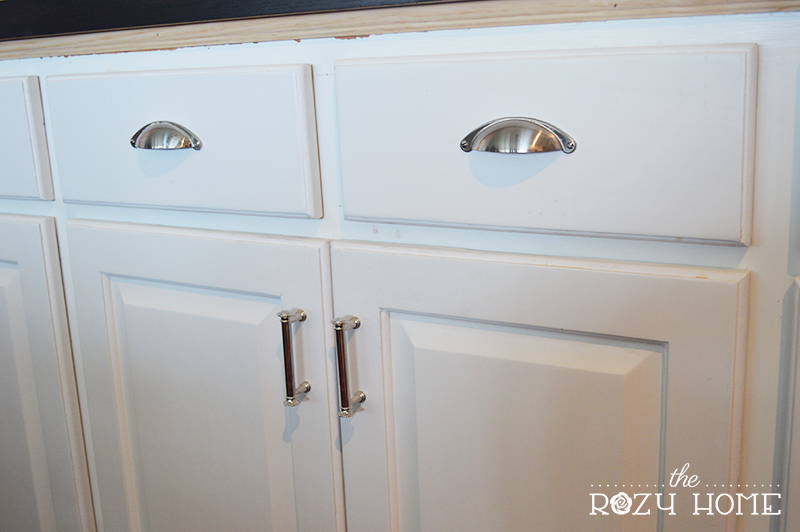
The plain, flat panel drawers.
It drives me a bit more batty on this side because the drawers below it is trimmed out.
Boring, right? I used to think they had to do it that way because the drawer was small but I've seen lots of small drawers that have trim.
After building up the crown and adding trim to the bottom of the cabinets I decided the drawers looked even more plain than they did before. I had a bit of cabinet trim left over so I thought what the heck, let's try it out on the drawers. I taped a few pieces on to see how I liked it.

I made myself leave it for a few days so I could decide if I really liked it. After about 3 days I decided I liked the look (although I brought the trim in a little more) and decided to do all of the drawers.
I affixed the trim using wood glue to begin with but changed to using a nailer with 1 inch brad nails.
The hardest part of the project was ensuring that the trim lined up evenly across all drawers. To make it easy, I opted to pull the trim in 1/2 inch all the way around. The two drawers next to the stove were smaller than the drawers along the wall. I am mentioning this because I was tempted to make all the pieces the same size to save time but my gut told me to double-check the drawers on the wall to make sure they were the same size. Thank goodness I did!
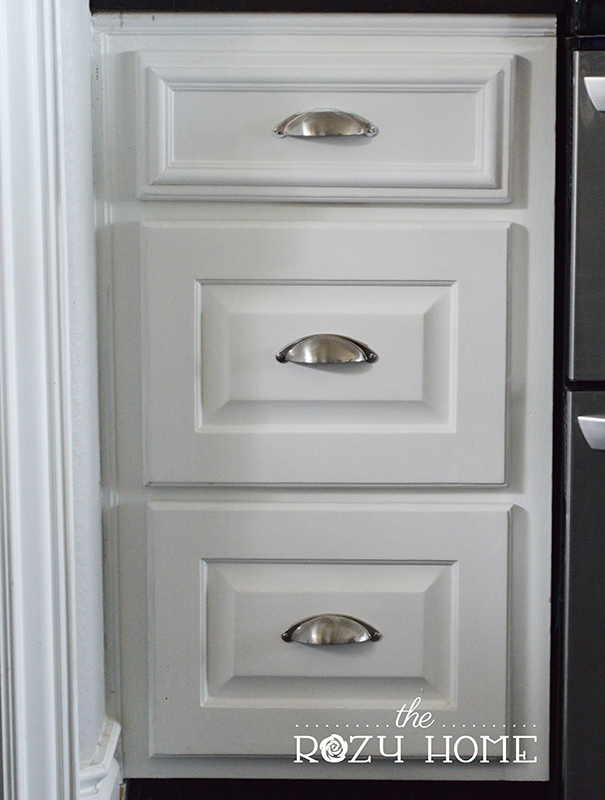
All of the cuts were simple 45 degree cuts. Once I nailed them on, I caulked, primed and painted. That's it! The results? Check them out:


A few side-by-sides for all of you out there who like to compare...
Before
After
This project took about 4 hours. The majority of that was cutting all of those trim pieces and then making sure they were even across all drawers (darn OCD). The project took 5 pieces of the same cabinet trim I used on the cabinets (trying to keep it cohesive), so the entire cost was around $26 (for 8 drawers).
The best part of the project was when my daughter came home from school that day and said "oh wow mom, you made the drawers pretty." First of all, I was amazed she noticed (because the hubs didn't notice for a few days - until I said something) and secondly, I'm glad she liked them. That one has quite the eye and I feel like I am cultivating a little decorator. :-)
YOU MAY ALSO ENJOY:


