Ikea beds come in a variety of sizes and styles, from single mattresses to double bunk beds and, as with all Ikea products, they are known for their versatility and flexibility, with many creators upscaling their items or adding their own unique twists and extras – including platforms.
Whether you are purchasing a brand-new Ikea bed, or simply looking to update your existing item, we have put together all you need to know to build a solid platform for your Ikea bed – read on for all you need to know!
Why Add A Platform To Your Ikea Bed?
You may be wondering why it is worth taking the time and effort to add a platform to your Ikea bed, and there are a number of great reasons, including:
Added Storage Space
If you have limited storage space, then an extra shelf can make a big difference, and this is one of the main advantages of adding a platform to your bed.
If you have a small room, or just want to maximize the amount of space that you have available, then building a platform will allow you to store more things in your bedroom.
This could include books, toys, clothes, blankets, etc.
Increased Comfort
A platform also adds comfort to your bed by providing additional support, which means that you won’t feel as much stress or strain on any pressure points when lying down.
It’s important to note that not every mattress will benefit from having a platform added to it, so if you’re unsure whether your current mattress needs a platform, please check out our guide to choosing the right mattress here.
Increase Mattress Life
Another reason to consider adding a platform to your Ikea bed is that it will help extend the life of your mattress.
The most common cause of damage to mattresses is a lack of support from the base of the bed, and over time this can lead to sagging, creases, tears, and other issues.
By adding a platform to your mattress, you’ll prevent these problems from occurring, meaning that you will get years of use from your mattress instead of months.
How Do I Add A Platform To My Ikea Bed?
Building a platform for your Ikea mattress is easy, but before you start, you should first ensure that you have everything you need.
Below we’ve listed all the tools and materials you’ll need to complete the project, along with some helpful tips and tricks too.
Tools & Materials You Will Need
1 x 2×4 (or similar)
2 x 1/2″ screws
Wood Glue
Drill / Screwdriver
Hammer
Pliers
Tape Measure
Pencil
Level
Scissors
Safety Glasses
Step One: Measure And Mark Out Your Platform
The first step to building a platform for your Ikea bed is to measure and mark out where you would like your platform to go.
We recommend measuring twice, once at the very top of the bed frame, and again at the very bottom. Once you have marked out your measurements, draw them onto your wood using a pencil.
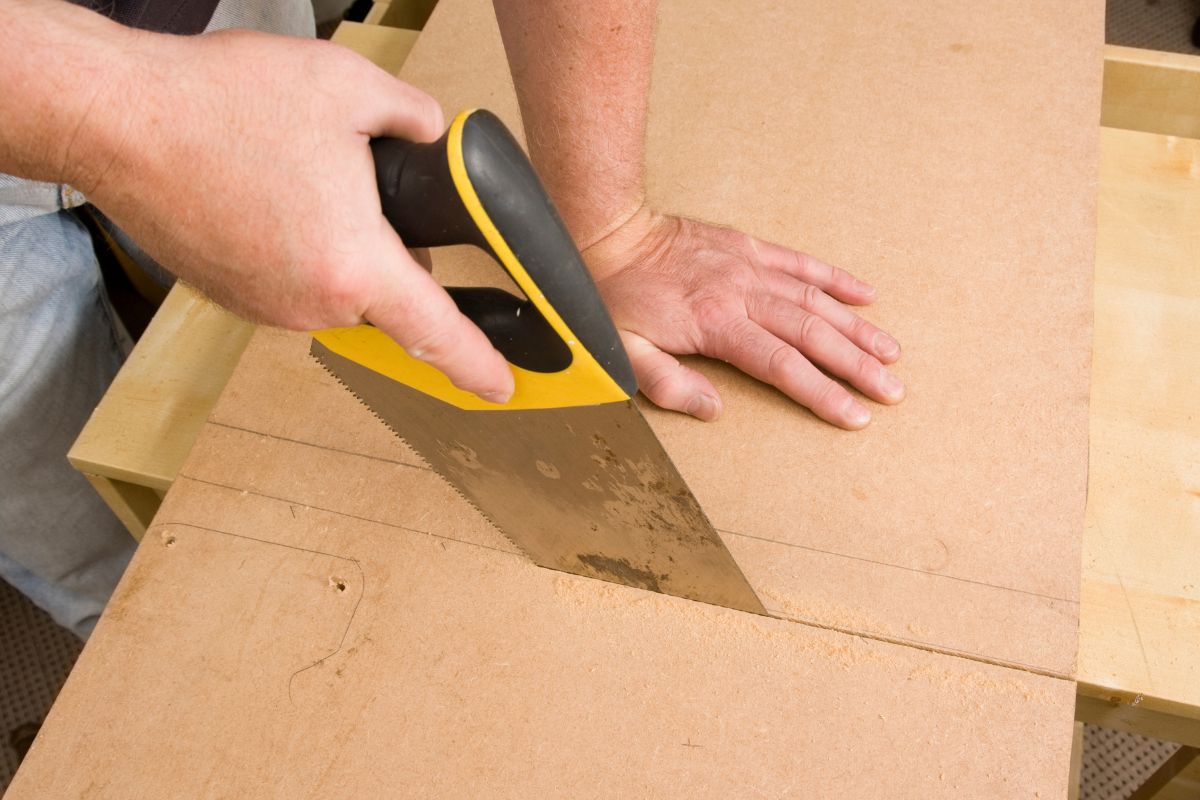
Step Two: Cut Out Your Platform
Once you have measured and marked out your platform, cut out the shape using a circular saw or jigsaw.
Make sure that you leave enough material around the edges of the platform so that you can attach it securely to the bed frame later.
Step Three: Attach Your Platform To The Frame
Now that you have cut out your platform, you need to attach it to the bed frame.
Use two 1/2″ screws to secure the platform to the underside of the bed frame, making sure that they are evenly spaced across the width of the bed frame.
Step Four: Sand Down Your Platform
After attaching your platform to the bed frame, sand down the surface until it is smooth and even. This will give your platform a nice finish and protect it against scratches.
Step Five: Apply Wood Glue
Apply wood glue to the back of your platform, ensuring that it covers the entire area. Let the glue dry completely before moving on to the next step.
Step Six: Drill Holes In Your Platform
Before drilling holes into your platform, make sure that you have removed any sharp objects such as nails or staples from the area.
Next, drill three evenly spaced holes in the middle of your platform. These holes will be used to attach your bed rails later.
Step Seven: Attach Your Rails
Attach your rails to your platform using four 1/2″ screws. Ensure that you tighten each screw firmly, and then let the glue dry completely before continuing.
Step Eight: Finish Off Your Platform
Once the glue has dried, apply a coat of clear varnish to the entire platform. Allow the varnish to dry completely before moving on.
How To Decorate Your New Platform
Once you have brought your new platform to life, it is time to personalize it and make sure that it really suits your tastes and preferences. There are a number of ways to do this, including:
Adding A Headboard
If you want to add a headboard to your platform, simply use a piece of plywood to create one. Simply cut out a square shape and attach it to the front of your platform using wood glue and screws.
You can even add a padded headboard by adding foam and fabric to the wood once it is in place.
Adding Storage Drawers
Another way to decorate your platform is by adding storage drawers – these are fairly easy to build and can be installed using wooden planks and drawer slides.
Paint Your Platform
You can also paint your platform if you prefer – simply find some quality wood paint in your preferred shade, and brush it over the surface.
It is important to allow the paint to dry completely before moving forward with the project.
Final Thoughts
Platforms are an excellent addition to any bedroom, and our simple DIY (see also “DIY Canvas Photos: Crafts For The Holidays“) approach will allow you to get started quickly and easily. Once you have completed your platform, you can enjoy its benefits for many years to come!
Hi, my name is Jenna King and I used to be so bored with my life - waking up, working, watching TV, and going to bed.
I made one major change in my life - I started saying yes to everything. My friend wanted to take a cooking class with me, which I would never normally do, but I said yes.
I created this website as an inspiration to you, no matter where you are in life, to get out there and try something new.
Right now - pick something from my site, whether it be a recipe, DIY, or activity - and have fun!


")


