
Hey Friends! Today I am excited to reveal a fun art idea fit for kids and adults alike! I recently finished an office/playroom for a client and I think it turned out great! Of course I needed to create a space that was functional for both the parents and the children, but I also wanted to add a sense of fun and creativity. This DIY art does just that!!

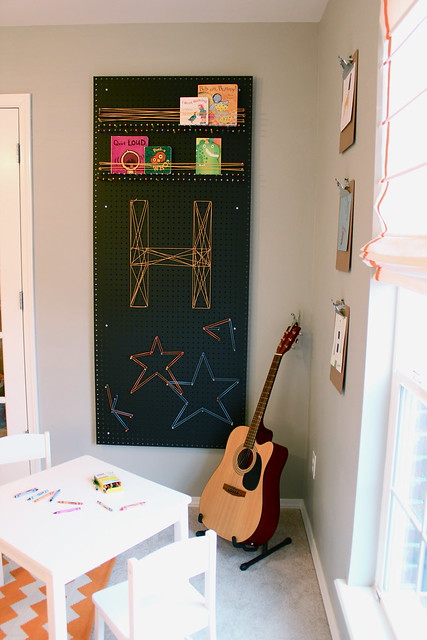
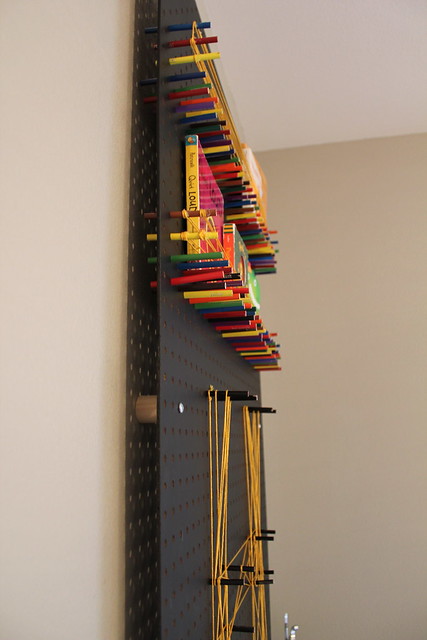
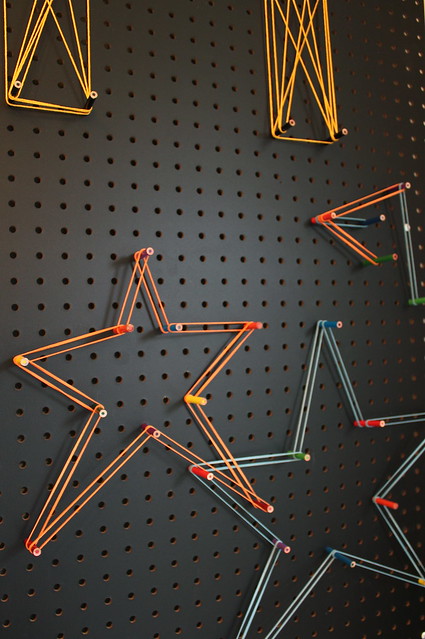
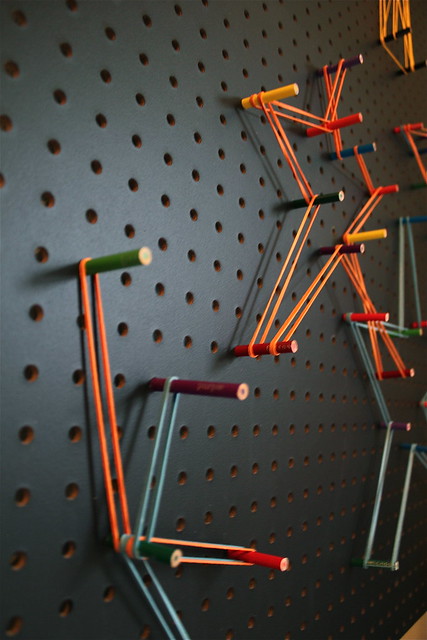
So you can see that I used pegboard and colored pencils to create this interactive art piece! And I have good news- it was super easy!

First, we painted the peg board black because I wanted the color of the pencils to really pop! You could also use white for a little less dramatic, more clean look.
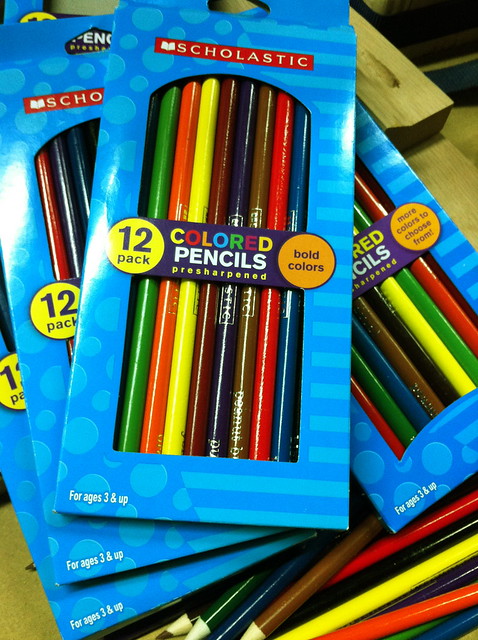
Next, we searched for colored pencils that fit into the pegboard holes perfectly. You will have to look around and try a few out. I got my pegboard at Lowes and I used the “Scholastic” colored pencils. It’s a nice, snug fit but the pieces can be removed with a little effort.
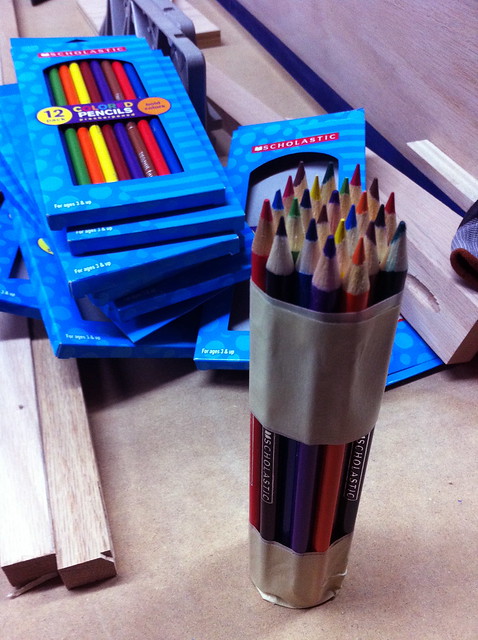
After we found the perfect pencils, we cut the pencils in half (and cut off the points) with a chop saw. We did this to:
1. Get more dowels for less money.
2. Decrease the depth of the art piece.
To cut the pencils, I wrapped a handful of them in tape to keep them together and cut multiple pieces at once.
We needed to hang the pegboard an inch or two out from the wall in order for the pencils to push through a bit. Tim cut some 1 1/2 inch long pieces off a wood dowel. He then pre-drilled a hole through all the dowel pieces. Once spots were marked on the wall and anchors were placed, we hung the pegboard.
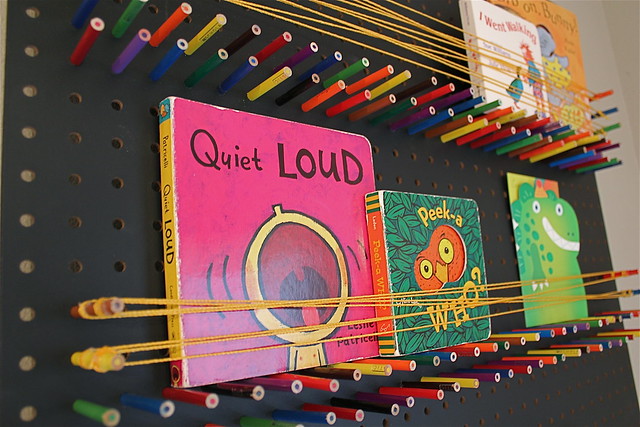
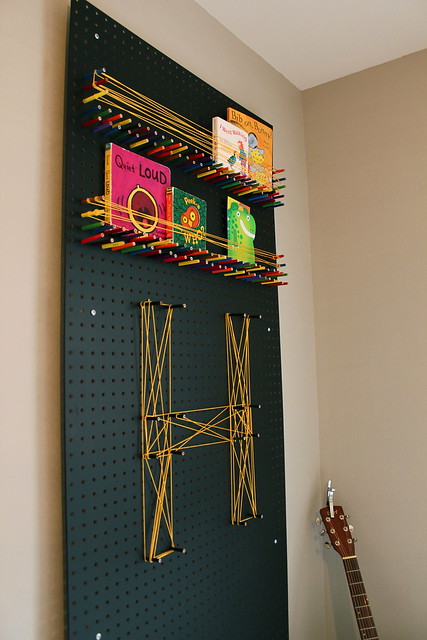
After the pegboard was in place, it was time for the fun part! I decided to make a couple of shelves with the pencils towards the top of the piece to hold a few graphic books.
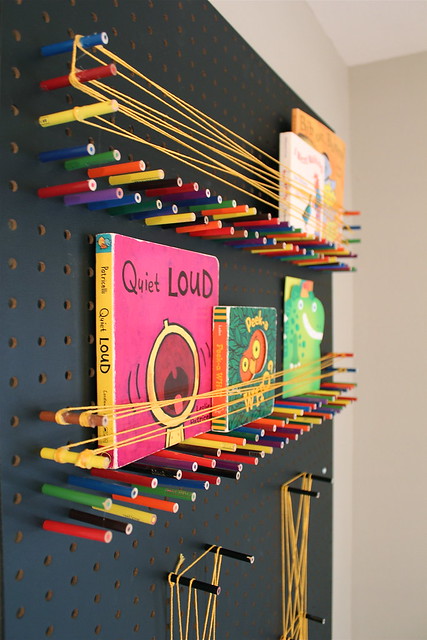
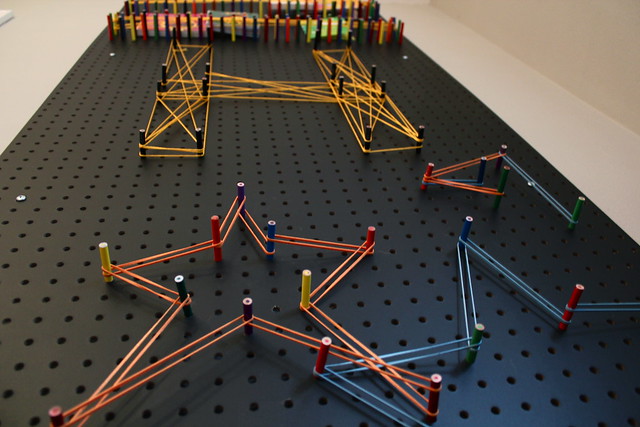
I also used pencils and yellow string to “draw out” an “H” for the homeowner’s last name.

Finally, I used the pencils and colored rubber bands to make star shapes.
Of course you could create all sorts of images with the pencils, string, and rubber bands. That is my favorite part! This DIY art board is completely customizable and can be changed or added to so easily! You could create snowflake figures in winter, present silhouettes for birthdays, “write” inspiring messages. . . the possibilities are endless!!
So, what I’m saying is- You should totally try this! 🙂
Super cute/creative idea. Love it!
That’s awesome! It reminds me of those rubber band peg boards that I’d play with at school when I was little except this is way awesome and those were….dangerous. lolz! I love the colored pencil shelf such a great addition!
I love it! So cool and creative. You seriously rock the unique DIY world!
Thanks Dana! Also, loved your transparent post the other day. Sometimes waiting on God’s perfect timing is hard, but when I remember how God has been faithful over the years, it makes me so excited to know one day I will have a wonderful story of an amazing promise fulfilled by my Heavenly Father. And all glory will be given to Him! Thanks for your continued support friend.
Well thanks Lindsey! I think it’s pretty fun! PS- So excited for you getting to sell your furniture at LeenaLu! Congrats!! Wish I lived closer so I could go check it out in person!
Ahh, thanks Lisa! I think Silas might love it too! What do you think!? 🙂 He is so stinkin’ cute!!
Ahh! Kara! You make my day seriously! You’re too sweet 🙂
Wow, that is REALLY cool! I just love the pencils as shelf idea. I so wish yall could come and redo our playroom or office or kitchen…. 🙂
I can’t wait to see the room in it’s entirety.
AH! So crazy and clever. Love it!
Love this! I pinned it for a future project!
LOVE THIS! I am doing it for my daughter’s room (thanks for the inspiration), but keeping all the pegs and yarn pink and silver. I am wodnering what you used to paint the board. I spray painted it black, but I am having a hard time getting a smooth finish even after 4 coats. Yours looks so uniform.
And Sara – thanks for pinning it, because I think that’s how I first saw it. 🙂
Hey Carol! I actually rolled chalkboard paint on to the peg board. I thought it might come in as another creative option down the road. Hope that helps! I’d love to see your finished product when it’s complete! Have a great day!
Kara! Thanks for responding! Since several friends have expressed a desire to have this at their house and I have offered to do it as “thank yous” for various favors they have given me, I will keep the chalkboard paint tip in mind. I already finished the project for my daughter’s room. I used a scotchbright sponge to lightly “sand” it and make it even (husband’s good idea.) I am THRILLED with the finished product and so is she. I will organize myself to share some photos in a day or so. THANKS AGAIN!!!!!!!!!!
Glad to hear that that there are some wives that think their husbands have great ideas. HAHA. We can’t wait to see the results. Send us some pics or post them to our facebook wall so we can share them!
https://www.facebook.com/pages/KARA-PASLAY-DESIGNS/115750268463922?ref=ts
Love this idea. I’m getting ready to redo my sewing room. I already have the peg board on the wall and now I know how I want to finish it. Thanks for sharing.