
Slate Tile Porch
/Today we are going to share with you how we spiced up our front entry. (I like when people say “spiced up.”)
Here is our front porch before…oh, how I can’t wait to plant petunias…
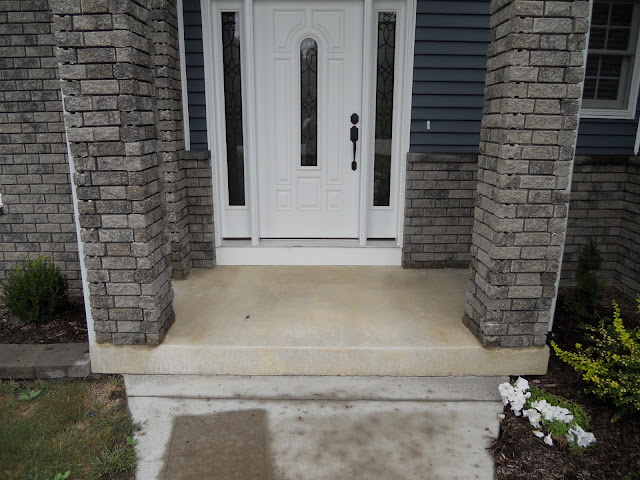

We both thought it was lacking something. It was fine but it just felt blah.
Nothing a little slate tile can’t fix…

How’d we do it?
We started looking at various big box stores for slate tile. We found some we liked at Home Depot.
We figured the dimensions on the porch, including the front and left side (we did not put any on the right side as no one would ever see it). We then multiplied all the dimensions together, coming up with the total square footage needed, then added an additional 10% for scrap and mistakes.
In addition to the tile, we also purchased thin set, grout and tile spacers. Luckily Nate’s dad already had a notched trowel, grout bag, grout sponge and tile cutter (It pays to have in-laws a block away). After comparing the price of the pre-mixed thin set and the stuff that requires some water and mixing, the pre-mixed was a lot more expensive when comparing the square footage both would cover. The instructions on the thin set bag were pretty good and easy to follow.
The first thing we did was sweep off the porch and we used pressure washer to make sure all dirt was off of it in order to make sure the thin set would adhere properly. Then we laid out the tile as a dry fit both down the middle and to both sides, after this we determined that 5/8” spacers would be needed in order to best use the tiles with minimal cutting. (Sorry for the lack of pictures…this was completed pre-blogging!)
Starting from the middle, after mixing the thin set, Nate put down enough thin set to lay the first tile up against the door using the notched trowel. He then laid the first tile down, wiggled it around to make sure it was firmly set. The one nice thing about the natural slate tile is that it is naturally uneven, so as long as it is firmly into the thin set, you do not have to worry as much about making it level with the tile next to it.
After the first one was down, Nate continued on in each direction until he could no longer put down a full tile. Since he wanted to do all of the cutting at once, he cleaned up the thin set so it would not harden and moved on to the next full tile that could be laid down.
After all of the full tiles are down, Nate then measure the areas that need to be filled in, cutting them out with the tile cutter. Nate filled in all the gaps on the top of the step, then moved on to the sides of the step. He measured from the bottom of the step, leaving a small gap to account for expansion, to the top. Then just make sure the widths that are being put on the side of the step match up with the tile that is on the step. For the side, Nate put thin set on the step, and put a little on the back of the tile to make sure there was enough of the thin set to prevent the tile from coming loose later.
After allowing the 24 hours for the thin set to cure, we applied the grout. For the slate tile we used a grout bag (kind of like a large frosting bag) because if the grout was applied by spreading it into the gaps like normal tile it would be very tough to clean it off of the tile as it is very natural and rough. We went with a natural gray pre-mixed grout since the price difference was large and we were a little scared of getting the have-to-mix-yourself grout just right in color and consistency. We piped the grout on, smoothed it out, and cleaned up any excess that may have accidentally got onto the tile. We let the grout sit for the 24 hours required and then enjoyed our new step.
After all of that, we ended up with this…(Halloween and now)
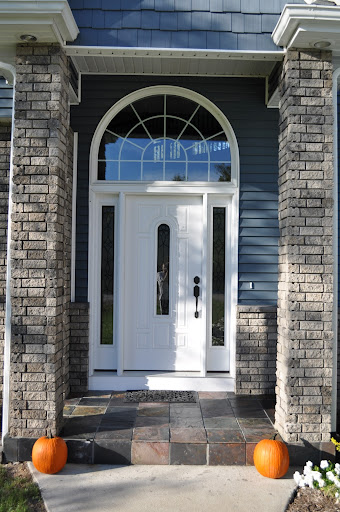


Some of the rust from the slate tile has stained the concrete. I need to Google a remedy for that one. Anyone know of a solution?
We like how it added a little character to the entry. We also liked the colors of the slate with the brick and blue siding.
Check out more DIY projects and our home tour!
Any plans for sprucing up your front entrance?


