At all times, rustic styles lure us to give them a shot. It’s a flawless pick for any room as it fashions a divine display. One more thing, they are timeless.
Hence, instead of a dire revamp, it’s better to place some rustic furniture in your dining room and kitchen.
For you, I listed these 10 DIY rustic furniture ideas for dining room and kitchen.
Have a look and enjoy!
BTW,if you prefer taking this list via video presentation, you can play next file:
10 DIY Rustic Furniture Ideas for Dining Room and Kitchen Video:
List Entries:
10. X-Brace Farmhouse Dining Table | Cherishedbliss
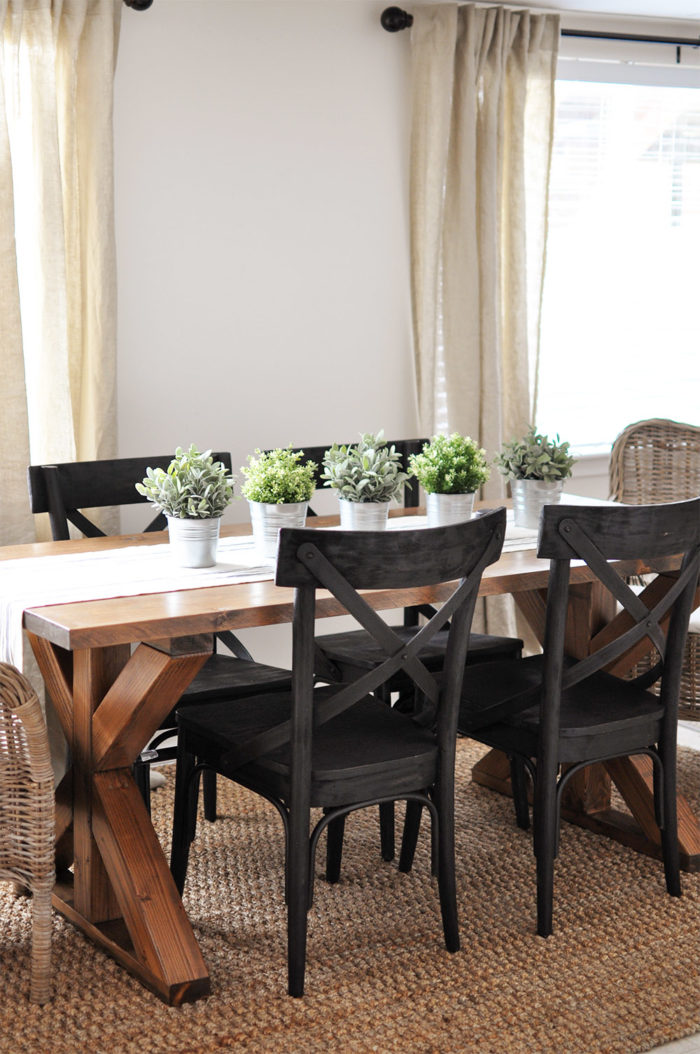 Let’s take off with an X-brace dining table.
Here are supplies you need:
Kreg Pocket-Hole Jig, general tools level, a miter saw, a nail gun, a sander, general tools square, a table saw, a tape measure, general hardware, boards, coarse Kreg jig screws, wood screws, clamps, countersink drill, leg bases, leg supports, supports, tabletop boards.
Make two legs using wood glue and screws. Apply the X supports to the main structure. Next, join the center to the main leg. Glue the feet to the bottom of the leg base and nail them.
Break up the boards to 8″ wide, assemble the tabletop and attach it to the base.
Install the flanges and metal pipe inside the legs. Fill holes with wood filler and paint them. Voila!
9. Rustic Kitchen Island with Casters and Storage Space | Shanty 2 Chic
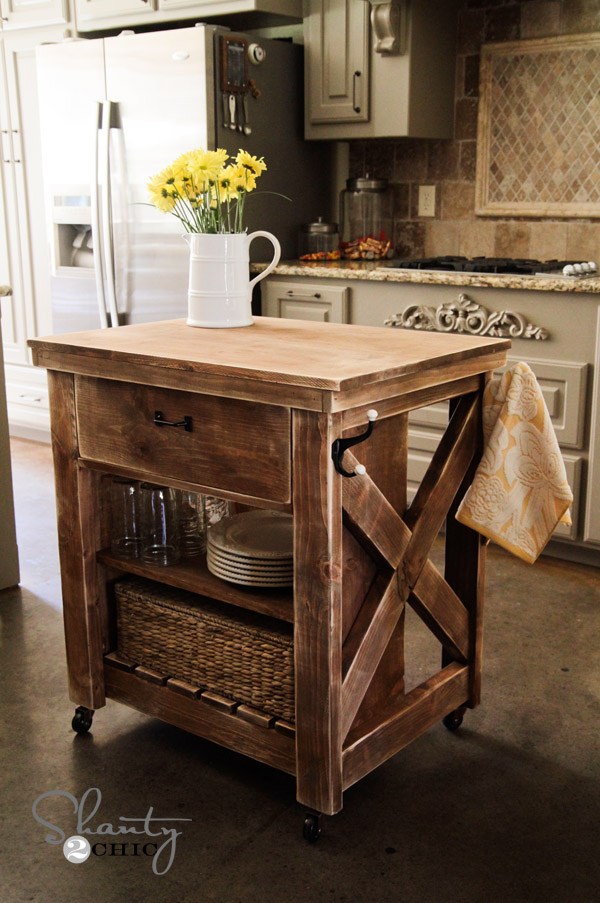 You can roll it anywhere, anytime. Sounds good? YES!
Instructions:
First and foremost, get a detailed and meticulous plan. On the whole, prepare panels and plywood (cut them based on your necessities), caster wheels, a handle, screws, middles, legs and drawers. Let’s start!
After building the X and leg frames, fit the Xs in place and connect them. Join the two-leg sets together. Place boards inside of the side legs (creating a storage area) and add cleats for the drawers.
For the top, attach a trim onto it then build the drawer. Add cleats to sides of the drawer precisely. Mount the drawer in the island and adjust it.
Put the drawer face (sides and top) together, then attach bottom drawer trim.
Screw premade top to the island and install caster wheels to the base.
Fill all holes with wood filler, repeat after they’re dry.
Sand it and remove the entire residue.
Finally, wipe it with a damp cloth.
8. Wall-Mounted Kitchen Shelves from Reclaimed Wood | Keepingitcozy
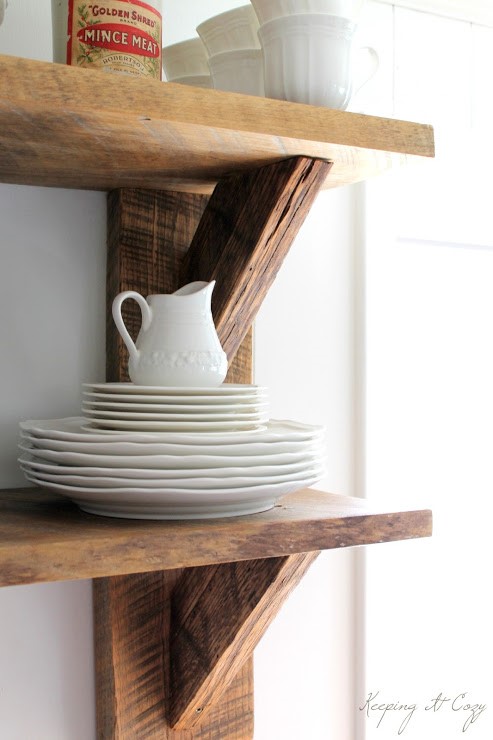 Let’s fashion a modest shelving unit only with three doings: cut, hang and sand.
Pick the wood (the older, the sounder). Cut and sand it all over until it is as smooth as you can get. Apply a coat of butcher block oil, wait until it’s dry. Give it another light sanding and bring all the pieces inside. Clean it.
Now, hang it and apply an additional light coat.
Old, hardwood doesn’t need stain, just soak it in a little oil and it puts its matchless asset on view.
Other Shelving Ideas:
10 DIY Pipe Shelving Ideas.
10 Clever Bathroom Shelving ideas.
10 Clever Kitchen Shelving Ideas for Living the Kitchen Up.
7. Cabinet with Wine Storage | DIYhuntress
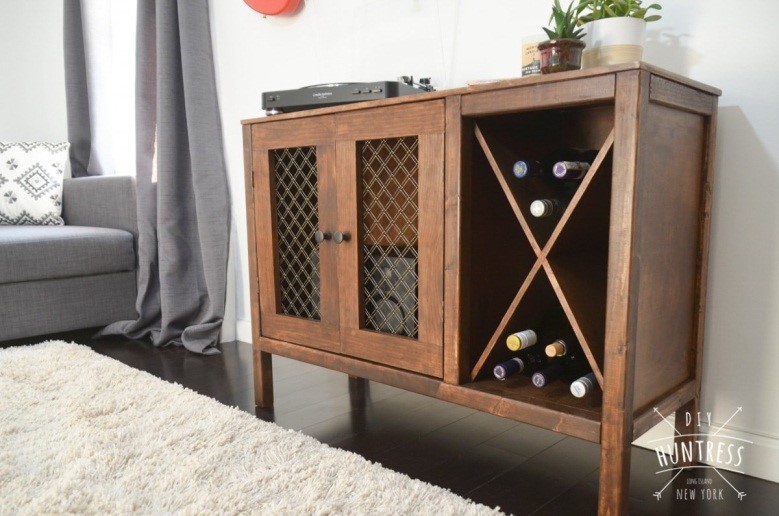 It doesn’t act as a home for equipment merely, but it also provides ingenious wine storage.
Whether in the kitchen or dining room, both are stunning.
For the bulk, you may opt for the Purebond Challenge and Purebond Plywood. Going for decorative metal grates gives your panel a fun, rustic look and practicality.
Tools:
Bronze rubbed knobs, butt hinges and magnetic catches.
Use spacers for the height of the unit and to center all of the panels. Then, hide edges with iron-on banding. Apply the iron to the raw plywood edges and trim them with a razor. Sand the edges to blend them. Lastly, stain it. Mission accomplished!
Relevant lists:
10 DIY Before and After Cabinet Makeover Projects!.
10 DIY Cheap Kitchen Cabinet Projects.
6. Easy Rustic Spice Rack | Sawdust2stitches
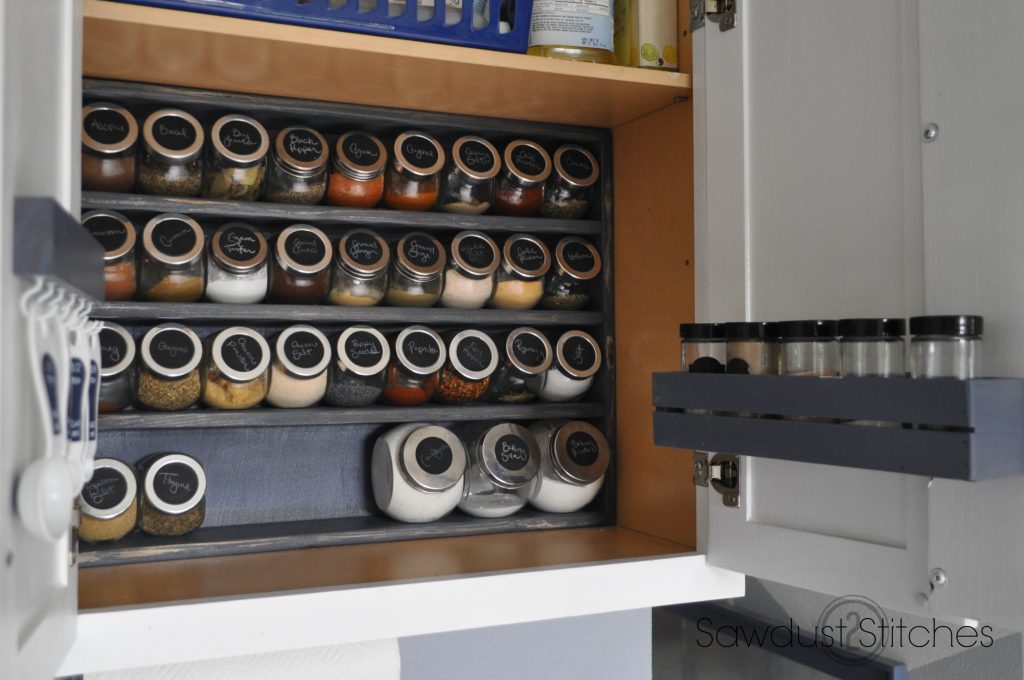
Over time, your kitchen organization needs a bit of a facelift. Bring this idea into play to get one.
Supplies: boards, primer, paint, finish nails, wood glue, glass jars, round stickers, black primer and paneling.
Tools: a miter saw, sander, paintbrushes, a nail gun and a compressor.
Cut and sand all the boards, then, assemble the frame. Now, fill all holes with nail filler and sand. Add shelves using the measured dimensions.
After the shelves are done, apply glue to the back, and then reinforced the paneling with nails. Then, sand, prime and paint the structure respectively. Use chalkboard stickers for jar labels (optional). It’s an all-round kitchen spice rack.
5. Floating Shelves for Dining Room Storage | Heyletsmakestuff
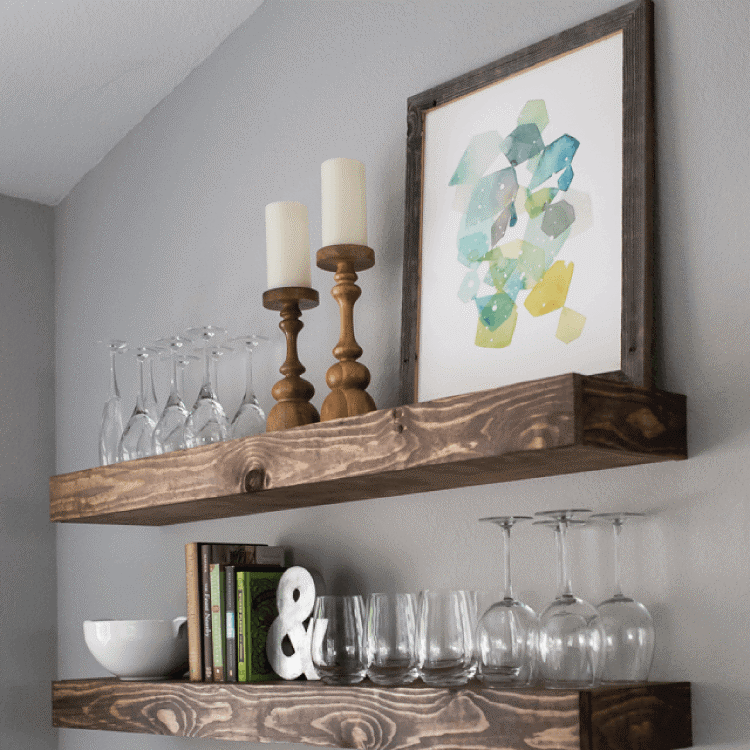
If you have petite storage but your empty wall is craving for a makeover, give it a go.
Materials: pine boards (tear them down to required pieces), brad nailer, Kreg Pocket Hole Jig, pocket hole screws, all-purpose screws and wood glue.
First, cut down boards without a glitch and stain them before hanging. If you desire further industrial look, no need to sand them. Use four inner support pieces for the better.
Drill 16 pocket holes in the interior support pieces.
No one’s going to bump your stuff anymore.
Also Read: 10 DIY Shelf Organizer Ideas
4. Floating Shelves with Hanging Spice Jars | Hildablue
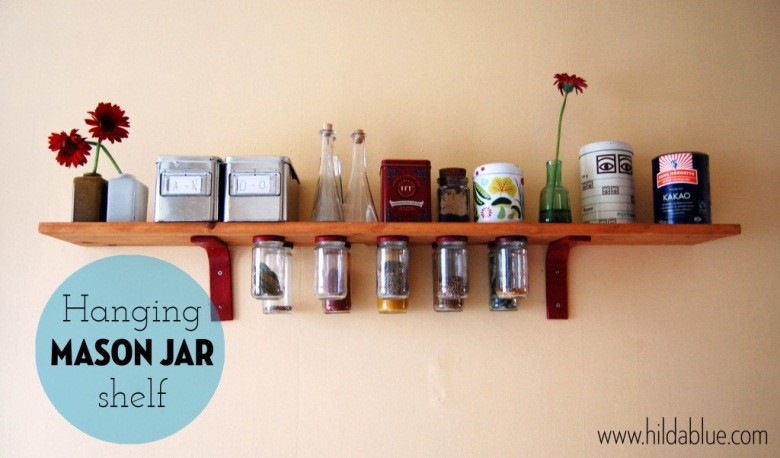
Hanging things truly saves your space, especially when your kitchen is jam-packed.
This is one of the perfect examples to utilize both sides of the shelves. It exploits space that we normally wouldn’t use.
You need a wooden shelf, paint, mason jars (metal lid) and screws. The idea is pretty handy. Screw the lid on to a wooden shelf. It’s a good thing to use at least two screws for each.
There you are! Just twist the jar when you need something.
Relevant list: 10 Wall-Mounted Ideas for Your Kitchen
3. Mason-Jar Pendant Lights | Thesummeryumbrella
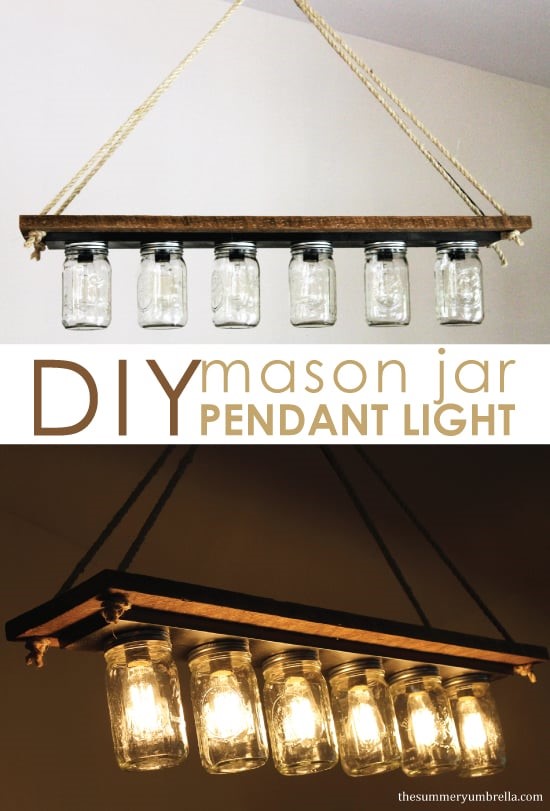
Are you looking for a one-off thing to own for your dining room? Then, we’re sure you’ll be devoted to these exquisite pendant lights.
Prepare the light fixture and paint it. Then, pull it apart, so it could be secured to the barn wood. Drill holes into the mason-jar lids and fasten them to the fixture.
Add a hole in the wood to make the electrical elements fit through. Put it all together and screw them in.
Use a rope to hang the lights and make them even. Install a ceiling hook to hang the rope. Trim them up and put a plastic electrical cap onto the old holes. Dazzling!
2. Shutters to Kitchen Shelf | Serendipitychicdesign
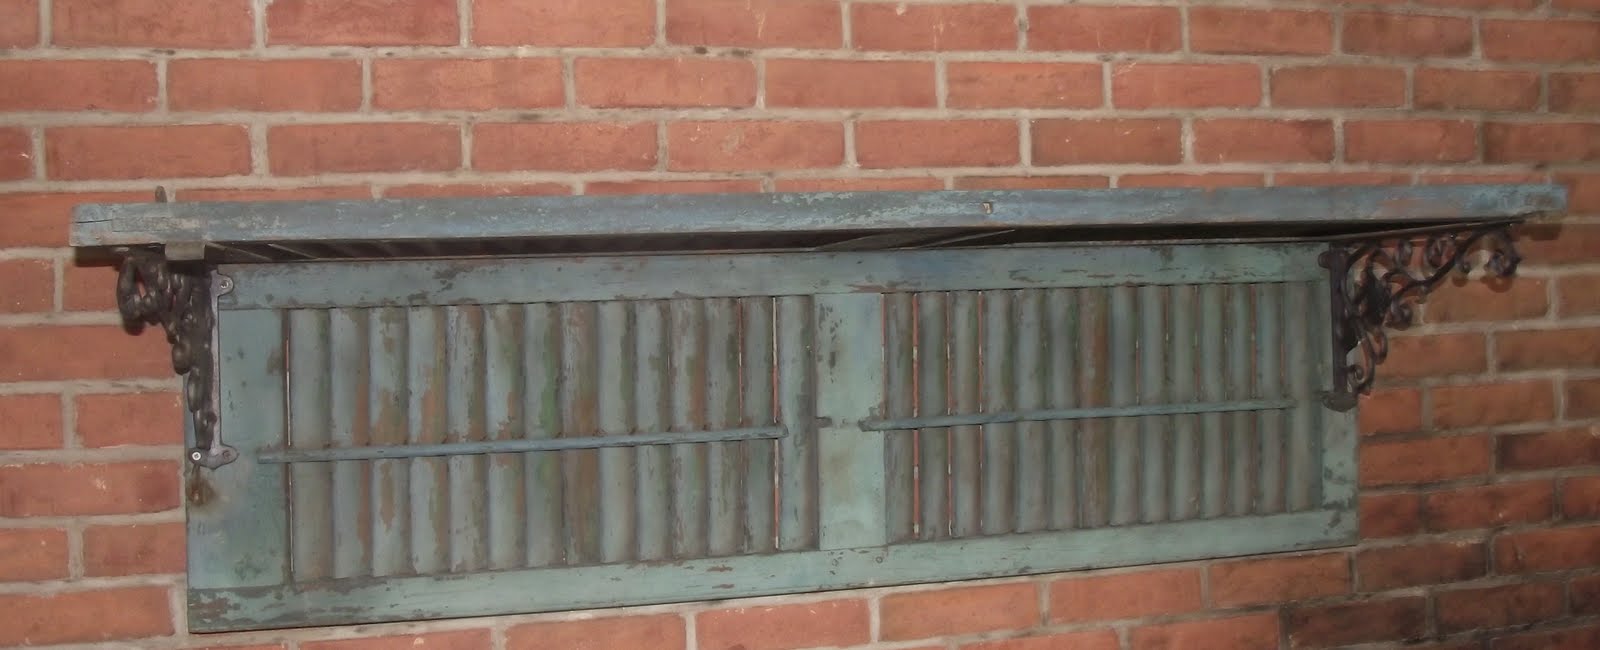
I love lack of sophistication projects and this is not an exception.
All you need is two brackets and screws. Of course, you need to provide shutters in the first place.
Then, decide where you install them. Now, screw them into the walls.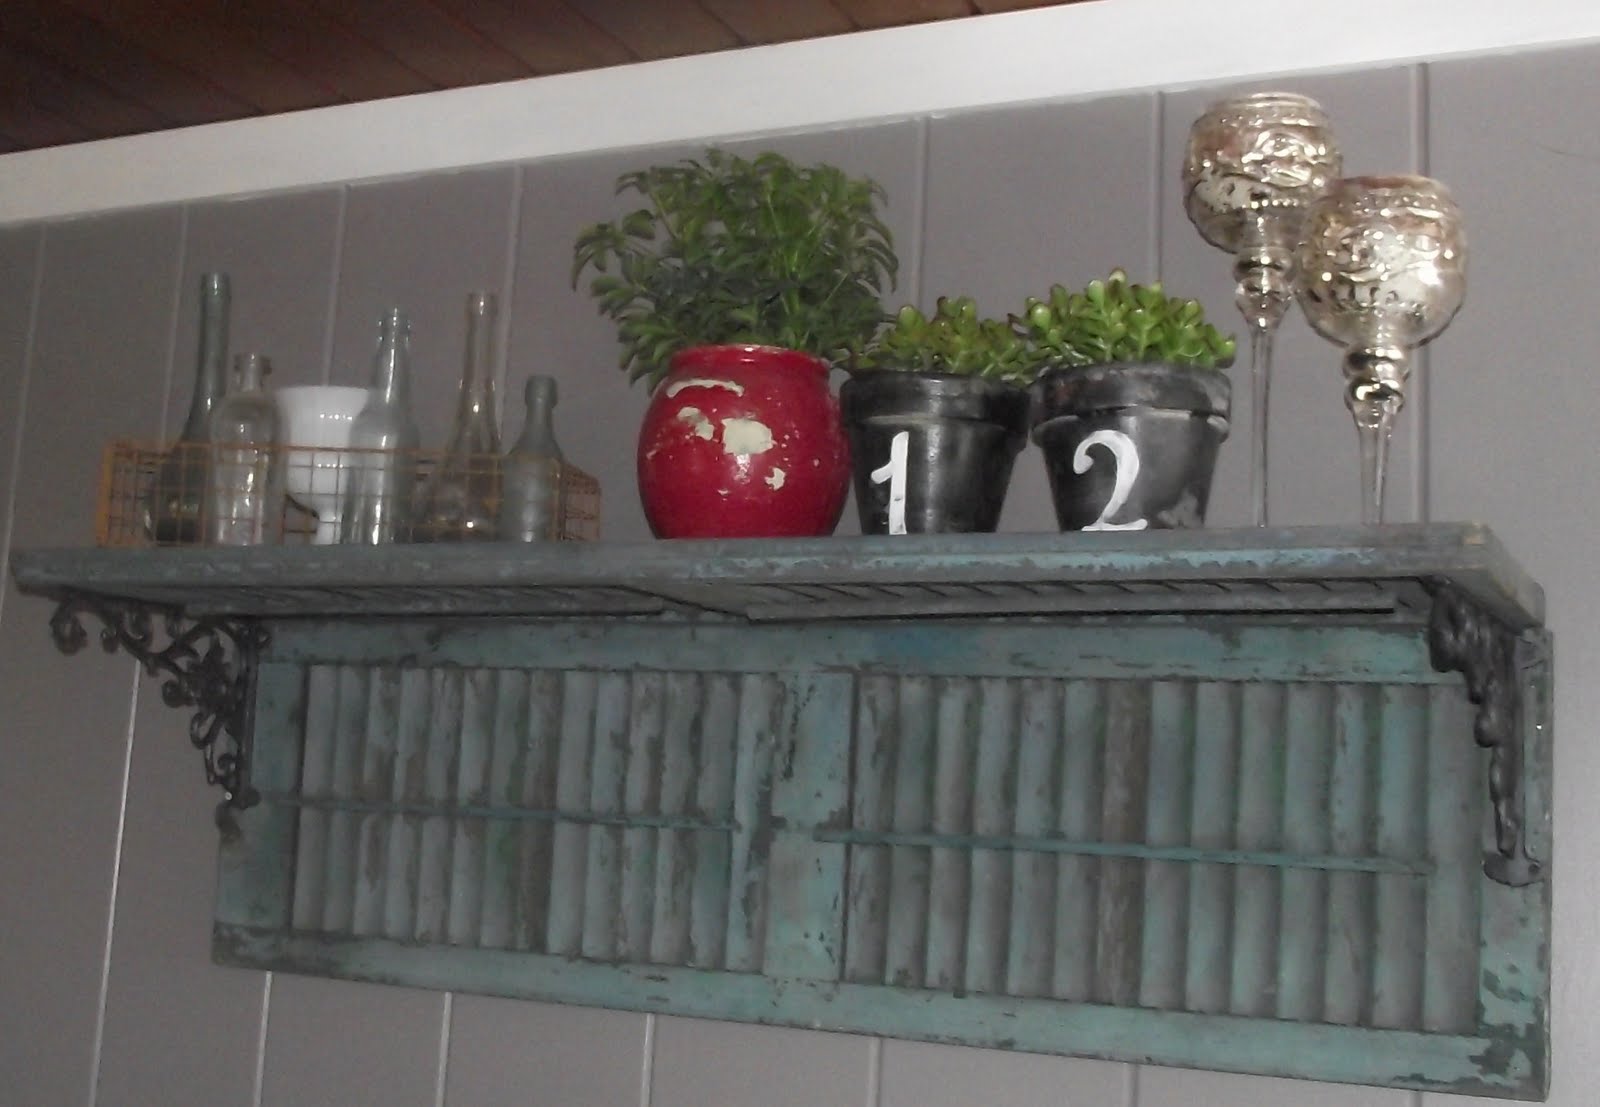
See? It’s like taking a candy from a baby.
Other things you can do with your shutter: 10 DIY Shutter Projects That Will Level Up Your Storage Solutions Game
1. Shelves with Belt Straps | Athomeinlove
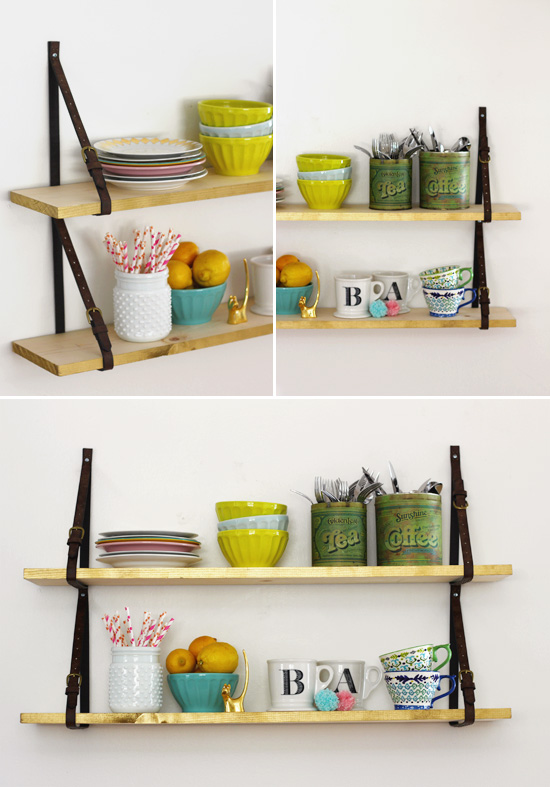
Belt straps deliver rustic style at its best. Utterly easy, cheapo, plus, they have more character than most existing shelves.
Prepare boards, paint, painter’s tape, four belts straps, drywall anchors, a drill and a screwdriver.
Paint the edges and tape everything else. Cut the belt straps even (use the first as a template). Fold them in half and screw the screws that came with the drywall anchors in.
Mark the wall for the straps. Start with the top board. Ensure the marks are level and there is a room for the board to hang over on either side of the straps. Then, install the drywall anchors.
Once straps are set, slide the boards through and adjust them. It suits any places!
So, Those are the 10 DIY rustic furniture ideas for dining room and kitchen.
They are pretty handy and easy to do – I hope- and more importantly, they add more style to your kitchen and dining room.
Continue reading: 10 DIY Rustic Furniture Projects for Small Kitchen