My beginning of the year organizing continues. I’m telling you, it’s amazing how much junk we amass over the course of a year isn’t it?! The trash pile currently in my garage might qualify for a world record. (I’m serious. My husband is freaking out that they won’t take it all this week.)
2015 has me taking on my biggest organizing challenge yet – THE CRAFT CLOSET (otherwise known fondly in my house as the cr*p closet). The work is being done, the posts will be on their way. (You’ll want to watch for it – the truth will be revealed.)
In the meanwhile, you folks have been coming on over to the ole blog to check out my past storage projects. Extra special thanks to those who reach out and share your own photos! I thought I’d do a quick revisit to get the creative juices flowing as you tackle your closets this January.
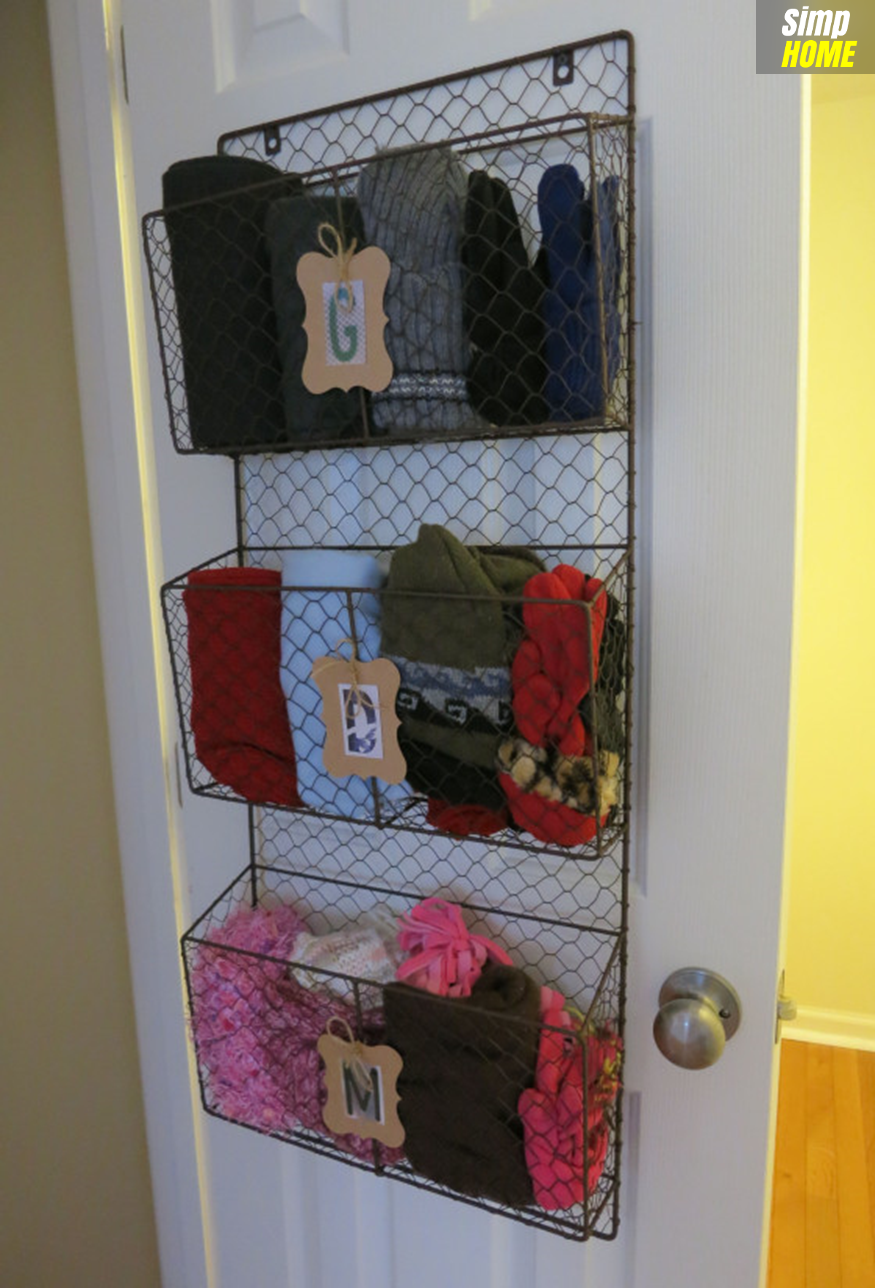
I’ve definitely received some love for the pantry makeover. I’m telling you, bins are AWESOME and make the cleaning up and maintenance of food items SO MUCH EASIER. When crumbs fall, they fall in the bins and I can just wipe them out. Fantastic stuff.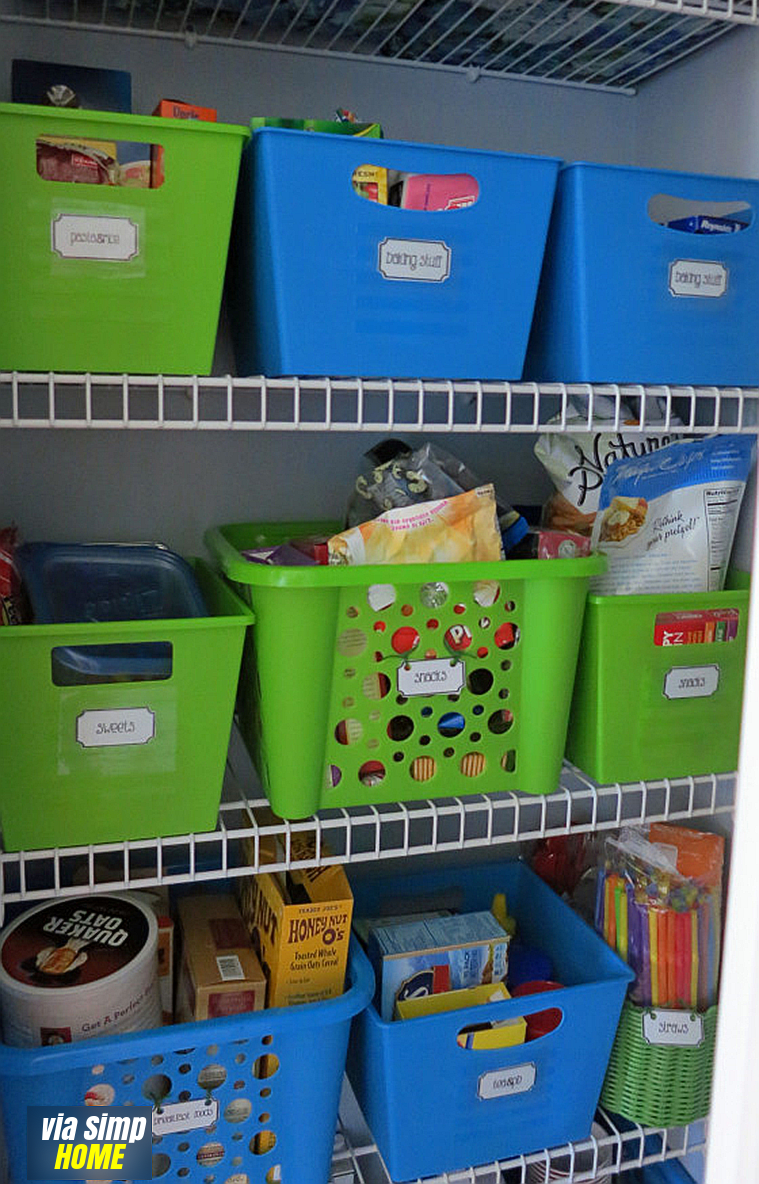 The coat closet is getting a workout this winter. The Littlest One is even remembering to put her gloves away in her basket. (Well, usually) Those baskets really saved it from turning into a complete mess over the holidays.
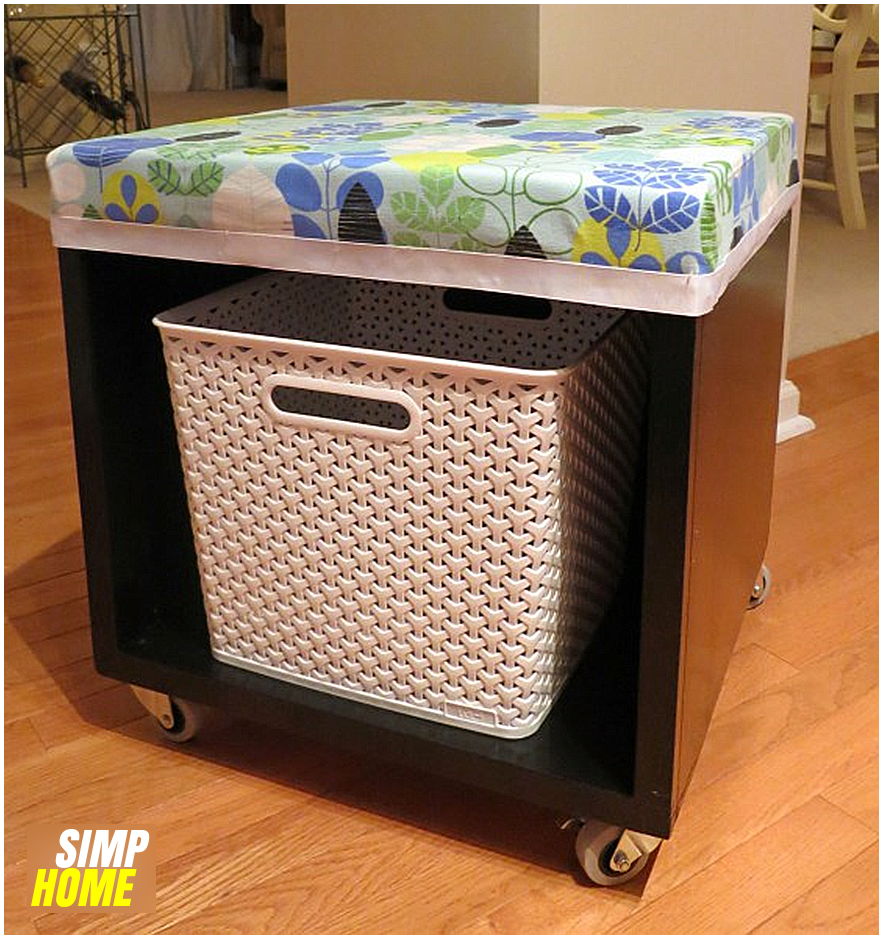
 Lastly, some friends over at Hometalk have checked out the thrift shop storage cube I transformed. This little beauty is still in my garage and getting used for winter boots right now.
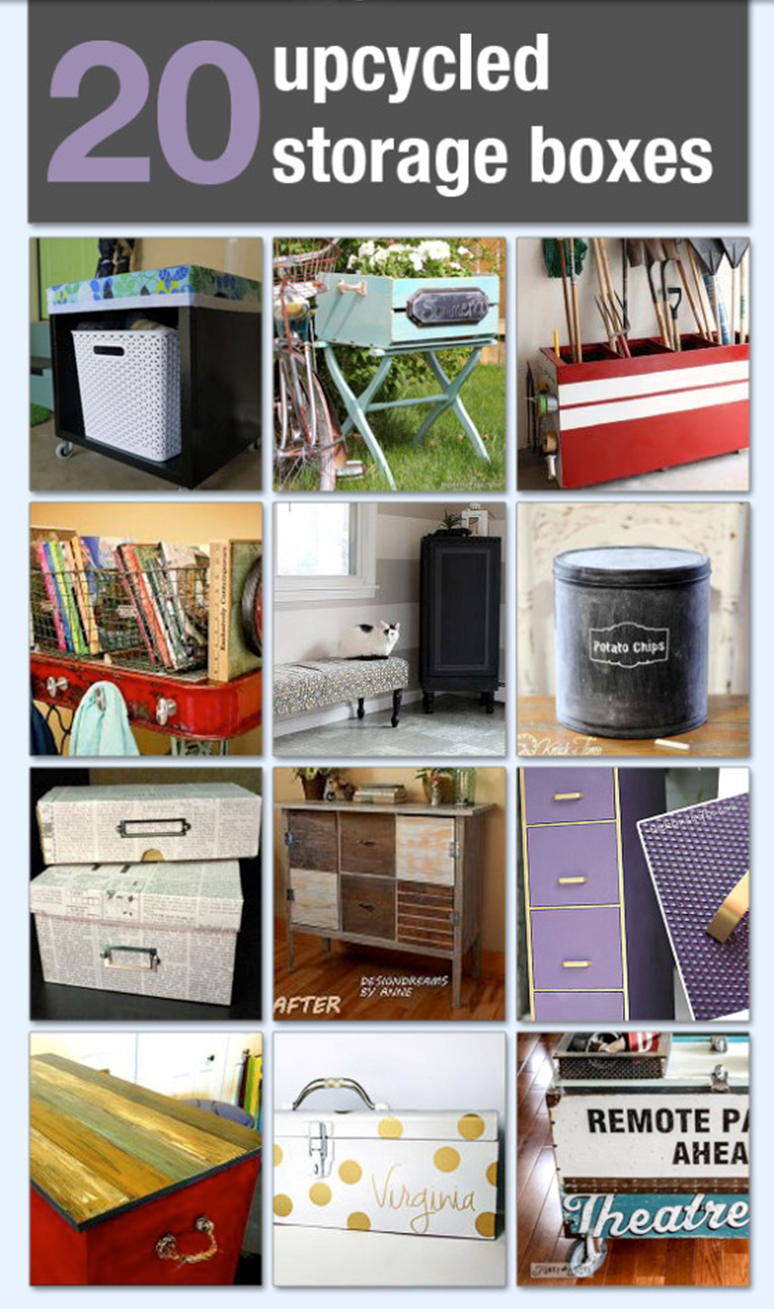
 Speaking of Hometalk, I went over there and found some more storage ideas for you guys this past weekend. If you haven’t been on Hometalk – it’s basically a site where folks share projects and get feedback and ideas from other people. The best part? You can create clipboards of projects for your own inspiration.
I curated a clipboard of upcycled storage boxes from some awesome fellow bloggers. You can click on this graphic to go over and check them out:
I hope that I’ve inspired you to keep plugging away at your organizing this winter.
PS: Oh and here’s my personal secret to organizing – if you get stuck in the process, go to your local coffee shop, get your favorite caffeinated beverage and then get back to it. There’s nothing a peppermint mocha can’t cure when it comes to tackling the junk! (at least in my book)
BTW:
[dzs_videogallery id=”interior-design-and-organizations”] “I can’t believe how fast you organized that!” is a comment I get all the time. So let’s be honest and fair up front– that’s how my brain works. Give me something to organize and I’ll get you there the fastest and most effective way possible. All day I’m thinking things like – “Ok, I am going upstairs – what needs to go up? Where does it need to go? What else can I do while I’m there?”Ridiculous I know. But we all have to have talents right? I probably should have gone to school to be a professional organizer, but that didn’t happen. Instead, I’m going to share with you my basic plan to DIY yourself right into an organized state. This process will work for some of you and some of you it won’t – we are all different. But at least maybe these steps will inspire you as to how to do the best with YOUR brain in YOUR space.
1. Starting Line. Don’t pick the entire room if you can’t handle the entire room. It’s OK. A closet shelf might be enough. Accomplishing a smaller area will lead you to wanting to finish the bigger area.
2. Finish Line. Look – NONE of us get things done without a deadline. Impose one on yourself. If you don’t, it ain’t gonna happen any time soon. Decide your deadline based on what you think is REASONABLE for your schedule. Set aside some chunks of time, but also be ok with doing a little bit when you have a minute here and there.
3. Pile it up. There’s nothing less scientific but more helpful than making piles. Pull each item out of the mess at a time and determine what pile it belongs in. I recommend ONLY three piles to start: “KEEP” “THROW AWAY” and “GIVE AWAY”.
4. Trash Bag Time. THROW AWAY should go right in the trash bag and head to the garbage can as soon as it is full. Likewise with GIVE AWAY – right to the garage or even better the trunk of the car.
5. Latte Break. Seriously, this is great – you’ve done the ugly part. Reward yourself with some caffeine.
6. Sort it out. Once you are done with 1-5, go through the KEEP pile. This is your chance to make more piles. Stack things based on how you want them together in bins or on shelves. Things to keep in mind: What do you use the most? What levels do things need to be on for kids and adults? (For more about this step – see my Five Truths About Organizing post.) At this point, make a list of what types and sizes of storage you need.
7. Baskets and Bins. HAVE FUN! This is the best part. Find containers you like. Go wild. Whatever works with your design preferences. Just make sure you shop your house first. It’s the cheapest option!
8. Away we go. You already have piles – this won’t take long. Put it away…then stand back and be proud.
9. Labels optional. Want to label? Go for it!