You can find countless DIY Home Project Ideas on the internet. You may be surprised by how much you and your family want or need to change even upgrade several aspects of your house. Sometimes it’s little projects like adding shelves or shutters that make a big difference in how beautiful your home looks and feels.
Key Points:
- The following projects will cost you some money, but the results are well worth the investment
- The first step is to write down everything you want to do in your home.
- The second step is to find the best time to start each project.
- Pull together your tools/supplies, and have fun.
You can do many things in your home that will make a big difference in how it looks, feels, and works. There are 12 DIY Home Projects ideas you can create. Maybe you have always wanted to remodel a room, add an addition, or finish off an attic space, so it’s usable year-round. You can also find many resources online to help you with the design and ideas for your DIY Home Project Ideas.
You may find that some projects are easy for you to take on yourself as a DIY Home Project; others may require hiring out the work.
A house can be tired and less comfortable as time goes by, making you think about overhauling it. Unfortunately, doing a total makeover project is not as easy as it seems, especially if you are tight on budget. So, what should you do?
If you are longing for the comfort and practicality that your house used to offer, you can gain them now. Even better, you do not have to cost a fortune. Take a look at these 12 DIY home project ideas that you can copy this weekend. They are effortless, straightforward, and – most importantly – affordable.
As always, Simphome presents you with the list; let’s start the countdown:
🔊12 DIY Home Project Video:
List Entries:
12. The IKEA cabinet built-in Ideas @Thedailydiyer
Who says that constructing a built-in cabinet is arduous? This one will be your inspiration.
First, you need to make the frame and shelves. Then, install IKEA doors and hinges. Once you have assembled them, screw the cabinet to the wall.
Here comes the trick that helps you make it look like a built-in.
You will be likely to find a gap between the wall and the cabinet. Fill in the gap with superglue Total Tech. Then, you can also add more shelves. More importantly, paint the cabinet the same color as the trim.
Detailed instructions:
- Once you have mounted the cabinet, use painter’s tape to mask off the IKEA doors. Once it is dry, paint the doors with acrylic paint.
- Then, use Total Tech to fill in the wall and the cabinet gap.
Don’t forget to use painter’s tape to mask the areas you do not want the filler to seep into. - Once it is dried, sand it with fine-grit sandpaper to smooth and clean.
- Apply primer and then two coats of paint on top of that.
- The final touch: apply a coat of clear-coat.
Alternative projects:
- No 1. The IKEA closet built-in
The cabinet, as mentioned earlier, has a big draw: the built-in. The above project is very similar.
The only difference lies in the materials used and the design.
As you can see, you have to paint the doors and shelves with white enamel before mounting them on the wall. After that, make two boxes to look like you cloned them from one another.
You are almost done! Finally, use painter’s tape to mask the IKEA doors and anchor them to the wall. Then, cover them with painter’s tape to hide their once natural appearance. Finish by painting them with white enamel once again. - No 2. The pegboard built-in @Lifehacker
You will have an ingenious storage unit. You will also have a durable structure that is easy to keep clean.
Do you want to know how it is done?
First step: install a pegboard on the wall and door frame studs. By doing this, you can hang pretty much anything you would like and make it look sleek. Roughly, you should use 2×4’s or 2×6’s for the studs, and the drywall anchor screws will grip them very well.
After that, attach masonite siding with wood glue and finish it with two coats of oil-based paint. Next, you need to install the piece of molding horizontally to cover the gap between the wall and the door.
Use painter’s tape to mask off both doors, paint them with enamel paint, and then seal them with polyurethane.
To make it look built-in, you will have to attach molding on top of the pegboard just above each pegboard row. After securing the molding, sand them lightly and seal them with polyurethane. Here is a simple diagram: - No 3. The dresser with built-in underneath Solutions
This elegant solution is also straightforward.
It consists of two drawers, a bedroom, and a bathroom closet organization. You can install this dresser in the bedroom. After installing it, cover the frame with canvas fabric and cut it to fit around each drawer. Then, paint the frame red and use decorative nails to hang them on either side of the piece. Next, install a few shelves on top of each drawer so that they can store all sorts of goodies such as dresses and towels. You can put some baskets on top of the shelves as well. Installed right above the dresser, you can have shelves to store books or decorative pieces. Lastly, install two doors on both sides. You can use any color you like or the same frame color to make it look seamless. - No 4. The kitchen island idea with built-in
The most captivating aspect of this built-in kitchen island is its simplicity, which is why we love it! The owners’ main requirement was a solid workstation that you could use for cutting wood and doing other woodworking jobs, so they have asked a carpenter to build them one. The result was this kitchen island that was inspired by airplane design. The only question is: how much did they pay?
By the looks of it, you can build one on your own for $500. However, if you want to make it look as sleek as this one, you will have to invest in quality materials. Since the owners have already spent money on good-quality cabinets, we recommend a butcher’s block or acrylic slab for the countertop.
11. The Living Room Level Up Idea by @HomemadebyCarmona
When it comes to organizing things while saving more floor space, wall storage always wonders.
You can find various wall storage that suits your needs and interior. Even better, you can make one yourself.
If you are into DIY projects, storing tools and materials in the garage is your thing. Thus, you should consider making these wall lumber racks.
You just need to cut wood to size. Then, drill pilot holes. Next, you have to make some triangles for the sides.
Once the cutting pieces are ready, you can screw the wood to the wall to create an upside-down L. Then, attach two triangles on both sides. Finally, paint the racks the same color as the wall to camouflage them.
Other alternative ideas you can try such as:
1. Build a shelving unit to organize the unused space between your stairs.
2. Make floating shelves that can fit in the corners of your living room.
3. Create an inexpensive built-in entertainment center by installing two rows of floating shelves at the same height along the wall so that you can hide the TV’s cable box and other stuff underneath it.
4. Build a stylish corner curio cabinet to store your wine glass, coasters, and other decorative items that belong to your collection.
5. Make a baby’s room cap by installing two corner shelves. Use one for toys and the other one for storing clothes or diapers.
You can install it above the bed in the baby’s room or at the end of the hallway.
6. Craft a hutch for your living room to store remote controls, magazines, books, DVDs, or pictures. You can assemble it quickly with cabinets and shelves you already have if you don’t want to buy new furniture for storage.
7. Build an under-counter storage space out of wood planks instead of buying a large piece of furniture that takes up lots of floor space in your kitchen.
8. Build a simple and easy floating wall shelf to store small kitchen items such as books, candles, and decorative items.
No matter what built-in ideas you choose, the key is to keep them simple!
9. The Floating Bookcase
This DIY project will surely turn your boring bookshelf into a space-saving office.
You can make it easily by buying 2×2 lumber and wood glue. Then, attach the wood and use wood screws to secure it. Next, attach some simple shelves on the sides of the piece and then seal it with a few coats of varnish.
10. The Corner Bookcase Ideas
The corner bookcase is an ideal solution if you want to create more storage in your small room. The steps to build it are simple as you just have to buy some basic materials such as MDF and cut them to size. Then, secure them together using wood glue. After that, install the shelves and attach a solid-wood trim around the whole piece.
11. The Entertainment Center Ideas
Building an entertainment center is more time-consuming than any other project in this article because it involves many steps before enjoying your new storage solution.
12. The Floating Media Console Ideas
You can quickly get this floating media console (FMC) for free by taking advantage of IKEA’s generous offer. That’s right. They have given away a bunch of FMC to their customers.
13. The DIY Lean Shelves Ideas
We love this luxury look! You can build one of your own by buying some shelves with an expensive design and then coating them with marble, natural stone, or metal trimming.
14. The DIY Corner Closet Ideas
If you don’t like to buy a lot of furniture for your home because it wastes your money and space, you should invest in built-in corner closet ideas instead! These small pieces are easy to build and store all sorts of stuff for free: magazines, books, blankets, toys, clothes, folders, and many others.
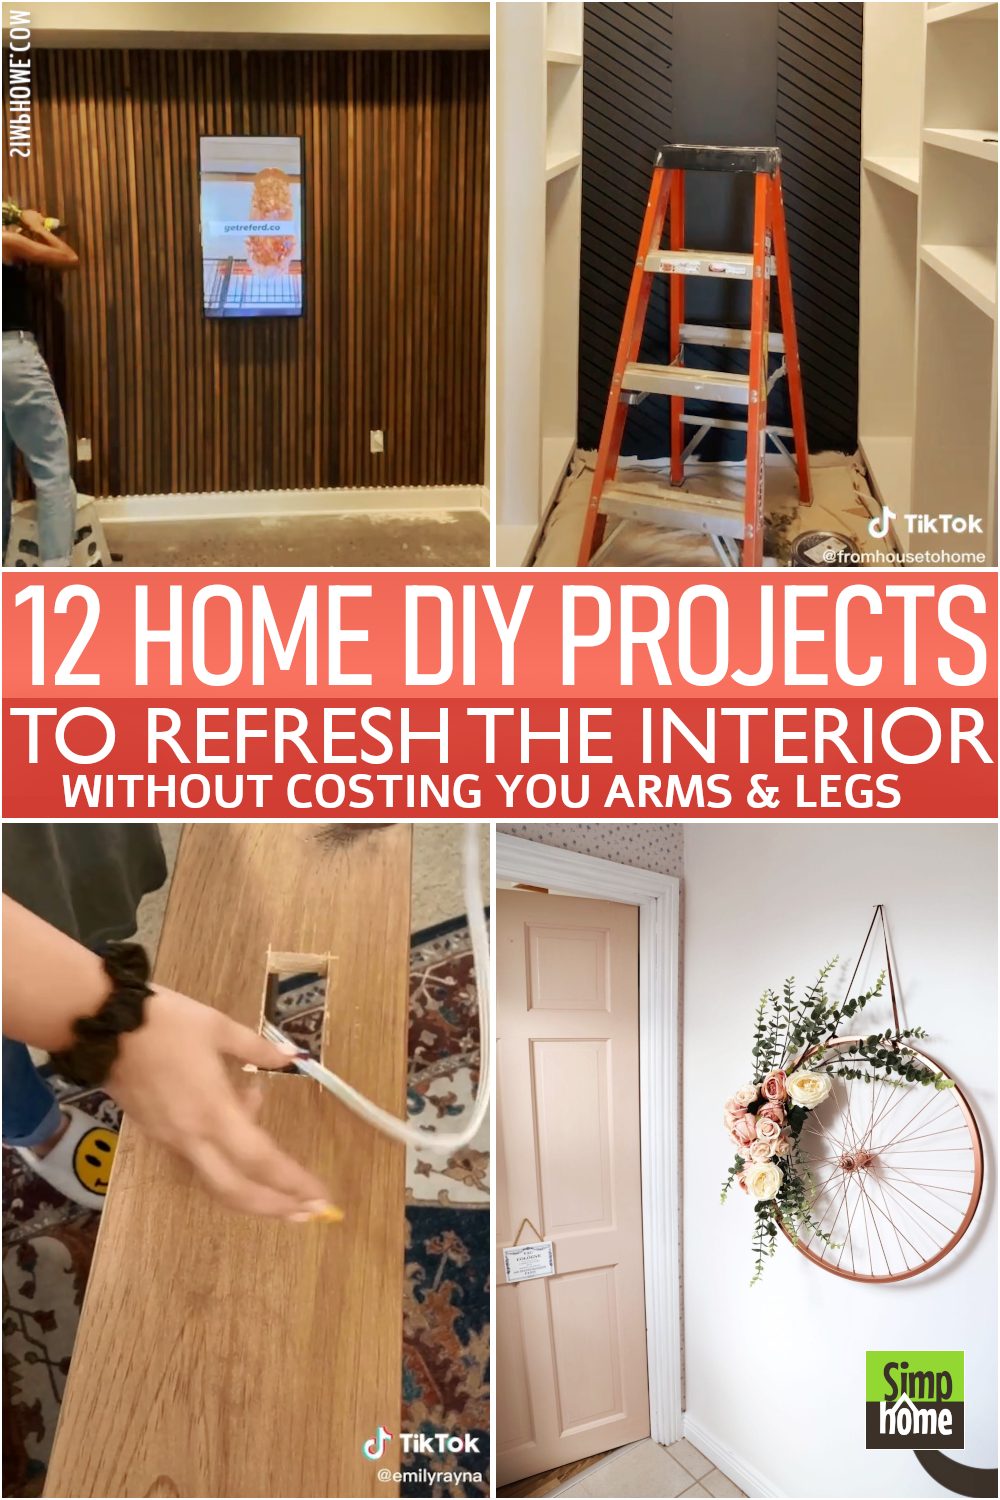
10. The DIY couch console idea by @Emilyrayna
Shoving the couch against the wall is a good call when it comes to limited space. However, you may come across another problem. You will find it hard to access the internet cord installed behind the couch.
The best way to overcome this problem is by making a console table. Do not worry! It is not complicated at all.
- You just need to cut wood to length and assemble the pieces using wood glue and L-brackets.
- You can also install some triangles acting as additional supports.
Do not forget to create two or three holes on top for the openings for the power outlets. This way, they can be more accessible. - Finally, apply any finish you want, and place the console table behind the couch.
9. Beautify Your Walls with DIY Slat Walls by @Alexanderreneedesign and @fromhousetohome
#First idea#
Do you want to add more interest to your room without sending a lot of money? You can try this DIY slat wall.
This project is perfect for creating an accent wall for any room in your house. It will add visual appeal in no time. More importantly, it is easy to make.
You just need to get some wooden boards and cut them to length. Make sure they are at the exact dimensions. After that, stain each piece and then attach them to the wall.
- You can also use hooks on the boards for better storage to improve it.
- If you have some extra time, you can make a more professional-looking one using wood planks of different sizes in different finishes. The process is almost the same; however, you need to use wood glue and decorative brackets.
- If you also have unfinished wood planks in your garage or basement, then this project is for you! You can build an artistic storage solution that will surely add more appeal to your room without spending too much money. This way, the unused materials will not go to waste because they can serve a greater purpose!
#Second idea#
If you think the first idea is rather dull and want to find a more attractive look, this one is for you.
Basically, it is pretty similar to the idea mentioned above. However, this one is a bit tricky because you have to cut the board to certain angles so that you can lay each piece diagonally. Well, the final look will be worth the effort, though.
The slat wall project only requires basic tools such as a power saw, tape measure, and a screwdriver. You can complete this DIY project within 4 hours if you are consistent.
Detailed instructions and alternative improvements:
1. Create a measurement chart of the wall.
2. Cut the boards to length and then sand them down. You can give them a good rinse with water and detergent if needed.
3. Stain each board and let them dry for 2 hours before you begin to lay each piece against the wall.
4. Put up a filler on the back of each piece evenly for support and an easier installation process later on.
5. Lay some screws in between each piece of wood and at the end of each board, too, just to make it extra secure later on when it gets more weight inside!
6. Place some hooks between each board at the end for more storage.
7. Cover the surface with a few coats of varnish to protect it from damage caused by water and moisture.
Alternative project ideas:
- The LCD TV Lift Cabinet Idea
An LCD TV lift cabinet is the best option to conceal your TV elegantly. It brings functionality while elevating your space! Many people use this idea to hide their enormous LCD TVs in their living rooms or bedrooms without worrying about space problems.
When done correctly, this simple solution allows you to enjoy better access without sacrificing aesthetics! - The Customizable Floating Shelving Idea
Floating shelves are so popular these days! These pieces are perfect for any room because you can customize them based on your requirements. You just need to make sure that the materials you use fit perfectly with your interior design. Before you buy a piece, always ensure that it matches your decor! - The DIY Adjustable Shelving Idea
We love the industrial look of adjustable shelves. What do you think? If you want the same look but don’t know how to build them, we have a few ideas for you! Instead of buying a fully-assembled piece, try to get at least some wood boards and cut them to length.
8. The Bedroom Transformation project by @Jessamom03
A can of paint can do its magic. Nobody doubts that changing color can significantly impact any room, including a bedroom. Instead of applying the paint to the entire walls, why don’t you take this idea to the next level? With some help from painter’s tape, you can do beyond magic.
#The result#
The combination of several fresh coats of paint and painter’s tape has changed this tired bedroom into a mesmerizing one. The makeover entails a simple process.
- You just need to run the painter’s tape to form the pattern you want.
- Then, you can begin to apply the paint to the entire walls.
- Once you are finished, remove the tape.
7. The DIY Bathroom transformation on a Budget @Megnmac26
This project is another proof that paints do wonders. They can even turn this tired bathroom into an instagrammable spot.
The tiles are indeed ugly and outdated. You might think you need to replace them altogether. Well, it is not necessary. You just need to paint them white, and you are good to go.
To produce a contemporary look, you had better paint the wall gray.
Gray is one of the neutral colors that offers elegance without overpowering the space.
The large square mirror will leave an ugly spot if you remove it from the wall.
- Do not worry! You just need to cover the blank space with pallet wood.
This way, you can conceal the flaw and add a bit of rustic touch to the bathroom. - Then, you can hang a new mirror on the planks.
- Now, it is time to makeover the flooring. You do not need to install hardwood or tiles.
So, why do you have to break a sweat if you can do it effortlessly?
You just need to purchase peel-and-stick planks that look like a wood floor.
6. The DIY Reeded Plant Pot Made from An Old Candle@Dovecottageblog
Doing a DIY project allows you to improve your home and helps you stay sane. In fact, it is good for your mental health, especially if you make something pretty with minimal effort, like this flowerpot.
This flowerpot looks gorgeous and lavish. You might think that you have to splurge out on it. Well, that is not necessarily true. You just need to glue down wooden dowels to the entire surface of an old candle jar. Then, apply any finish you like. That’s it!
5. The Simple wooden crate transformation ideas from @Woodmood
Making drawers have never been this simple. Who would have guessed you could build some practical drawers in a minute?
- To make these simple drawers, you will need two wooden crates.
- Then, install three square dowels to each crate. These dowels will act as drawer slides.
- After that, add a top to assemble the crates.
- Then, secure the frame by screwing it to the wall and placing the plastic baskets in it.
4. How to paint kitchen cupboards on a budget
If you have kitchen cabinets from the ’90s, you surely know the dilemma of revamping them. They usually have a vinyl layer that wraps around the entire surface of the cabinets.
You might think that applying paint over the vinyl is a shortcut. Yes! However, the result will not be fantastic, especially if some wraps are peeling off. Thus, you can go with another option – remove the vinyl layer altogether.
- Removing the vinyl altogether can be tricky. Therefore, you will need a heat gun to do that.
- You just have to hold it above the wraps. The heat will lift them off. Then, you can peel them easily.
- Once the wraps are gone, you can remove the hardware and paint.
- To get a more modern look, you can replace the handles with knobs, which will leave some holes in the cabinet doors. It is not a big deal, though. You can fill them with wood filler.
3. Repurpose And Recycle an Old Bike Wheel
 Do you have an old wheel in your garage and do not know what to do with it? Do not let it leave untapped. It can make a pretty wall decoration.
- To turn a rusty old wheel into a wall decoration, you need to apply one coat of all-surface primer.
- Then, apply two coats of bright copper spray paint.
- Finally, add faux flowers and hang the wheel on the wall.
2. Make Beautiful Moroccan Planters in Under 10 Minutes
 These planters will spruce up your living room in no time. Do you know another awesome thing about them? You will not have to spend hours constructing them. A couple of minutes will be enough.
You just need to get four square tiles. Then, glue them down together to create a cube. After that, cut a plastic bottle and gently squeeze the bottom part into the cube. Do not worry! The plastic bottle will fit snugly.
Lastly, Number 1. The DIY boho wall cabinet Idea
A cabinet is meant to be storage that keeps clutter at bay. Aside from being practical, it can also be pretty, just like this one.
It may be just like any other cabinet. However, the distinctive doors made of macramé cord offer a more aesthetic look that will round out your Boho interior.
Relevant instructions and alternative ideas in case you can’t collect all required materials like that in the video:
- Start with your measurement and some cables
- Wrap the cable around the post and then tie it up with a square knot on one side and then
- Wrap it around the post once again and then tie it up lightly to make sure that it does not come undone
- Repeat Steps 1-3 on all sides of the cabinet
- Wrap it around the post once again and then tie it up with a square knot, and then
- Continue to wrap the cable around the post and tie it up with a square knot, and so on until you reach the top of your desired area
- At this point, you can hang your art pieces, stands, or whatever you want on top of your cabinet. Finally, add accessories to finish off your wall art or piece of furniture
- Finish off with a paper fastener to lock everything in place and keep your DIY project lasting for maybe years!
Conclusion:
Now, you know that overhauling a house with a tight budget is not an impossible mission. You just need to implement some of these 12 DIY home project ideas. Take your time, though. You do not have to do all the projects on the weekend. Doing one project at a time will be enough. Just enjoy the process while seeing your home improvements.
References:
12. Tiktok.com/@thedailydiyer
11. Tiktok.com/@homemadebycarmona
10. Tiktok.com/@emilyrayna
9. Tiktok.com/@alexanderreneedesign, Tiktok.com/@fromhousetohome
8. Tiktok.com/@jessamom03
7. Tiktok.com/@megnmac26
6. Dovecottageblog.com, Pinterest.com
5. Tiktok.com/@rahmad847
4. Dovecottageblog.com, Pinterest.com
3. Daintydressdiaries.com
2. Pillarboxblue.com
1. Pinterest.com/EasyAlex