A little amount of extra care to your ceiling may go a long way to improve its overall functionality. Whether you are constructing a new home or want to achieve better indoor quality, ceiling insulation may be a wonderful investment.
Ceiling insulation can provide a more pleasant living environment in your home. It’s indeed an important factor of any building construction, as it aids in the retention of heat, the reduction of sound transmission, decrease in energy bills, and the prevention of fire spread.
You may use the five tips and tricks below to create a well-insulated ceiling that will keep your house pleasant and energy-efficient. Ceiling insulation installation is simple with the correct products and skills.
1. Prepare
Before you start insulating your ceiling, make sure you have all the needed information, such as the size of the area you want to insulate, the correct type of insulation you’ll use, and the R-value you want to achieve. This way, you can determine how much insulation you’ll need or how many packs of batts you’ll require for your project. Doing so will also allow you to estimate your ceiling insulation costs.
If you’re having a new building constructed, the professionals you hired will know the best solution for your ceiling insulation. If you’re doing the project yourself, be careful to discuss those factors with your insulation supplier so that you can be certain that the insulation plan will result in a pleasant, efficient property.
2. Choose The Right R-Value
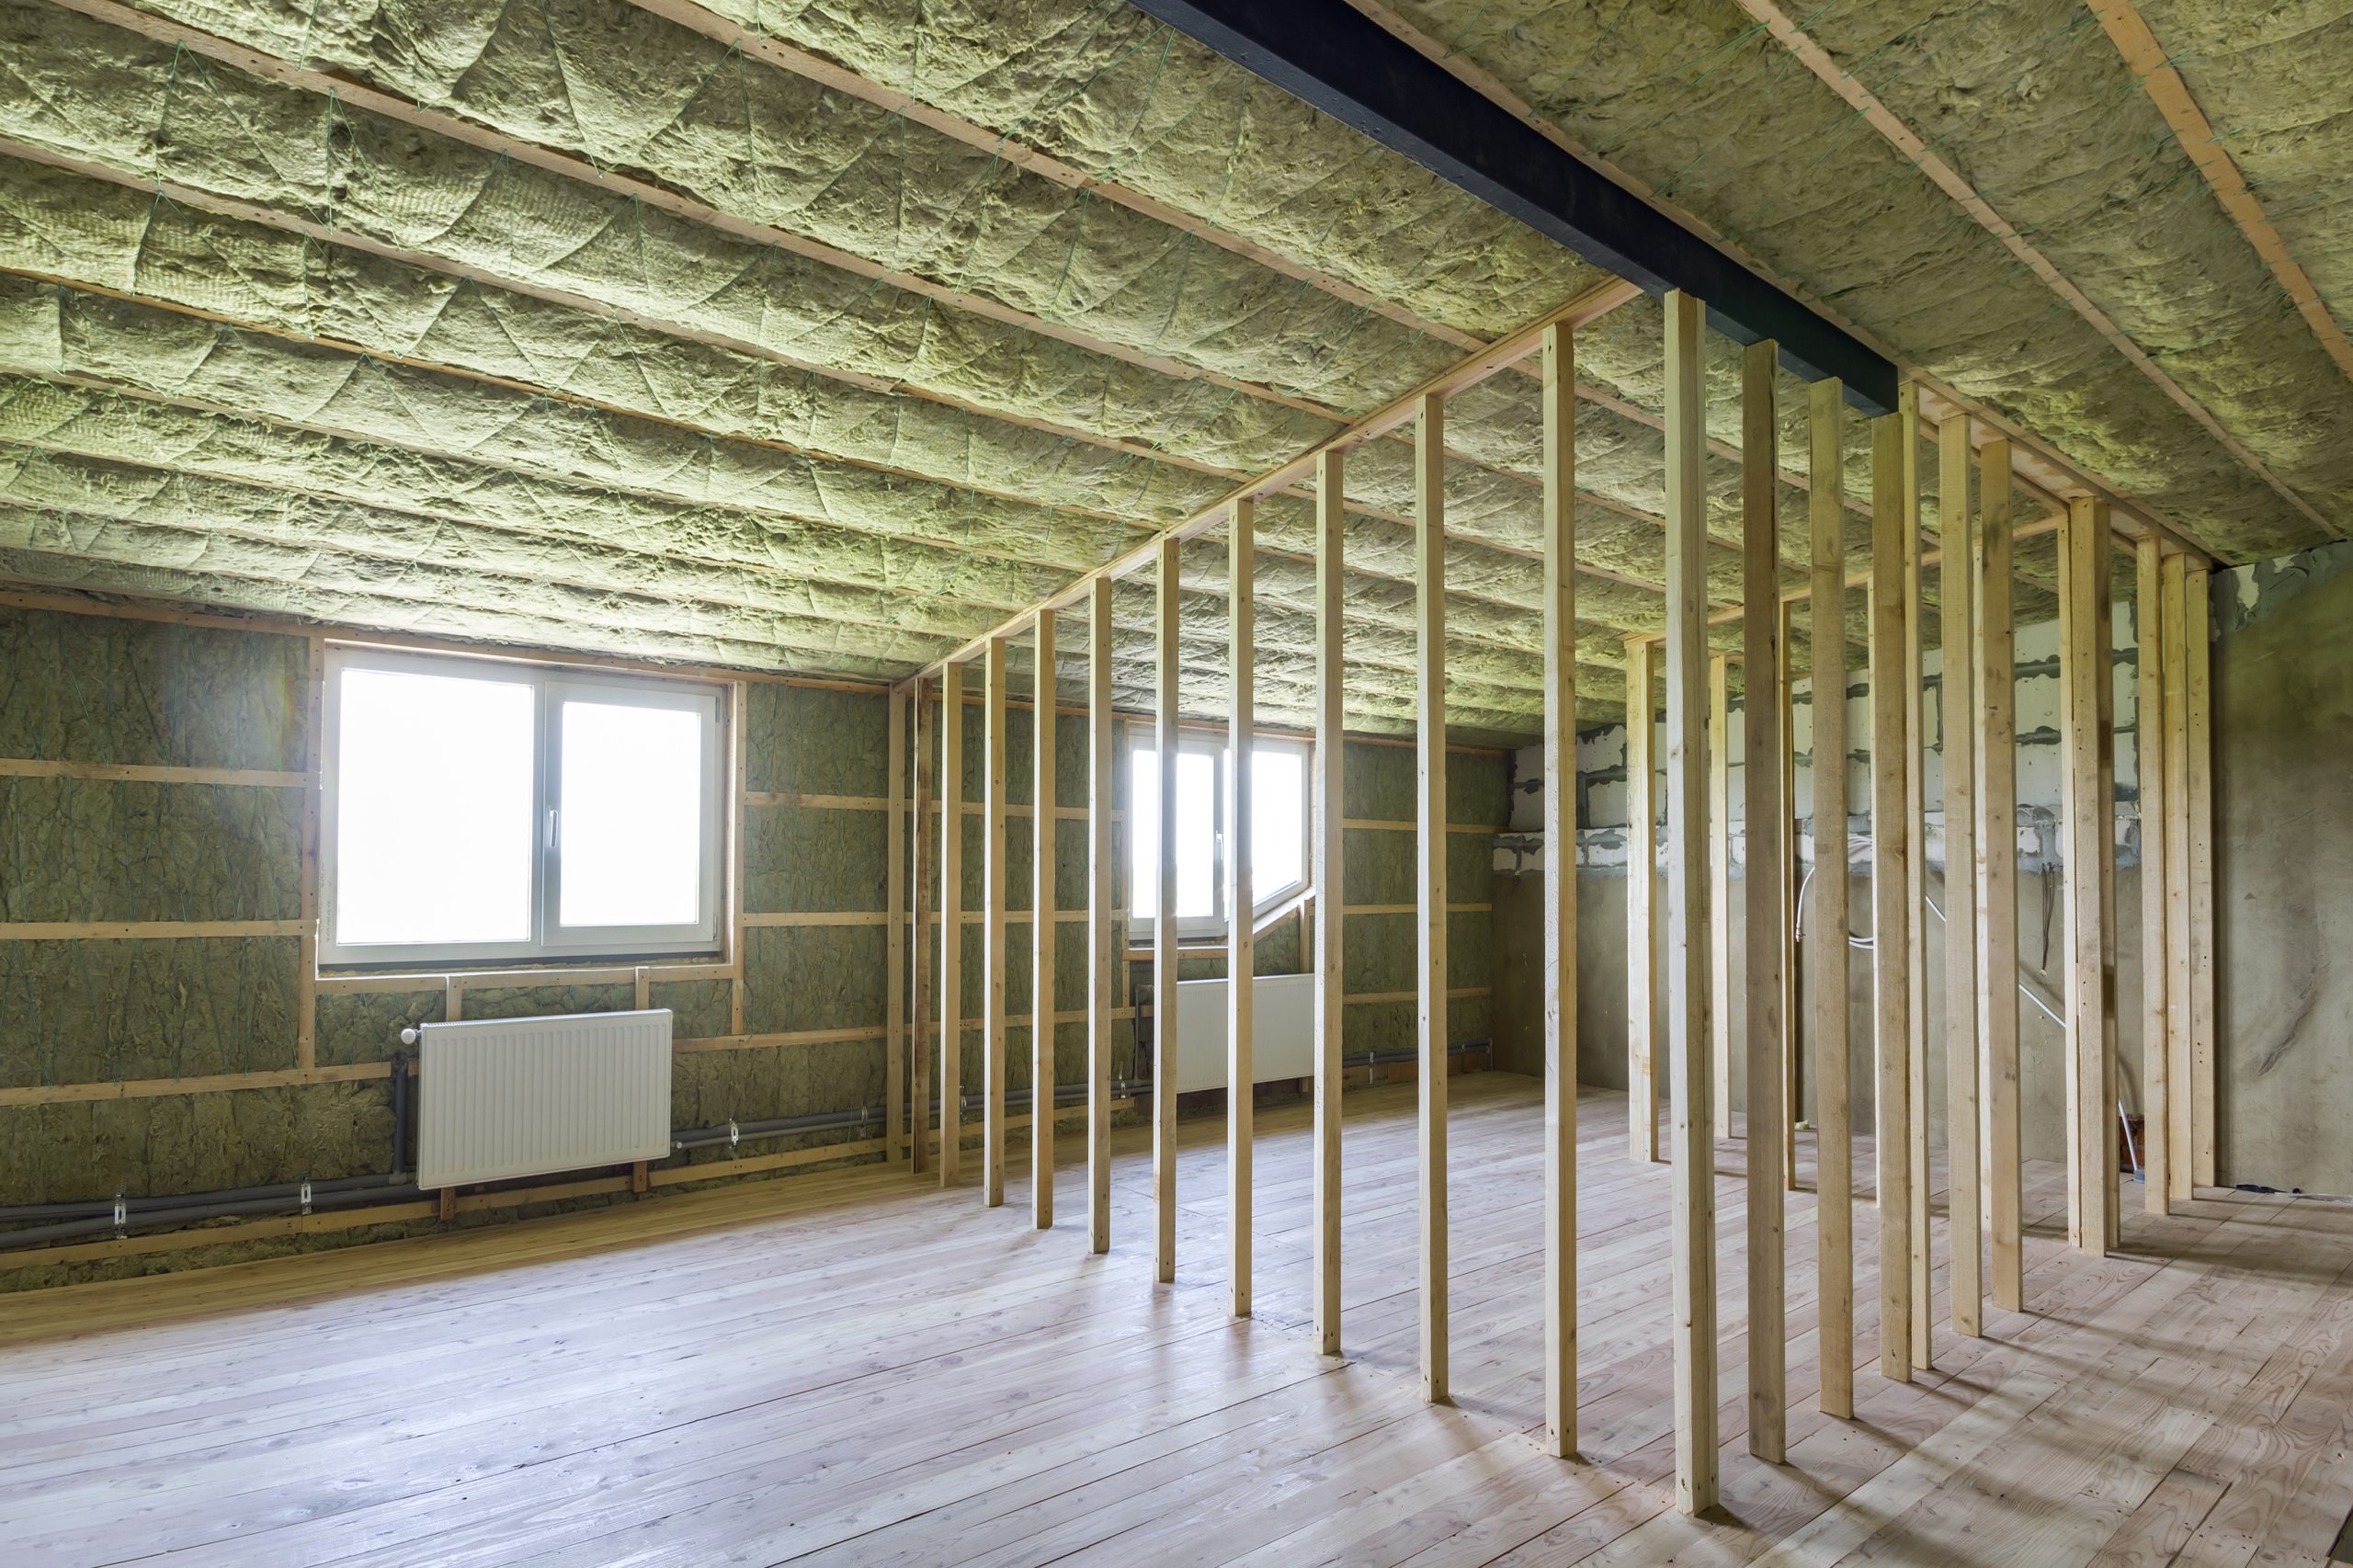
The thermal performance or R-value of the product is an essential factor when selecting insulation for your ceiling. The R-value is a measure of heat resistance, and the higher the R-value, the more effective the insulation.
Choosing the right R-value for your ceiling may depend on where you live and the design of your home. Usually, places with cooler and hotter climates may require higher R-values. To calculate the correct R-value for your ceiling, divide the thickness (m) of the insulation product by its thermal conductivity (W/mK).
If you’re looking for a recommended manufacturer of ceiling insulation products for different uses, you may visit earthwool.com.au or other websites that offer ceiling insulation. They offer ideal solutions for whatever ceiling insulation needs you might have.
3. Follow The Manufacturer’s Instructions
If you prefer doing the installation of ceiling insulation yourself, always follow the manufacturer’s manual. Missing steps and taking shortcuts can mean a waste of your money and effort. Allow adequate time to prepare and ensure you have sufficient materials to do the work right.
4. Leave Room For Air
It’s a common error for individuals to compress the insulating materials into tight spaces. However, this practice weakens the insulation’s effectiveness. Insulation must be cut to fit snugly but not so tightly that it drives out trapped air.
Thus, when insulating your ceiling, make sure to have adequate ventilation in your home as well to allow the ceiling insulation to be effective. For example, if your property has no attic ventilation, get these installed before adding new or more insulation. Your contractor may advise you on the best solution.
5. Check For Safety
When installing your ceiling insulation, make sure you know and take safety precautions. Aside from wearing gloves, safety goggles, and appropriate work attire, make sure to identify the hazards and risks first.
For example, make sure not to do the installation during hot weather to avoid heat stress, heat stroke, and other heat-related illnesses. Doing so will also allow you or the workers to do the job more comfortably and efficiently. Also, make sure to check the risks for electric shocks. Thus, you need to ensure that there are no exposed terminals or damaged electric cables in your ceiling.
In addition, during the installation of your ceiling insulation, make sure you leave enough room or gaps between the insulation and heat sources like fans or lights for fire safety.
6. Repair Any Roof Leaks
Water is the enemy of insulation. It can create mold and mildew and destroy the air-tight pockets that prevent heat passage. Thus, before insulating your ceiling, make sure to repair any roof leaks. Look for water damage on the roof sheathing, as well as wet or moldy patches on the ceiling joists and existing insulation, as these are indicators of leaks. This way, you can avoid problems in the long run.
Conclusion:
Installing ceiling insulation is indeed beneficial for your home due to its various advantages. Thus, you need to get the job done right. Make sure to prepare all the required materials and check for adequate ventilation and safety when doing the project. Doing so will allow you to have effective and functional ceiling insulation.