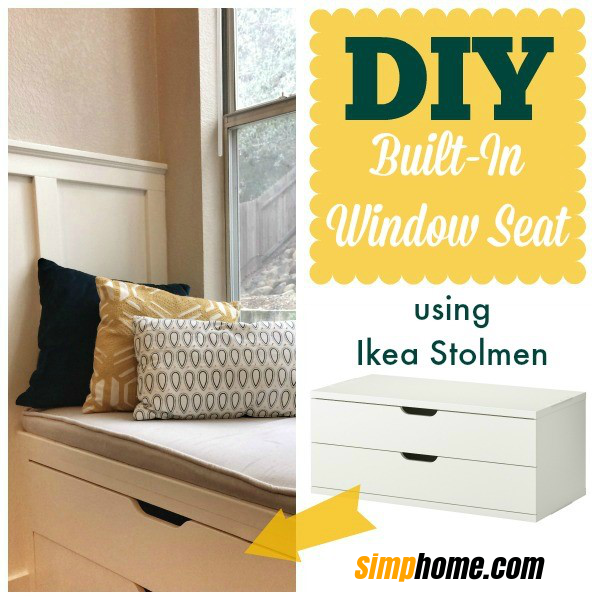
Here’s a quick update on one of the projects we’ve recently completed in our California Cottage. It’s something that I’ve always wanted to have–definitely a must on my dream house list–a window seat!
Before I tell you all about how we DIYed this window seat using components of the Ikea Stolmen closet system, let me tell you how a window seat ended up in this spot to begin with. Back in 2013, when we purchased this home, the former homeowners were using this corner as an informal dining area. Below is how the family room looked the first time we walked through.
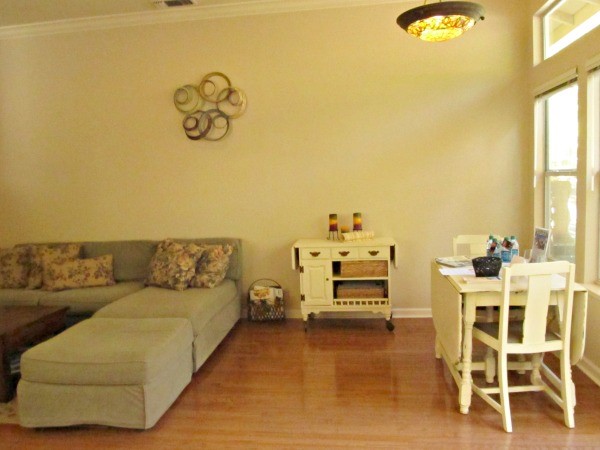
There’s a more formal dining area in the front room, but this is the spot closest to the kitchen where there was room for a table that would seat more than 1.75 persons or be directly in front of an exterior door. For a while, we tried having our kitchen table in that spot, too.
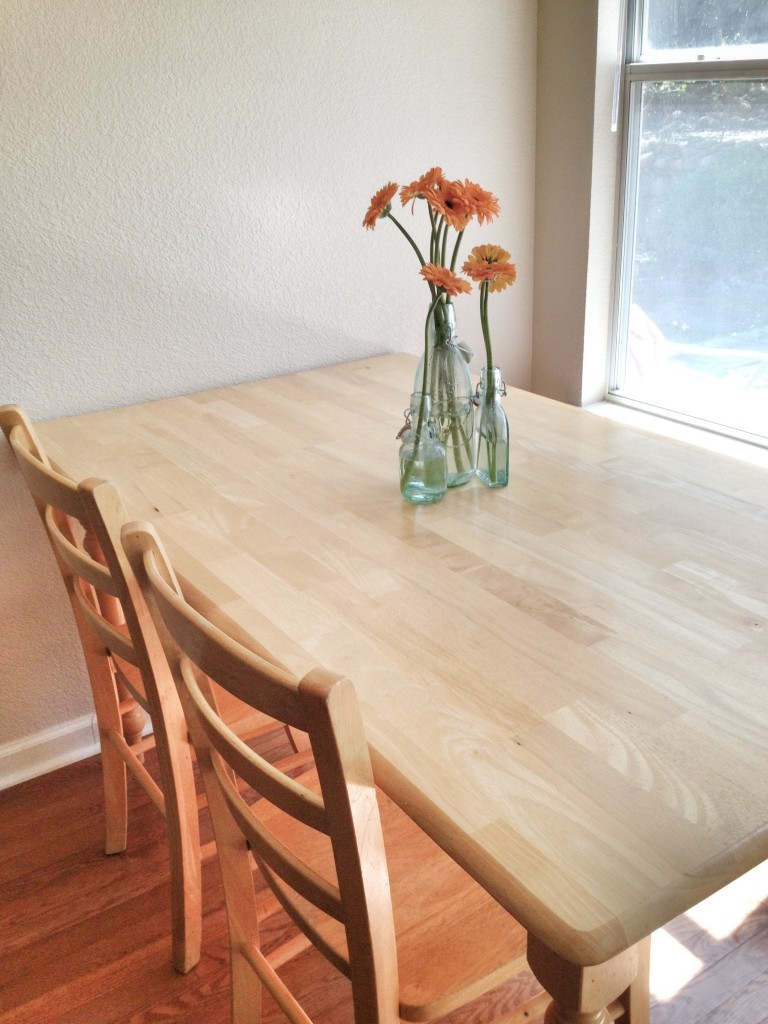
I didn’t love it. The formal dining space was actually fewer steps away from our kitchen. When we found a big, beautiful table for that area, I decided that we’d use the formal dining area as our primary family dining spot. There’s a bar in the kitchen that we can use for quick snacks or when only one or two of us are eating. So we sold the informal dining table on Craigslist, and I was left with an exceptionally long family room space.
Back when we’d been using that end of the family room for an eating space, I’d considered how useful it would be to install banquette style seating along that back wall. Once the dining table was gone, I decided that I still loved the idea of having a window seat there. After all, it could be useful if we every wanted to go back to having a table in that part of the room. And even if we never used it as banquette seating, I’d always wanted to own a home with a window seat. What really sealed the deal was the realization that if we installed a window seat there, not only could we use it for extra seating, we could use it for extra storage, too.
Inspired by this project at Centsational Girl, we took ourselves to Ikea to purchase some cabinets that we could turn into a window seat. (See the window seat from Centsational Girl, below.)
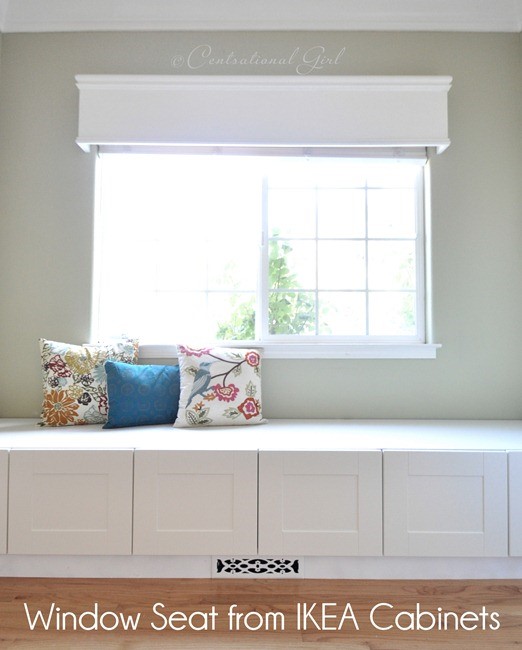
As much as I loved the way those cabinets worked for Kate, I was a little nervous about how they would work for us. Those upper cabinets came in two depths: 12 inches or 24 inches. For my space, I knew a depth of 18 inches would be perfect. So it was going to take more effort on our part use those cabinets to make a seat the size we needed. The lengths of those cabinets weren’t perfect either–again, it was going to take more effort to get the right size for our space. Another thing that concerned me was the way the cabinets were going to function. We planned to store games underneath our window seat, and I was a bit worried that behind the cupboard doors, those shelves would always be a mess.
It was only after we had our helpful Ikea kitchen designer place the order to the warehouse for our cabinets that we wandered through the bedroom closet section at Ikea and spotted the Stolmen closet system.
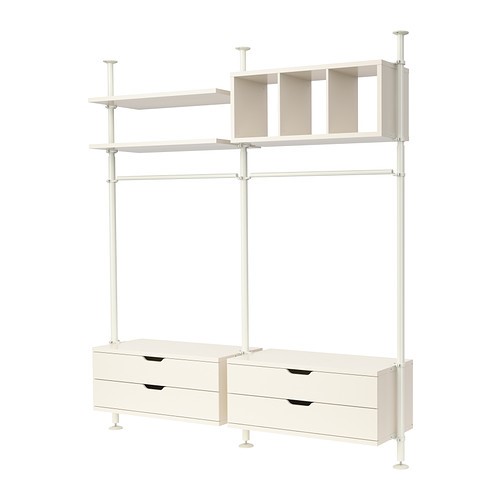
See those drawers? Two sets of those were almost exactly the height, depth, and length that we wanted for our window seat! Other than some minor reinforcement to make it sturdy seating, the construction would be minimal. And the drawers definitely had me at hello. I liked the simple profile and the fact that it would be much easier to keep all of our family games arranged and divided inside those drawers.
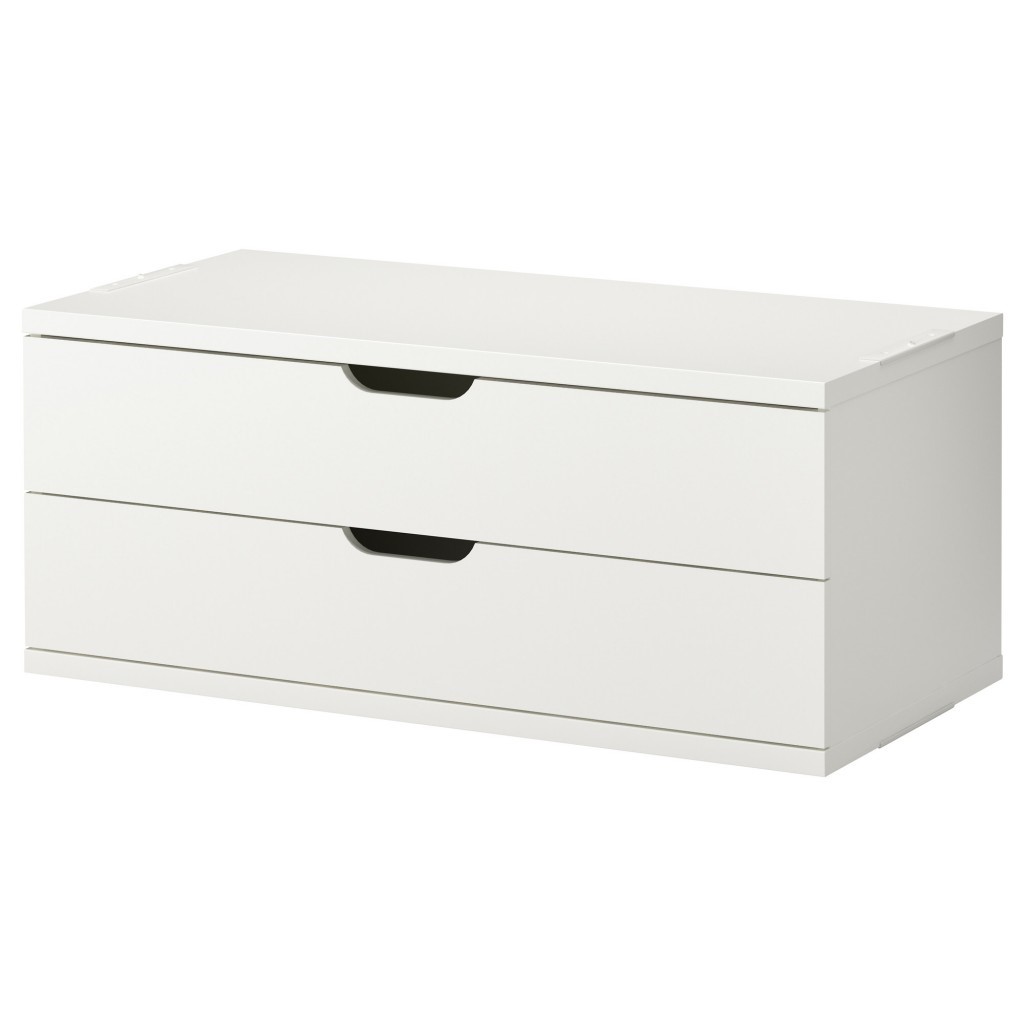
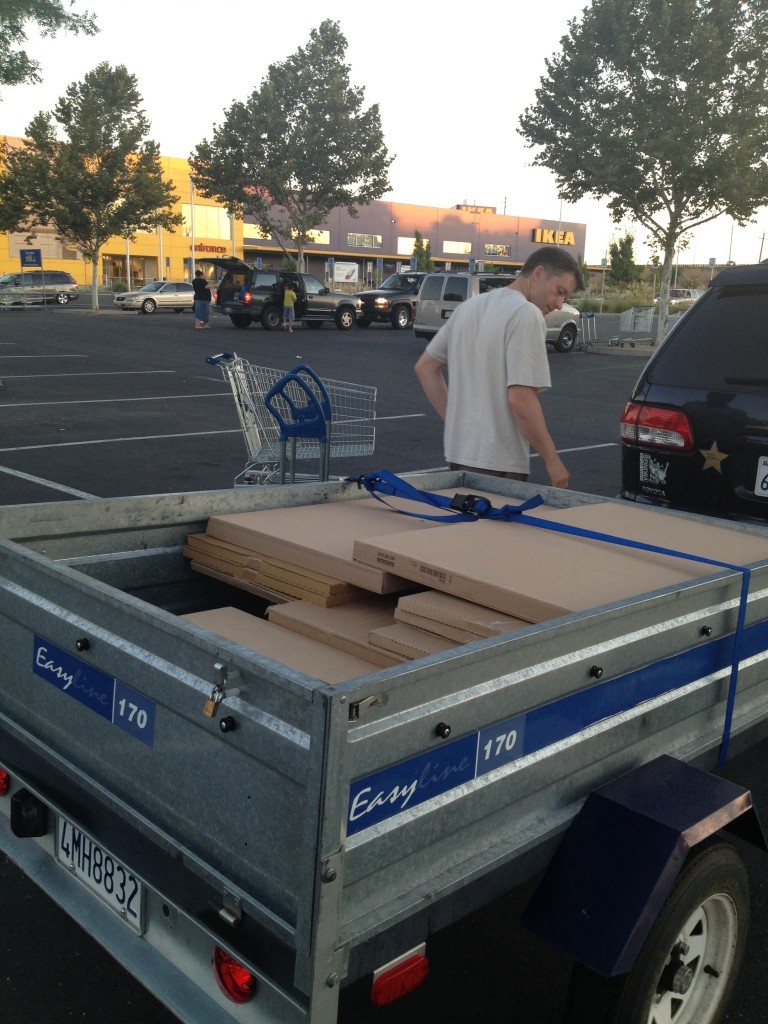
The kids and I assembled the drawers while Bionic Man was on a business trip. It was easy enough that a mom and three kids could put them together….but not easy enough that the mom could stop and take pictures of the process. Once the drawer bases were constructed and put into place underneath the window, the Bionic Man went to work reinforcing them and making them look built in.
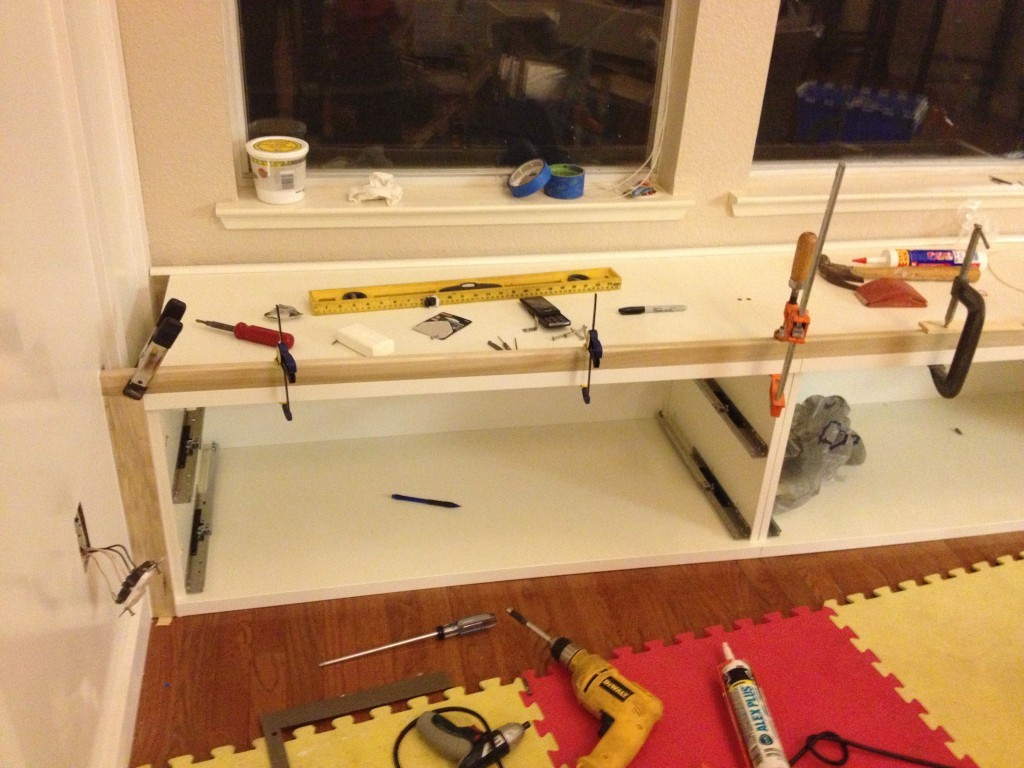
He added pieces of wood along the edges that touched the wall and floors so that there wouldn’t be any gaps.
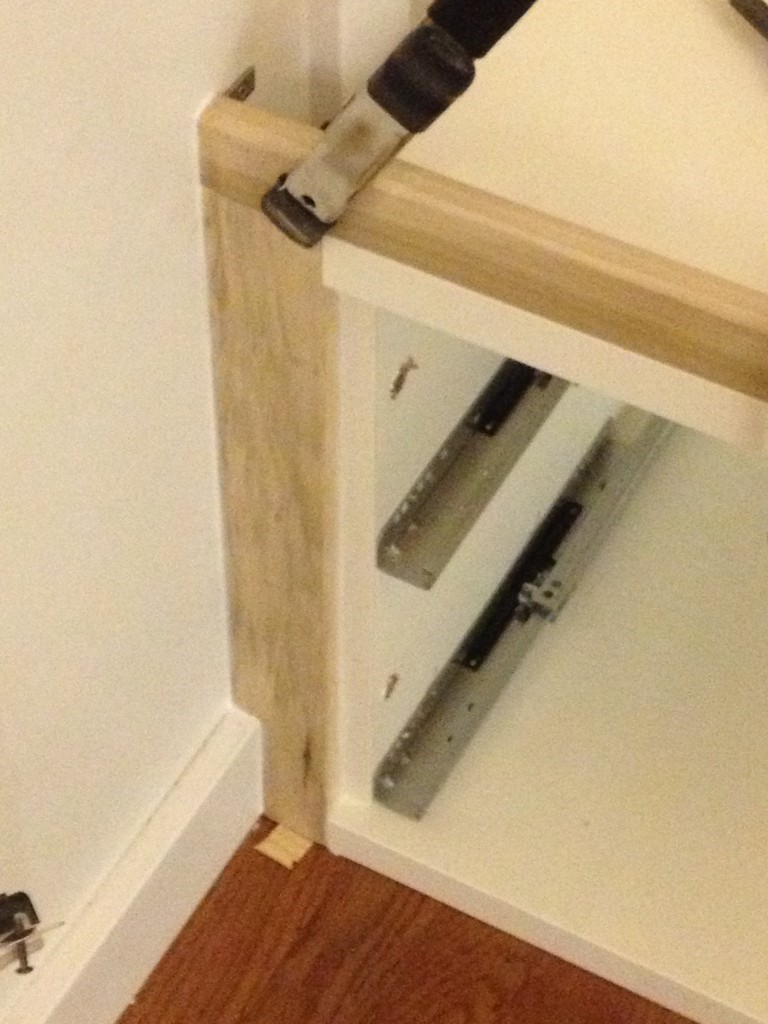 He also reinforced the top of the box so that it would be strong enough to seat several adults without sagging.
In addition, Bionic Man added a slight lip to the upper front of the drawer base, so that the cushion we’d eventually have there wouldn’t slip or slide off easily. I’ve been a mother for 15 years, I know the truth about cushions!
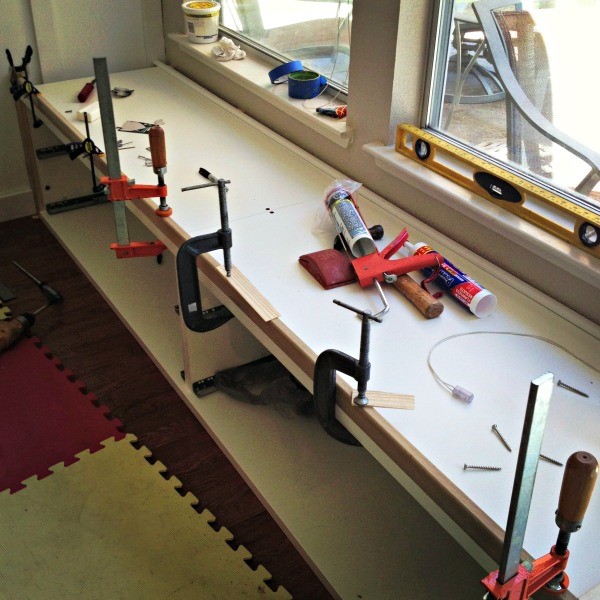
Here’s how the seat looked once the drawers were back in place. It actually looked like this for several months, until we completed the painting in our family room, and got those pieces of wood painted to match the rest of the window seat.
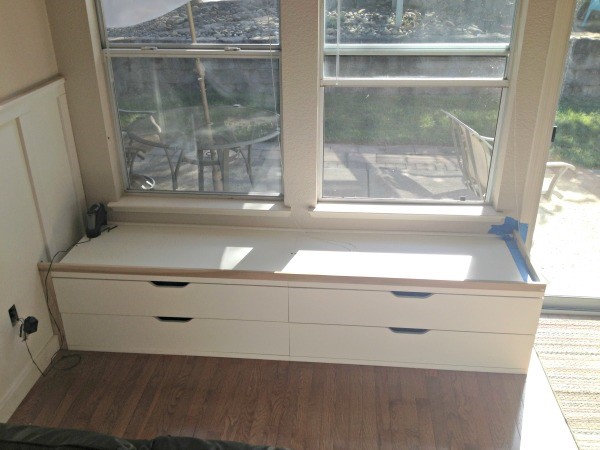 The final step in creating my dream window seat was making the cushion. Folks, that was harder than I thought it would be. Thank goodness for my mother-in-law! She came to visit and made our cushion. Basically, we cut this high-density upholstery foam down to the right size.
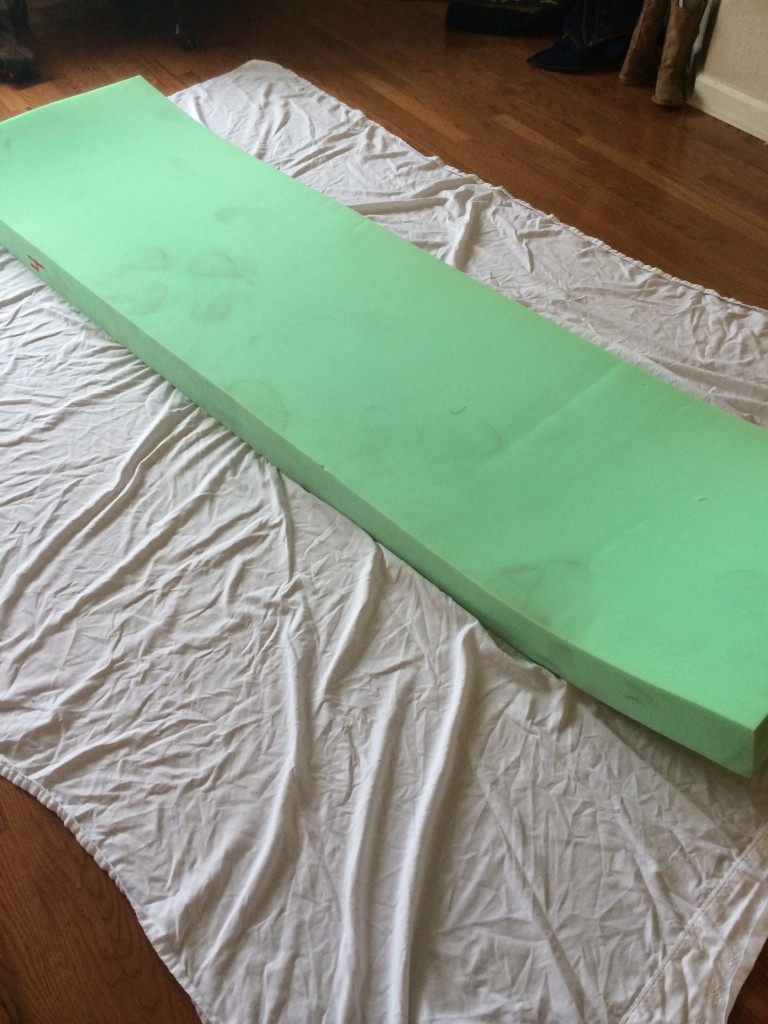 You could use cheaper foam, but I wanted this window seat to be comfortable enough that we could sleep on it if we wanted to. (And believe me, we have!) Vivian had the genius idea to actually cut the foam slightly larger than the actual seat. This meant that once it was stuffed into the cover she made, the cushion would be really, really dense and wouldn’t slide around on the seat at all.
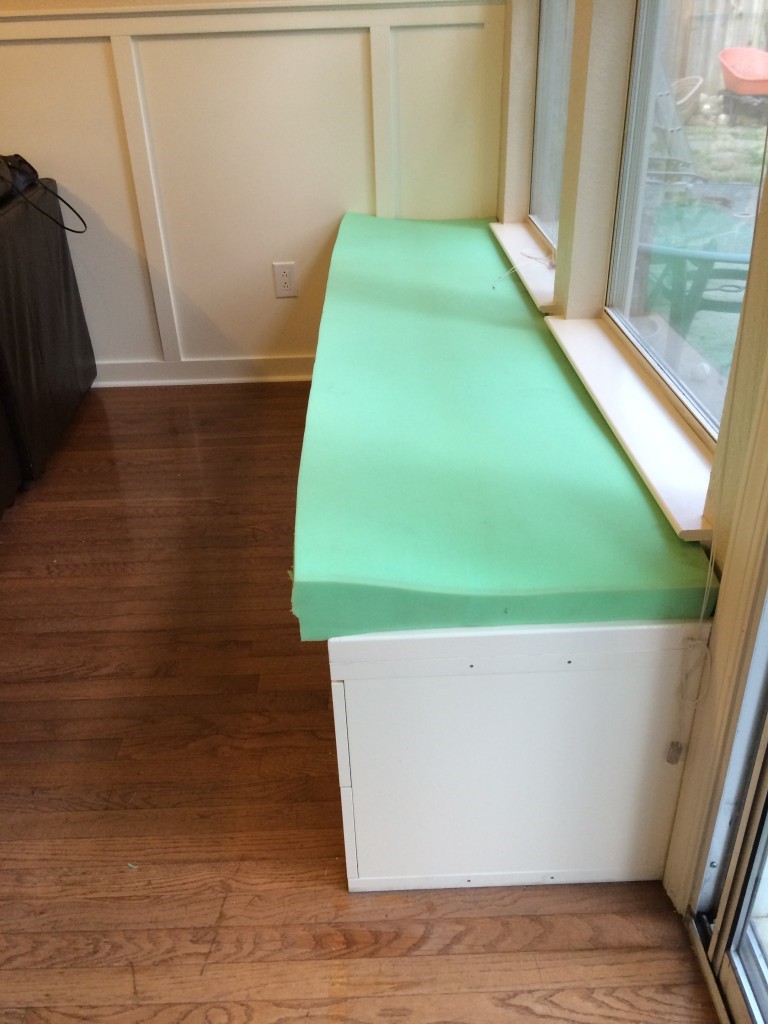 I have no pictures of the sewing process, but I can tell you that Vivian basically sewed a box cushion cover with piping on it. We used canvas dropcloths for the fabric, since they were cheap, durable, and they match my wall color really well. The cover has a zipper that runs almost the entire length of the cover, so that it can be removed for washing. Stuffing the foam into the cover was ridiculously aerobic, but the result was worth it!
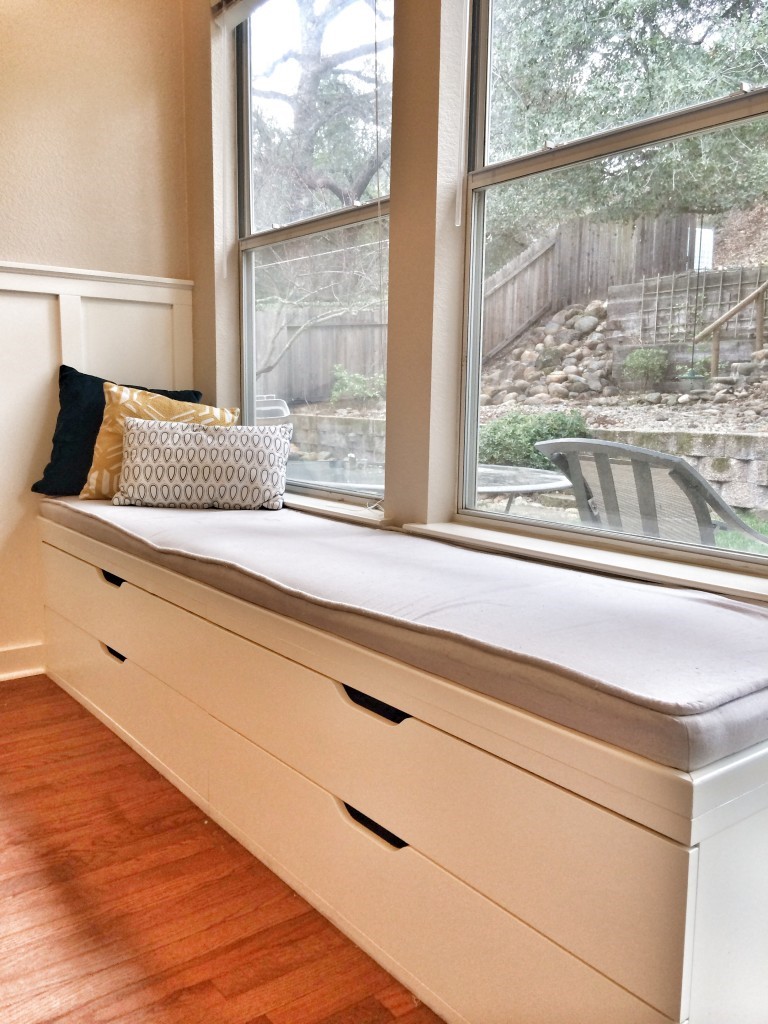 We’re so happy with the way the window seat turned out! It’s behind our couch, which kind of creates a neat little separate seating area back there.
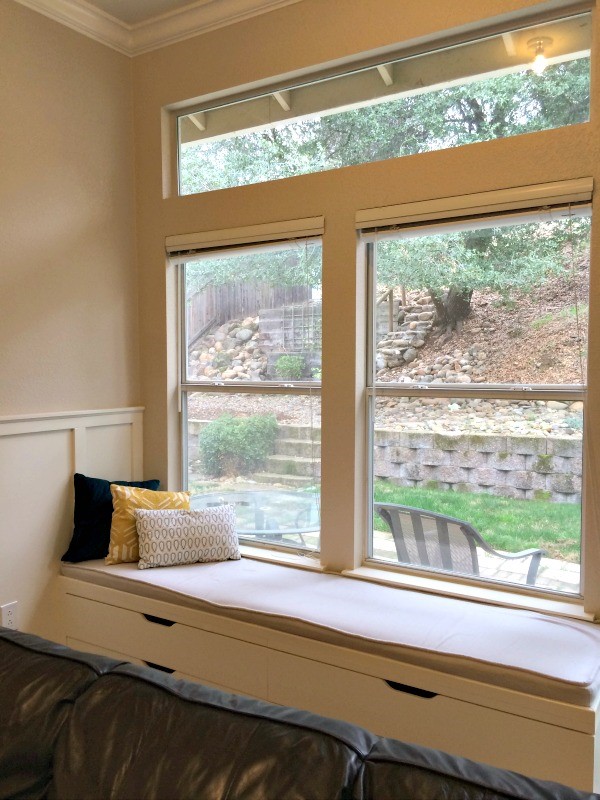 You can see the TV screen just fine from the window seat, so it’s great additional (and comfortable) seating when the kids have friends over to watch movies.
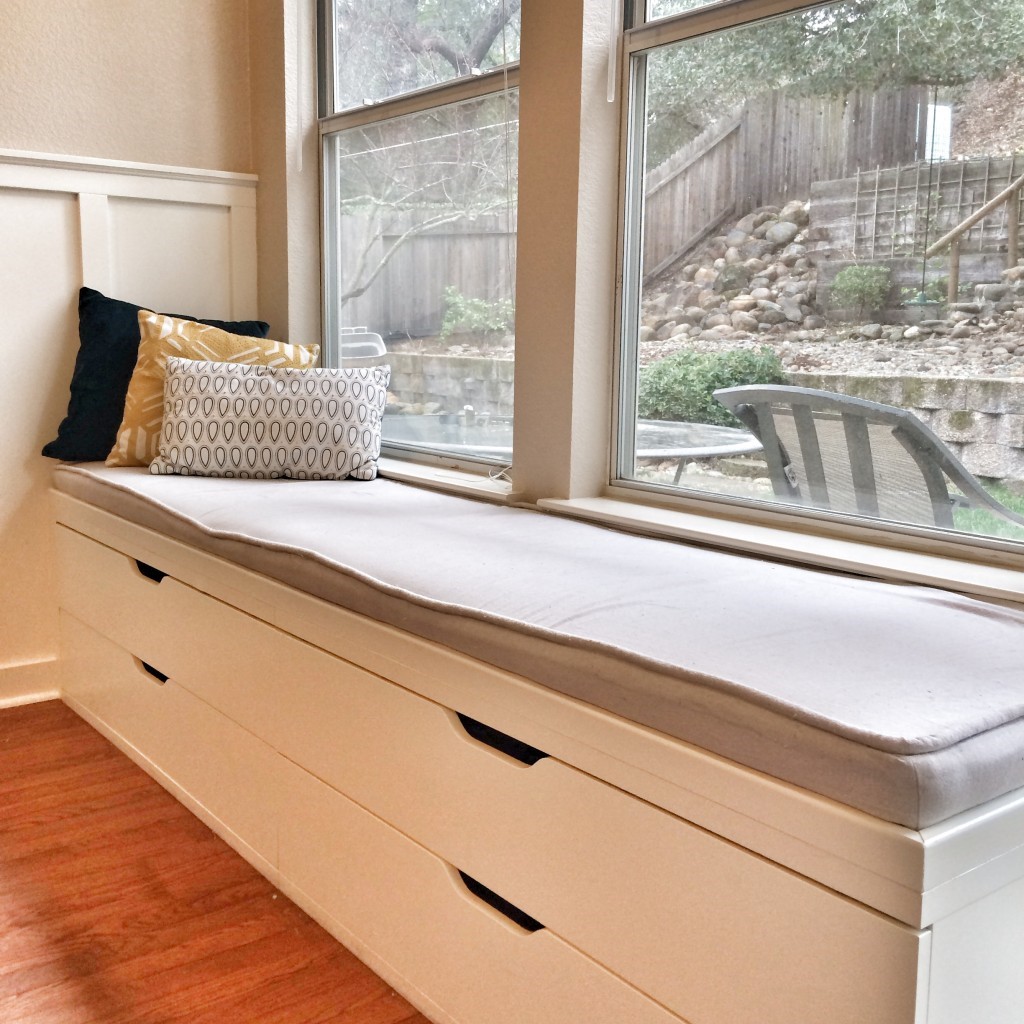 It’s honestly my favorite spot to work, now.
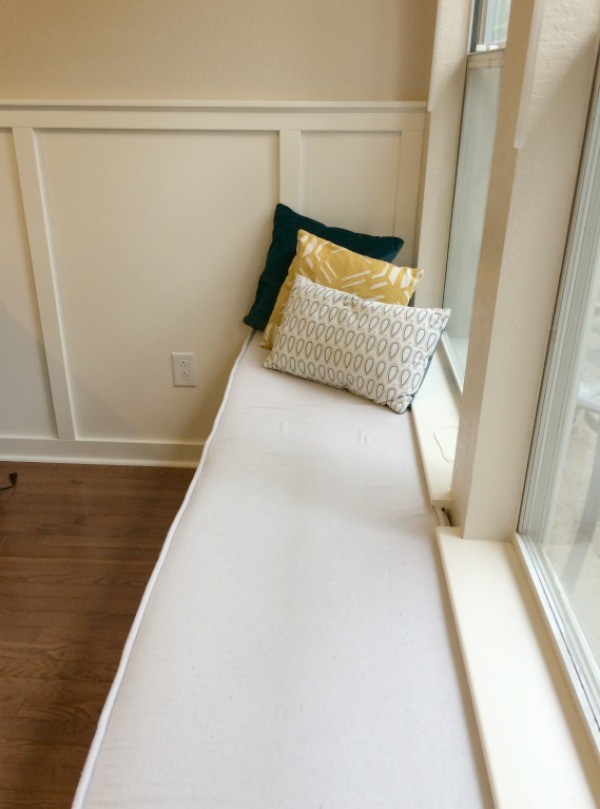 And we love the way the sunshine comes in from the window and warms the seat, making it a perfect spot for a catnap on a chilly day!
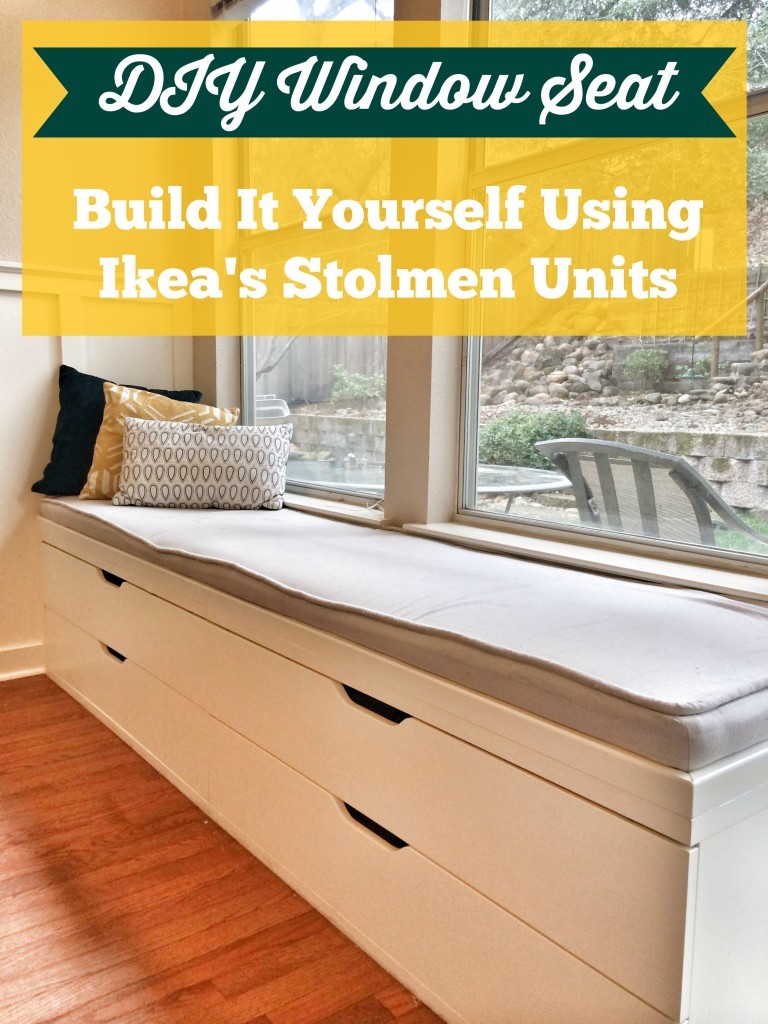 This isn’t the only way we’ve used Ikea products to add storage and style to our California Cottage. We gave makeovers to a couple of Billy bookcases, too, for our front room. I’ll provide more info on those another time, but here’s a sneak peak. Along with adding trim and doors, we replaced the regular backing with beadboard stained to a dark mahogany.