Don’t have any closets? No worries.
Simphome.com is here to help. I’ve rounded up 12 nifty ideas to help you organize your bedroom storage even without a closet. Without further ado, let’s start the countdown.
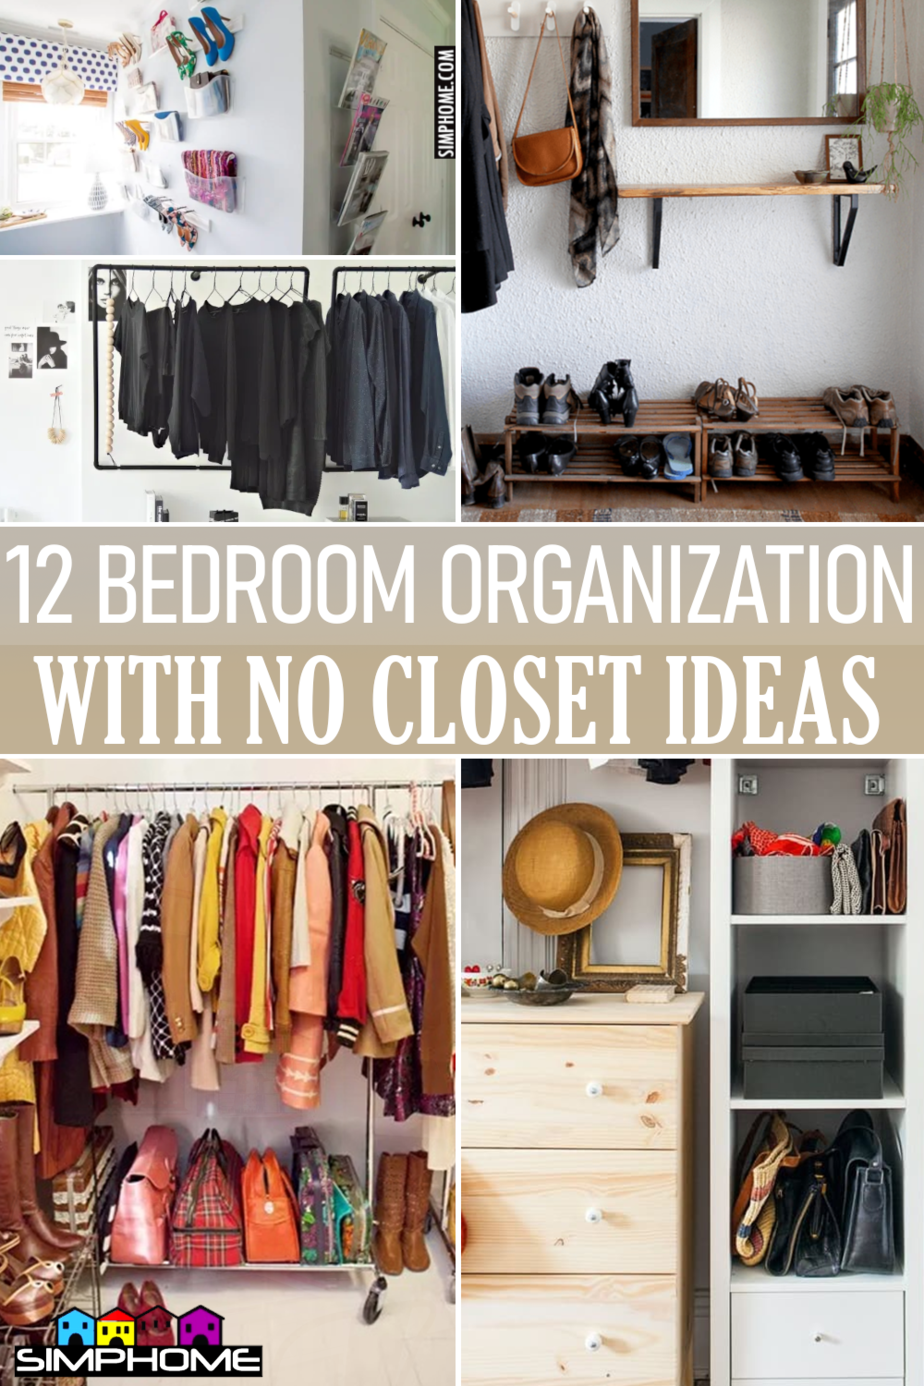
🔊12 Bedroom Organization With No Closet Video:
List Entries:
12 Bedroom Dresser Organization Ideas
12 Bedroom Closet Organizations
12 Unique Organization For Small Bedroom Ideas
Number 12. A Freestanding Corner Wardrobe Makeover Idea 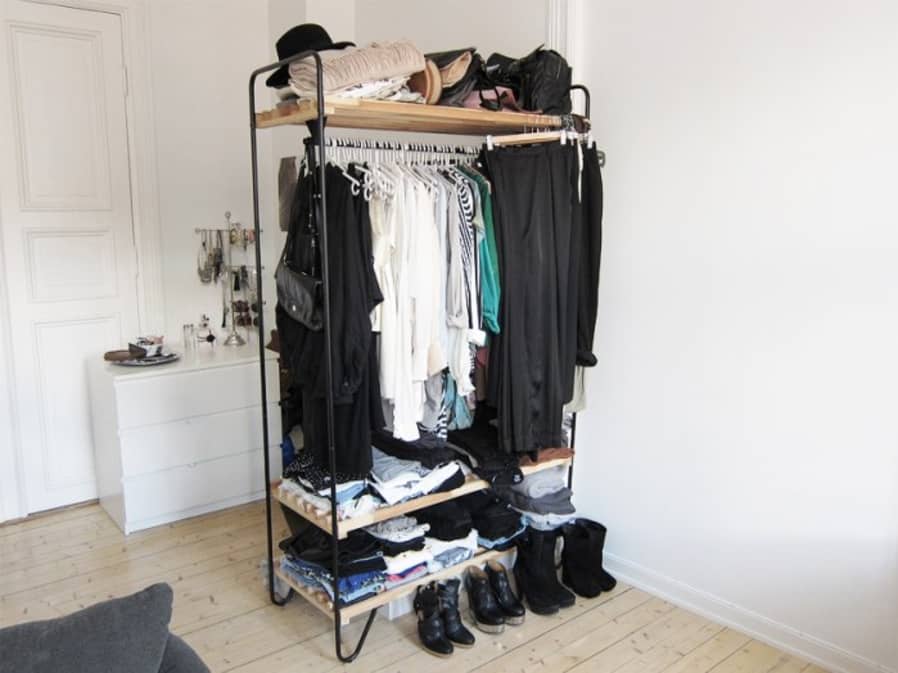
It’s time to divide and conquer. You can use a freestanding wardrobe rack as a room divider in what will effectively become a walk-in closet.
This solution is convenient if you have no immediate plans to add new closet walls. The wardrobe rack helps delineate a corner changing area while functioning as organized storage for your garments.
A small dresser and tower cabinet will serve as additional storage for other items you have. Adding a leaning mirror will make the area look more legit and is also indispensable.
The rack will help hide the clutter of your boxes that may be lying around. The trick is to keep your clothing always looking neat and well organized.
11. DIY Wooden Peg Coatrack Hack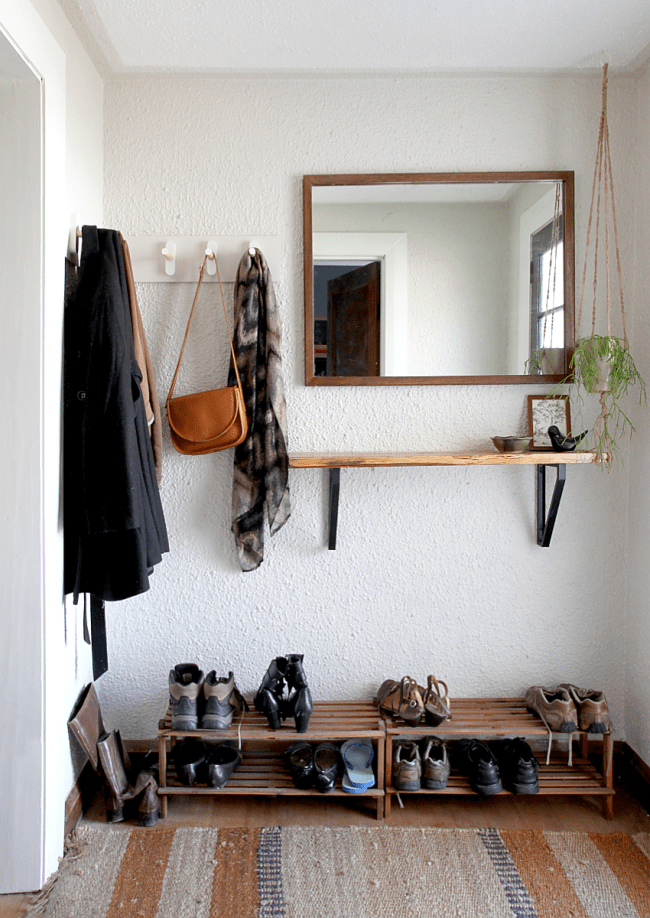
You can get these dowel planters from Kmart, each having a 4″ long base with rounded edges.
First, unscrew them from their base and apply some wood glue before screwing them back on again. That way, none of them will come loose from continuous use.
You’ll need two pieces of 6″ wide 1/2″ plywood with one shorter than the other for the backings. Attach the bases vertically with glue and some 3/4″ button screws spacing them 4″ apart.
Also, allow 3″ on the far ends and 6″ on the corner ends. The idea is to have the lengthier rack with three pegs on the wall facing you.
It would meet in the same corner with a shorter one with only two pegs. The 6-inch inner allowance would prevent your coats from being bunched too close in that corner.
10. Different Height Clothing Racks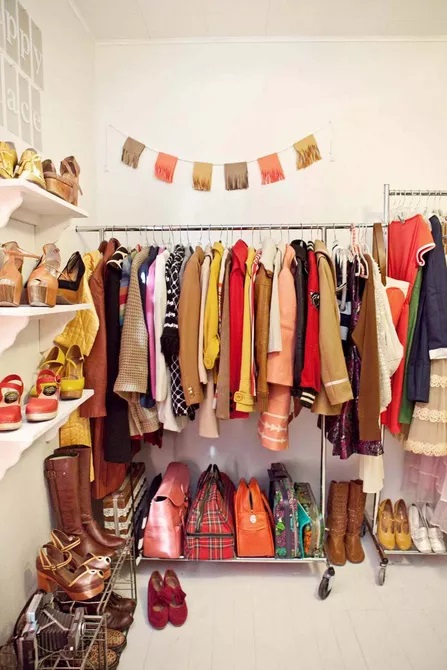
You can hang pants and shirts on a lower rack leaving enough room below them for assorted bags and luggage. A taller one would be for dresses and still have space left under for your shoes.
I also suggest that you use enough identical hangers for a cleaner look. The different rack and clothing sizes would make the corner look less like a monotonous department store clothing section.
These racks will work in tandem with even smaller racks and open shelves for more shoes and other items.
Relevant list:
10 DIY Small Bedroom Closet ideas and Clothing Racks
9. Hang On! This DIY Clothes Rack Could Be the One for You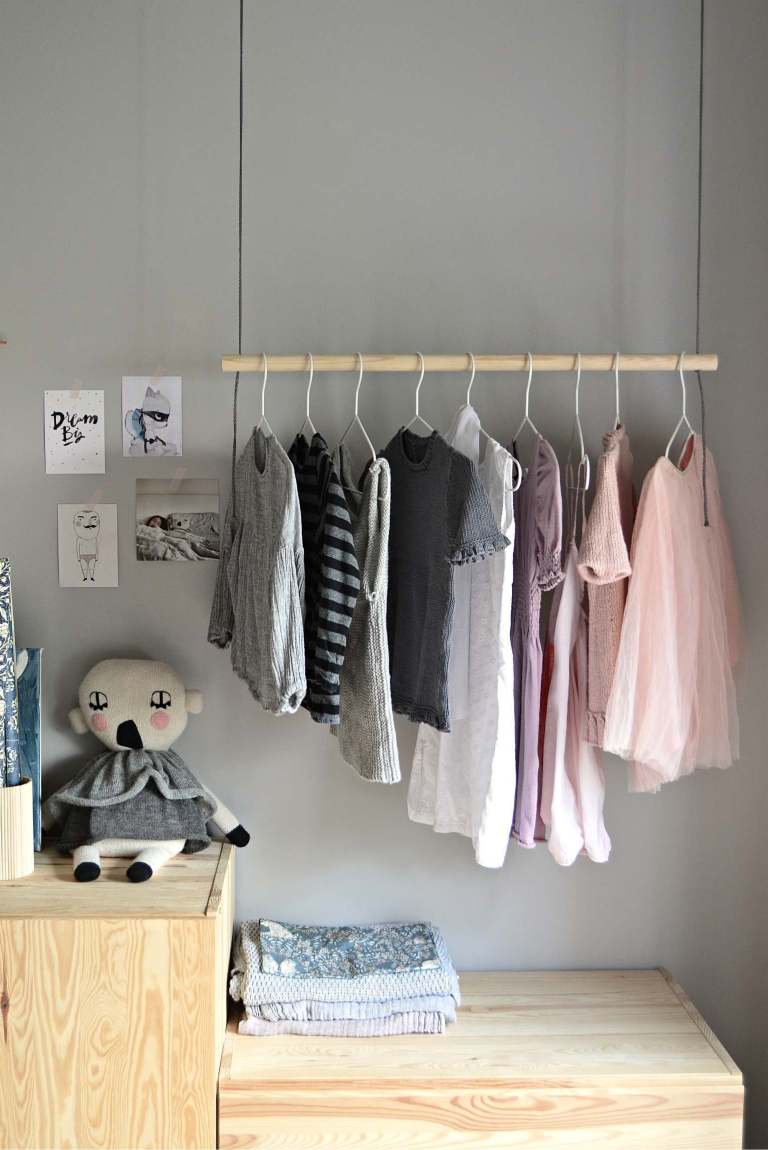
Here’s a simple DIY clothes rack for your daughter’s small bedroom.
Cut a 1″ thick wooden rod to the length you need. Then drill a 5mm hole about an inch from both ends.
Measure the length between the two holes and determine where you want to anchor two hooks on the ceiling. Make sure they are far enough from the wall so the clothes can hang freely.
You need two ropes with enough length for height adjustments. After tying one end to a ceiling hook, tie a double knot at the right rod level.
String it through a hole on the rod, and tie another double knot to secure it. Do the same for the other end of the rod.
Also read: 10 Organization Ideas and DIY Projects Using Tension Rods
8. A DIY Jewelry Organizer Made From Toy Pieces
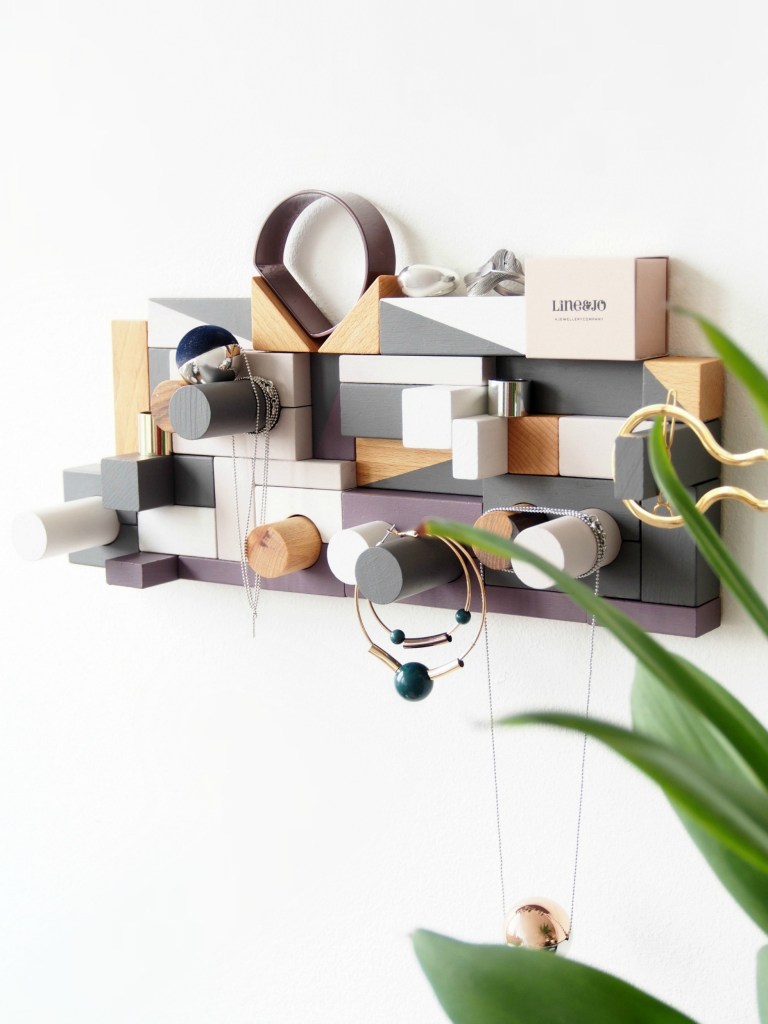
This whimsical DIY jewelry organizer is more about personalization with a dash of creativity.
Lay down varying shapes of wooden toy blocks and position them to your preference and style. Make sure there are short protruding pegs and tiny shelf pieces.
Once you’ve settled with a final design, get your phone out and take a picture so you won’t forget the arrangement. Cut a piece of 1/4″ plywood to the resulting shape for the backing and attach a hook behind it.
Paint all the pieces with up to eight different colors but leave a few with a natural finish. After that, you can start gluing them to the backing.
7. DIY Boot Rack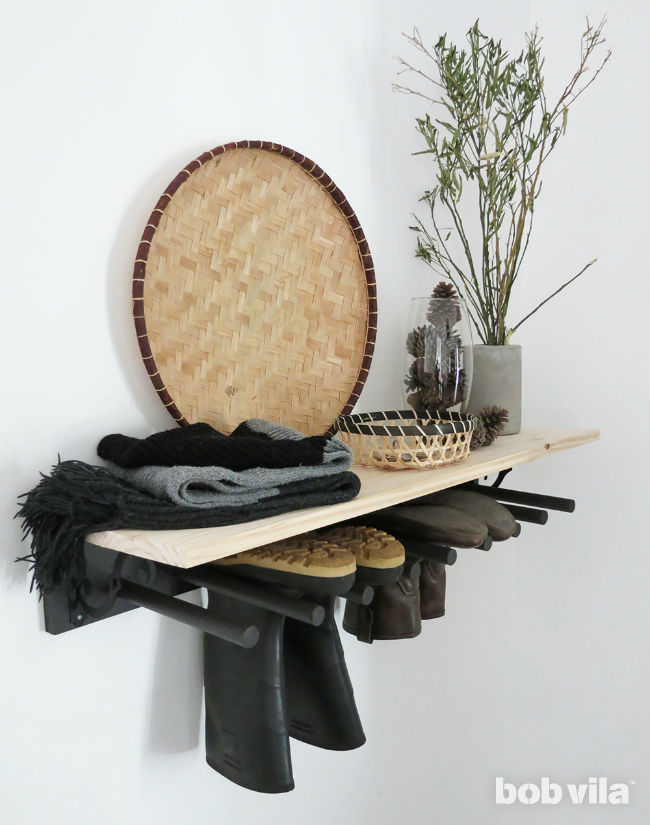
Cut three one-yard long 1×6″ boards. Glue the back end of the shelf to the top edge of the backing and clamp them together until they dry.
On the third board, trace a line 1-1/2″ from the bottom and mark nine spots 3-1/2″ apart. Then drill holes on those nine marks using a 1″ flat drill bit.
Next, cut nine 11-inch long 1″ dowels. After sanding all the parts, stick the dowels in with glue.
Before assembling, leave the shelf with a natural finish but paint all the pieces below it a glossy black for waterproofing. Attach the two parts with black shelf brackets using screws.
6. Easy Acrylic DIY Wall Purse Organizer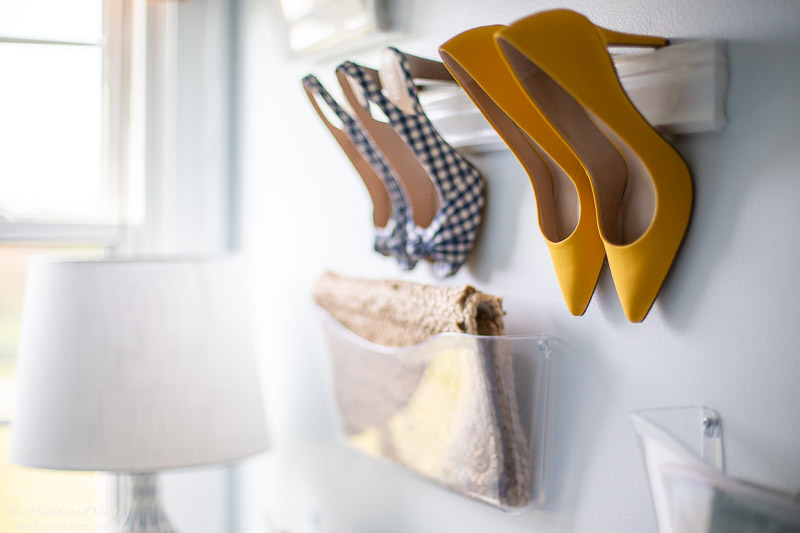
A dormer window would be the perfect spot for our next DIY organizer idea to showcase your beautiful purses and bags.
You can get these legal and letter-sized clear acrylic wall pockets from Amazon. They easily mount with drywall anchors using a power drill or impact driver.
The legal-sized ones can hold a single bag each. Use the smaller ones for your purses. You can also randomly mount a few moldings to hang your high heel shoes.
A good tip would be to temporarily hang all the pieces with painters tape to help you figure out the best layout.
5. Make This DIY Minimalist Open Wardrobe in Your Bedroom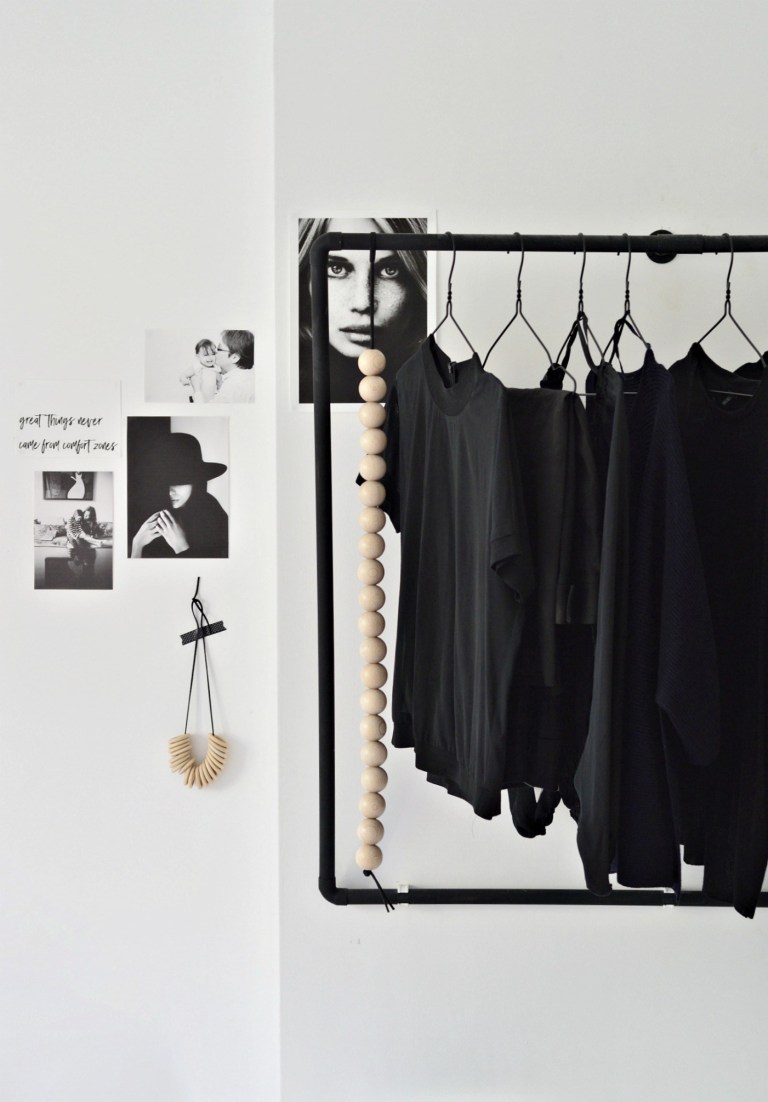
You can hang your clothes on these leaning and stylish-looking DIY black racks. They’ll go well above a simple white dresser from IKEA to complete a minimalistic look.
You’ll need eight pieces of 3/4″ pipes and eight elbow joints to form two square frames. Cut a middle segment off the top pipe of each square wide enough to fit a T-joint.
It would allow for a 1-foot perpendicular tube for each rack that you can mount on the wall using a couple of flanges and some screws.
Finally, snap the bottom end of the squares into six open pipe clamps screwed on the wall.
4. Easy-to-Make Modern Plywood Headboard With Built-in Shelves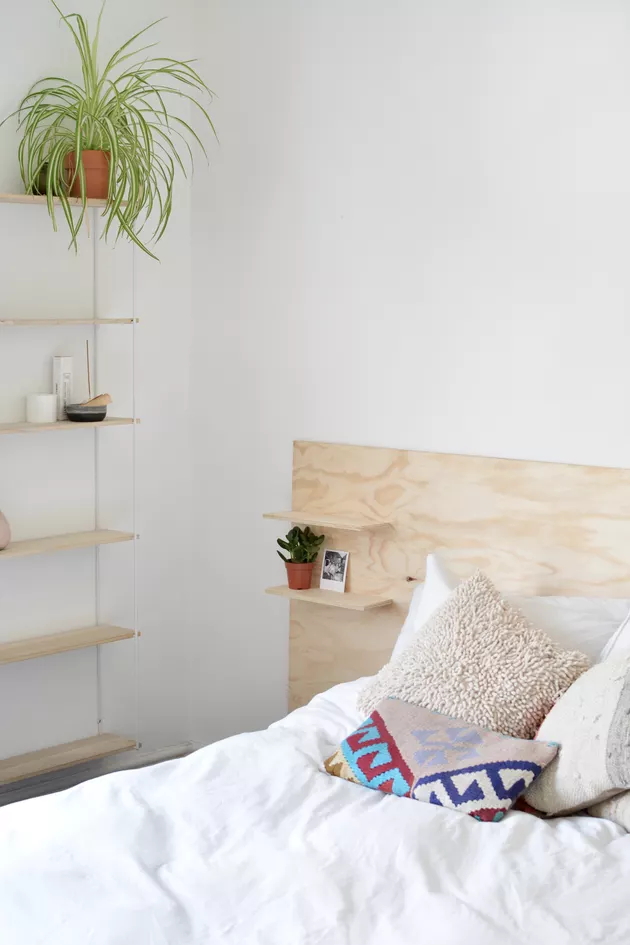
Another modern-looking minimalist DIY project you can try is a simple plywood headboard with shelves to put some decorative items.
You’re going for a natural look, so it’s crucial to pick a 3/4″ plywood with lovely wood grain patterns. Cut the main 8×3′ part, and from the remaining piece, you can cut four 12×3″ shelves.
The top shelves should be 8″ from the top of the headboard, while the bottom ones are another 8″ below them. Attach them with glue and clamp them down until they dry.
Lean the headboard with the shelves facing the wall. For added support, pre-drill three holes behind each shelf before driving 1″ woodscrews into them.
3. Copper Shoe Rack Project Idea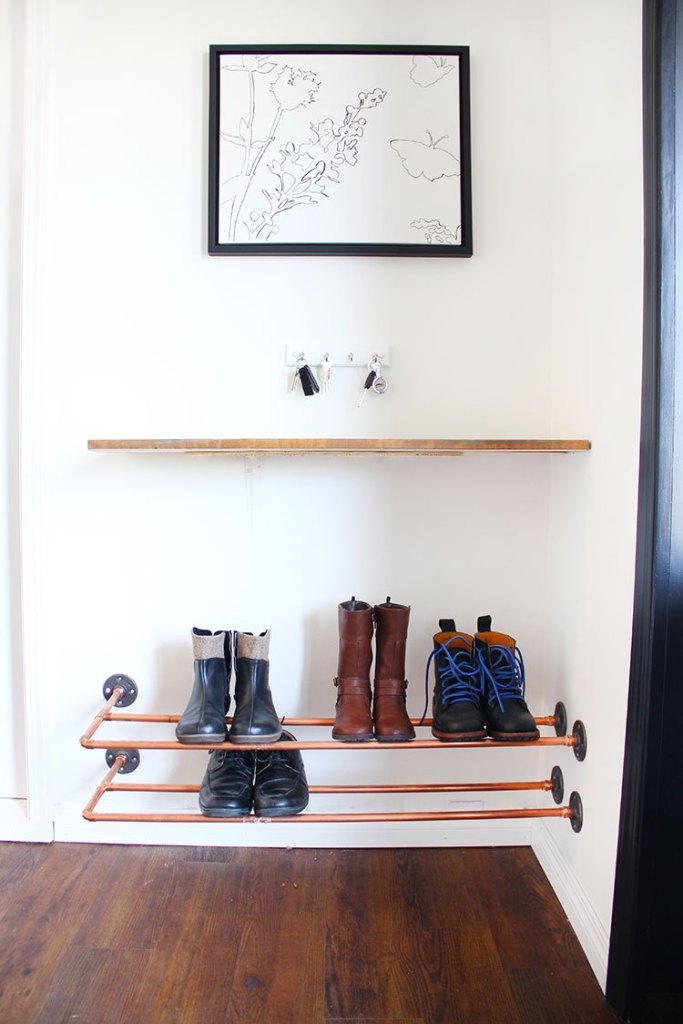
A fashionable DIY floating copper shoe rack would help neatly organize your footwear in a corner. You can craft two levels with the top one for boots and a lower one for shoes.
For each shelf’s depth, you would need a 12×3/4″ copper pipe. Cut it in half and attach both pieces to a 3-foot pipe with a T-joint. All the pipe ends must be threaded.
Connect another 3-foot pipe to one of the short pieces using an elbow joint. Next, attach flanges to the three open ends so you can screw the shelf to the walls. Repeat the process for the second shelf.
2. A No-Closet Solution From IKEA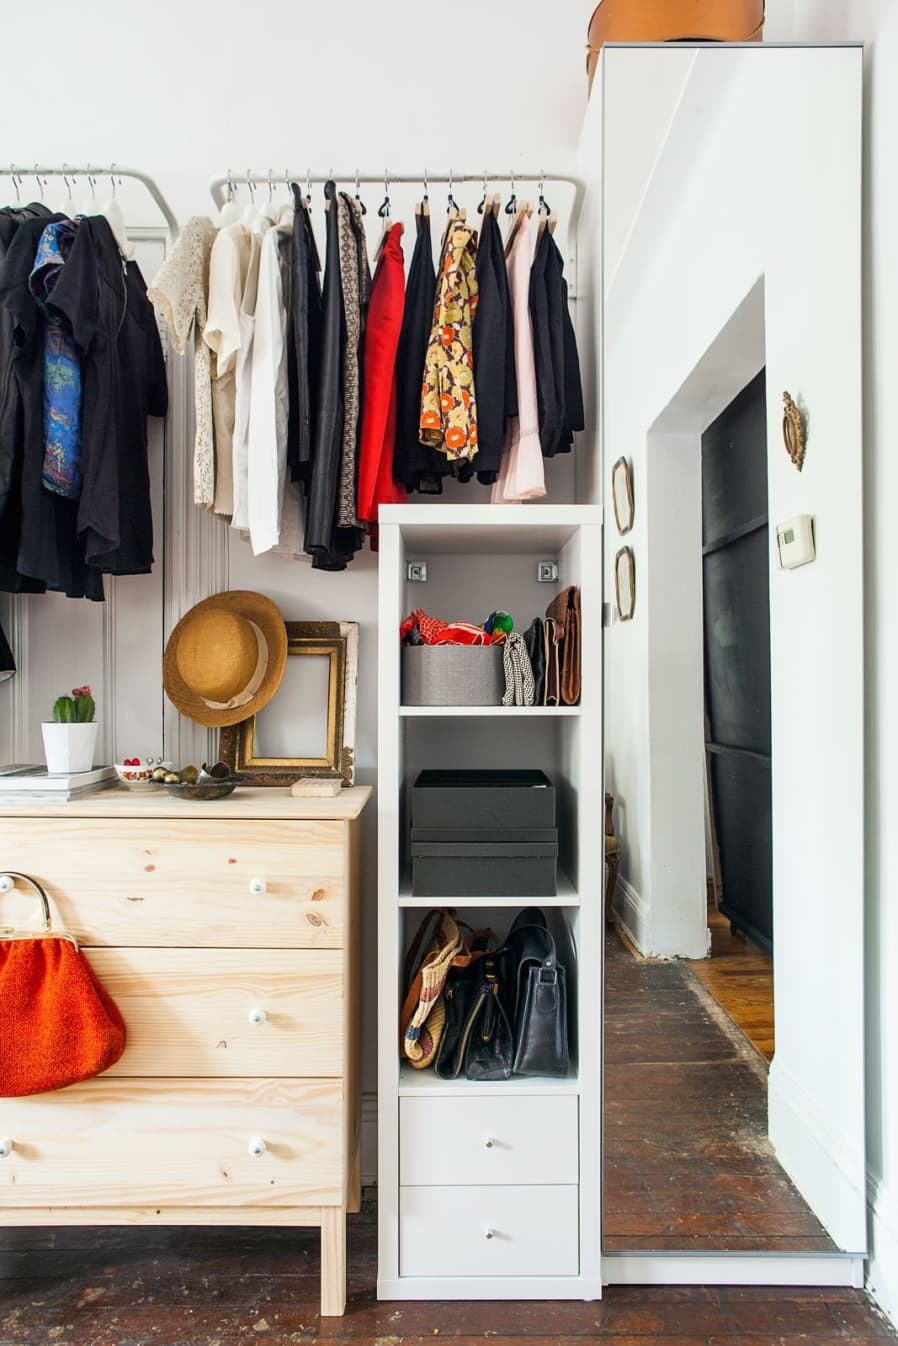
Combine different racks, rods, shelves, and furniture from IKEA to craft this beautiful wall closet in one side of your room. You can even build it over a door that you hardly use.
On one end, you can mount a shelf and place a mirror and some open box shelves above it. You can install a rod under it with hooks for your bags and purses.
Install wall-mounted rods high in the middle section to hang your clothes. Underneath, you can place a utility cart, small dresser, and short open-shelf cabinet. A taller cabinet with a mirror door would look great on the right and provide even more storage.
Also read: 10 Ideas How to Get the Best out of IKEA BESTÅ Unit
Lastly, Number 1. DIY Standing Vanity Idea With Pegboard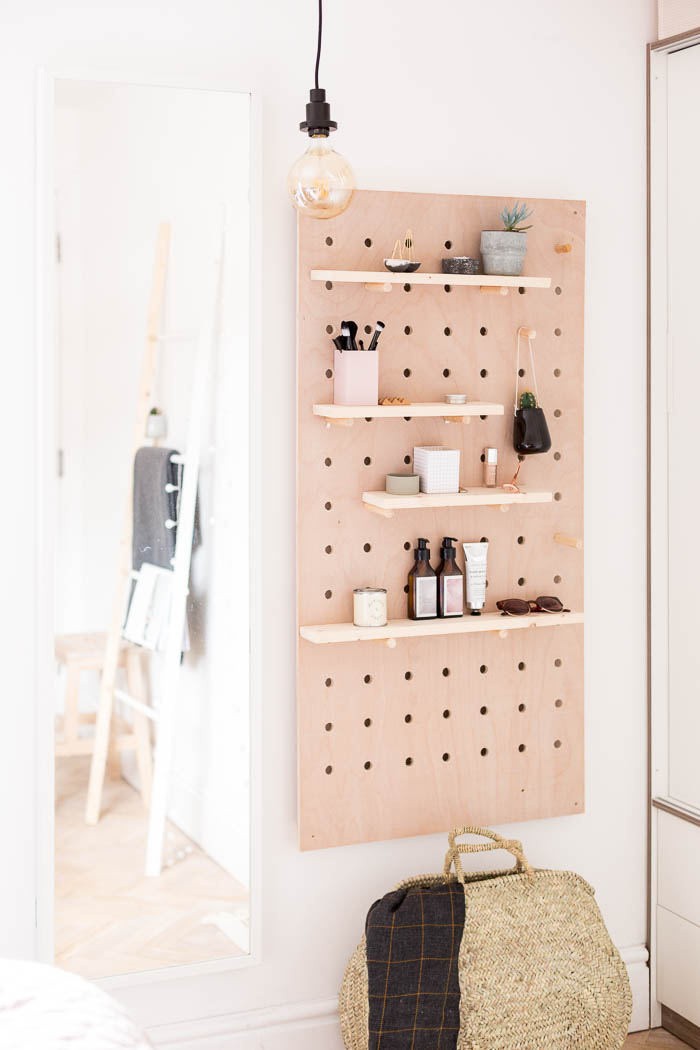
Instead of a traditional one, you can opt for an elegant DIY standing pegboard vanity solution to save more space.
Cut a 20mm (1/2″) plywood to the dimension you want. Draw large gridlines and drill 15mm holes where they intersect. Be sure to sand the entire board thoroughly after filling it with holes.
Drive 3-inch screws on a pair of 2×2″ on the wall where you’ll mount the pegboard’s top and bottom edges. Stick two 15mm pegs for every narrow pine shelving you want to add.
To complete the vanity, install a long wall mirror beside the board. A sizeable hanging bulb would add some style points to the area. Also read: 10 Storage Solution & Organization Ideas using Pegboard
Conclusion:
As you can see from these twelve excellent no-closet ideas, you’re not alone.
Many folks have the same issue. However, this is but a small sampling of several creative solutions available out there. I hope it inspired you to try at least one of them.
You can read the entire article on Simphome.com and get other valuable ideas for your home.
Reference:
12. Apartmenttherapy.com, Livesimplybyannie.com
11. Saltbushavenue.com
10. Thespruce.com
9. Yourdiyfamily.com
8. Monsterscircus.com
7. Bobvila.com
6. Heatherednest.com
5. Yourdiyfamily.com
4. Hunker.com
3. Freshcrush.com
2. Apartmenttherapy.com, Refinery29.com
1. Fallfordiy.com