3. The DIY Wooden clothes rail with brass tube pieces
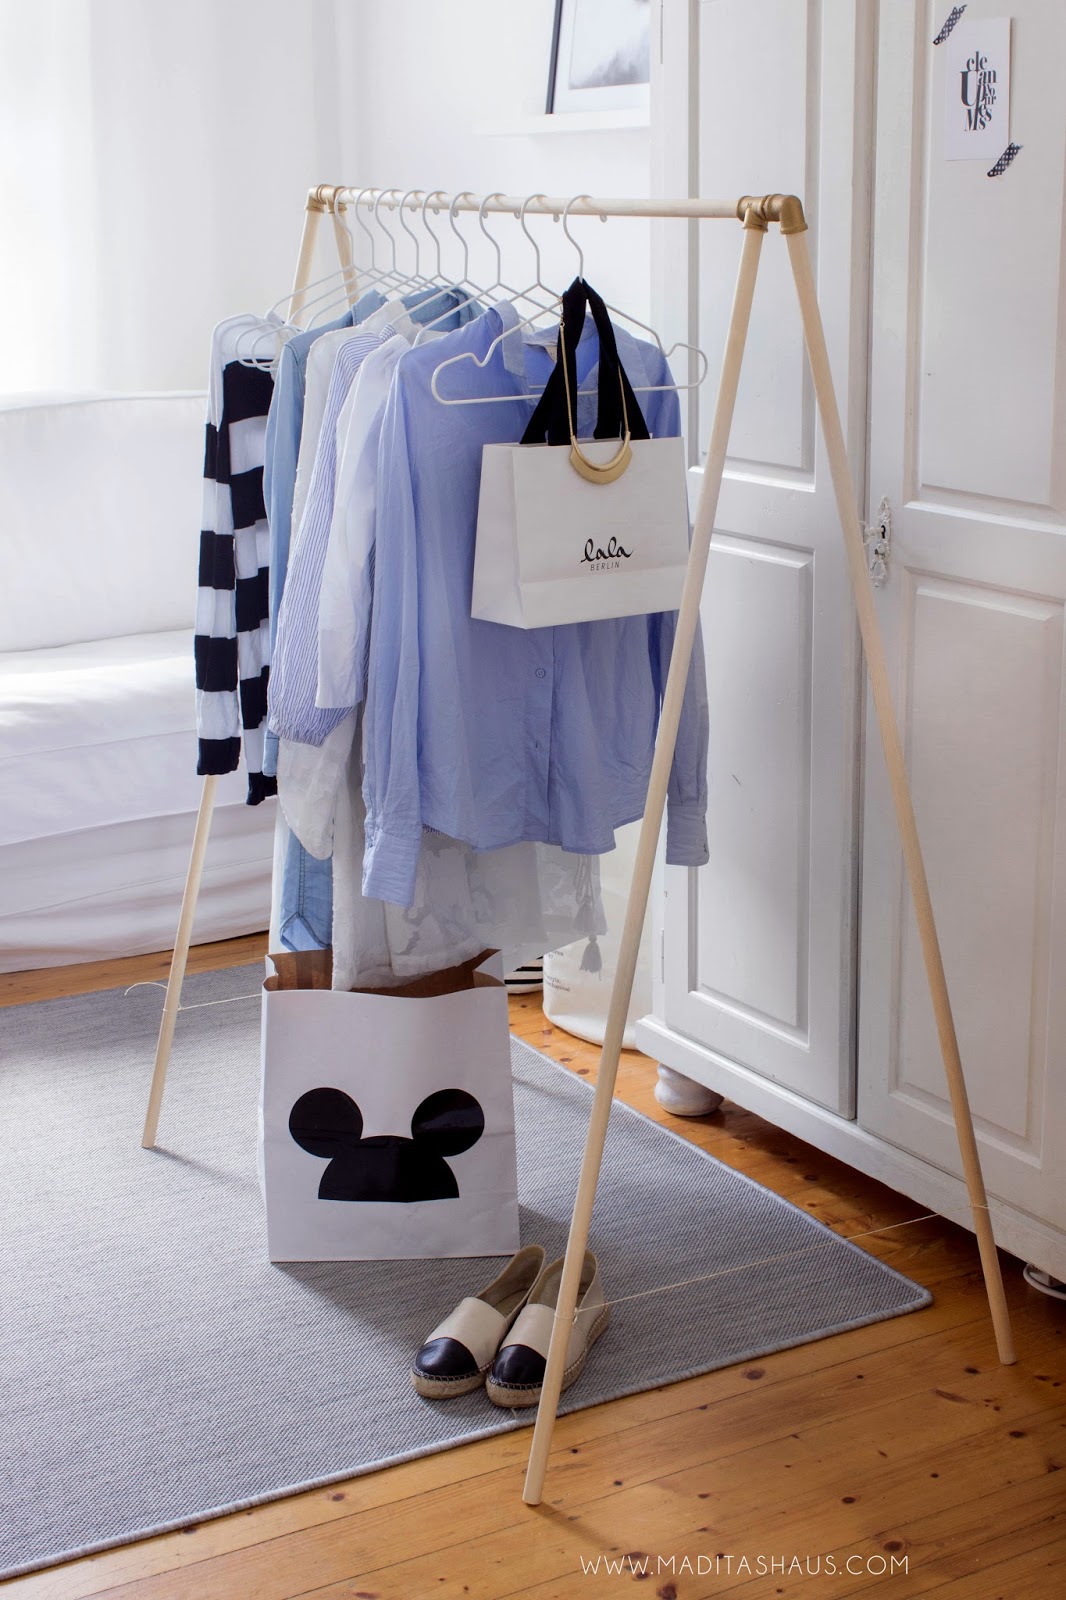 Ladies and gentlemen, gather ’round for the ultimate DIY adventure: the “Wooden Clothes Rail with Brass Tube Pieces!” Get ready for laughter, learning, and some seriously organized closet space!
- Step 1: Prep time! Arm yourself with wooden poles and brass tubes. Measure twice, cut once, and create the ultimate clothes rail puzzle. You’ll connect the T-piece (the one with three openings) and the bend like a closet-organizing ninja. Behold the magic of the clothes rail taking shape!
- Step 2: Time to screw those wooden sticks into the openings! The brass tubes have threads, so twist ’em in tight. Stability is key, folks; a wobbly rail is no laughing matter. If your sticks are looser than your dad’s jokes, break out the 2-component adhesive for backup. But be warned; you’ll be saying goodbye to easy disassembly (cue the dramatic music).
Now, let’s glue and make sure everything’s at the right angle – precision is the name of the game. You don’t want a Leaning Tower of Clothes Rail.
Picture your masterpiece standing tall and proud, legs at perfect right angles.
So, what have we learned, DIY warriors?
Measure, cut, screw, glue, and laugh your way to closet organization bliss.
Your closet will thank you, and you’ll have a hilarious story to share at your next dinner party.
Embrace the Wooden Clothes Rail with Brass Tube Pieces and become the master of your wardrobe domain!
And remember, a little laughter goes a long way in the DIY world.