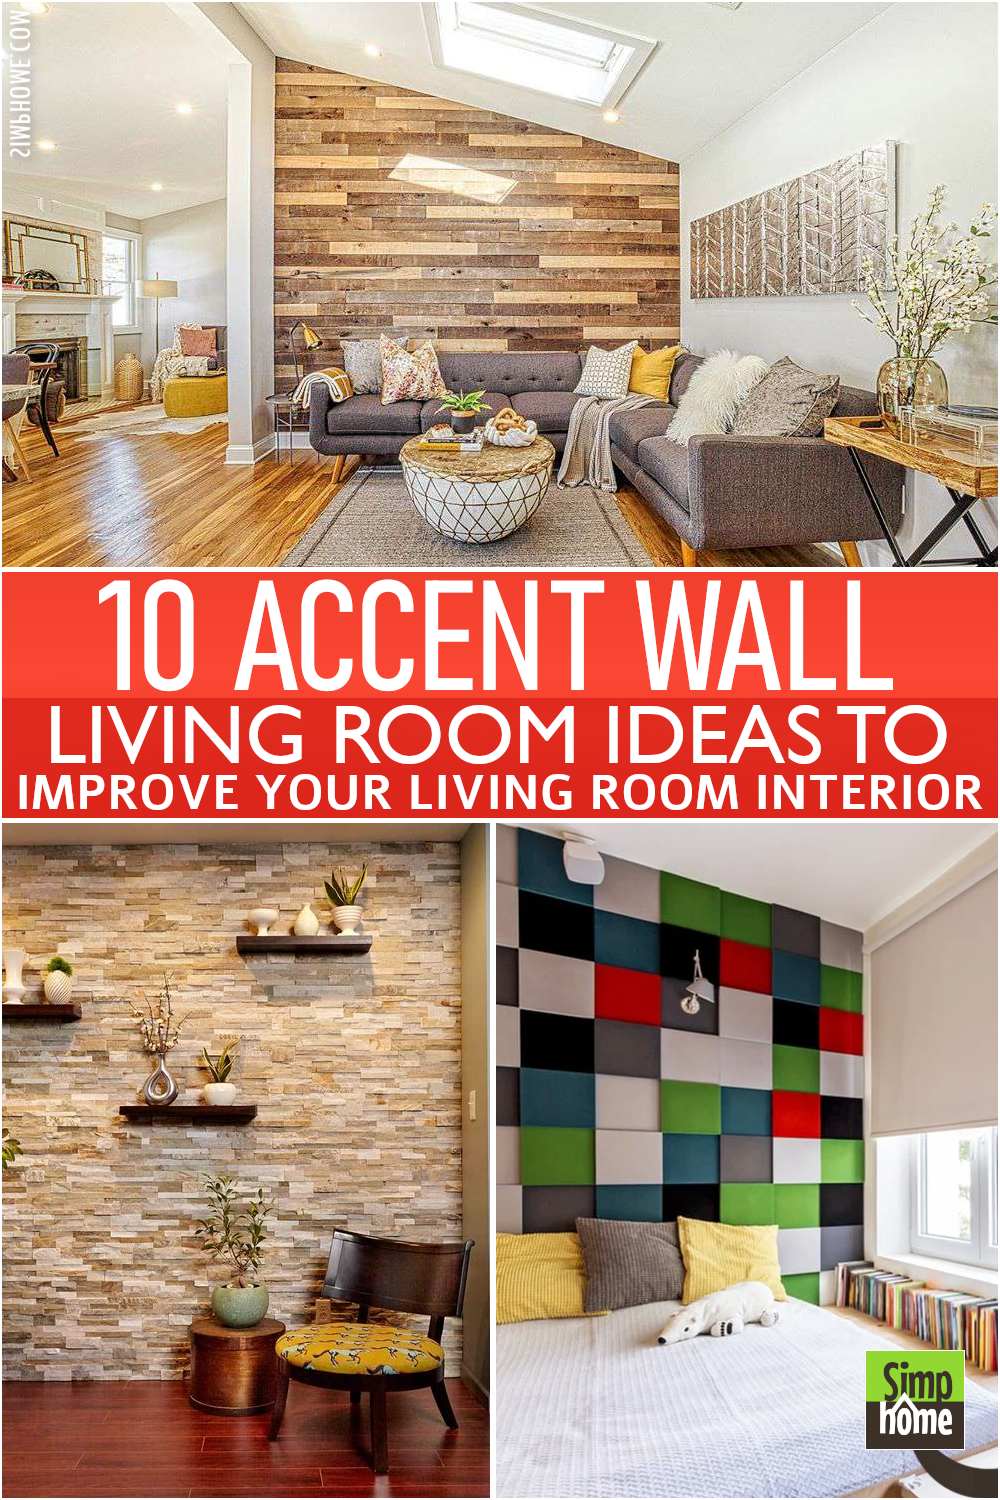
This article will look at ideas for decorating living room walls with accent pieces. These are ten great options that should work well with any style or need.
Key Points:
- Decorating with accent pieces helps create the feeling that your living room is a comfortable place for gatherings. These can be framed photos, artwork, furniture, or other things that have meaning to you or the people who use the room regularly.
- You can make your accent pieces stand out even more by creating negative space around them. This choice is a design technique used in art long before Instagram, and it’s still as effective today as it always was!
- It’s not just framed photos and artwork that can serve as accent pieces on living room walls. Other things that can provide a focal point include clocks, lamps, mirrors, and other items.
- You can use accent pieces to give your living room a cohesive feel by grouping similar ones together. For example, you could place a pair of photographs side by side on your living room wall to draw a line between them and make it look as if they were meant to be there together.
- If you want more than one color in an accent piece, simply paint it in the same color as an accent wall in your home or create the accent piece using matte paint chipped or sanded down with gouges (many hardware stores sell this).
- If you’re going to put up an accent piece above a mantel or a fireplace, you may want to consider buying a mirror or a piece of artwork that has at least some reflection ability. This choice will reflect the light from below and create more of an ambiance in the living room.
- You can make your living room feel bigger by using larger-than-life photos for your focal point; for example, if you’re displaying photographs on your living room wall, try using 10×8 prints instead of 4×6 prints.
- If you like to decorate your living room walls but don’t have space for every item you want, it may be best to display only a few items and use a key piece with meaning. For example, if your living room features a large-scale print of a painting, it might be best to set the photo by that painting instead of the print itself.
- Old clocks can add a bit of casual charm and personal style to any living room wall. You can also dress them up with new numbers or other designs and add some personality and pizzazz with art on the backside.
- If your living room walls are a little boring, add some fun by choosing mirrors that show off a bit of the party life. This choice is a good idea for basement or loft living rooms or any room with minimal wall space.
- If you don’t want to go the DIY route, it’s possible to buy accent pieces at the store: for example, you can buy framed prints in any size and style you want, or even use metal clip frames with glass inserts (these are available in many styles and sizes).
Adding an accent wall is better than letting the wall space be empty and uninteresting. Everybody can create an epic look that will become the centerpiece of any room in the house by blending colors, tones, and texture.
Since the living room is the first thing your guests may notice or even stare at, you need to make it impressive. Thus, you should check these 10 accent-wall living room ideas. They are even perfect for your next DIY project. As always, Simphome presents you with the list.
🔊10 Accent-wall Living Rooms Video:
List Entries:
10. Try the Whimsical Look of Patchwork
 Constructing an accent wall in a living room doesn’t always deal with complex projects and high prices. Instead, you can adopt the idea of patchwork that uses the materials you already have at home; fabric.
Simply pick a coordinating fabric selection and wrap it around rigid cardboard or plastic squares. You can optionally use a thin wood.
Next, add the squares to the wall in an interesting pattern using double-sided mounting tape.
Relevant instructions:
- Step 1: Get ready with the fabric and cardboard/plastic
Cut out a few squares from the fabric. Then cut out several strips of cardboard or plastic and some other 2-inch strips. - Step 2: Wrap the Fabric around the Cardboard/Plastic Squares
Wrap one of your square pieces with a strip of fabric near its edge, and then wrap another strip around its side. Continue doing this until you have wrapped all sides except for one.
Then secure the piece in place using double-sided mounting tape. Repeat this method for your remaining squares and strips of fabric. Depending on how many squares you want to make for your wall. - Step 3: Attach a Styrofoam Board to the Curtain Rod
Nail a Styrofoam board to the wall using 2-inch nails. This plank should hang at least 3 feet away from the wall’s edge, so you can attach it after wrapping all of your fabric squares. - Step 4: Add Accessories to Your Accent Wall
Once you’ve finished wrapping your first square, attach pieces of trim and moldings such as crown molding and baseboards, depending on your design’s theme.
9. The Geometric Accent Wall Idea for a Modern Living Room
 Although this geometric accent wall looks good in this bathroom, it does not mean it can make a fabulous centerpiece in your living room.
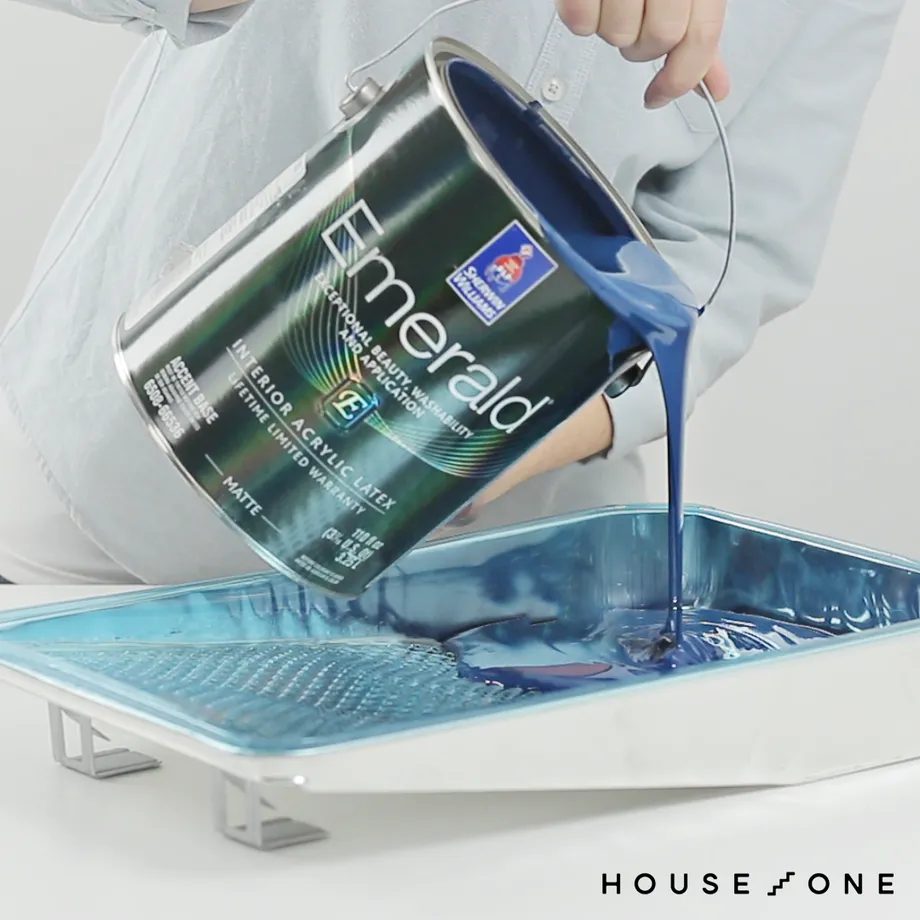
If you are interested in using this geometric accent wall in your living room, the primary thing to do is to choose the color and pattern you like. Then, prepare the materials, including interior acrylic latex paint, straightedge, paint cup liners, paint tray and liners, and spackle.
Meanwhile, the tools you have to be ready with are a paintbrush, roller frame, painter’s tape, nap roller cover, sanding sponge, and tape measure.
Once you have the tools and materials, start the project by cleaning dirt, grease, and grime. Then, apply the base color optionally. After that, mark the pattern using a straightedge to draw. The next step is to apply the painter’s tape.
Later, prepare the paint and paint the first section using a roller fitted with the nap roller cover and a paintbrush. Leave it to dry before applying the second coat if you like it. Next, tape off the second section and paint it. Then, remove the painter’s tape for finishing.
8. The Ombre Hexagon Wall Idea
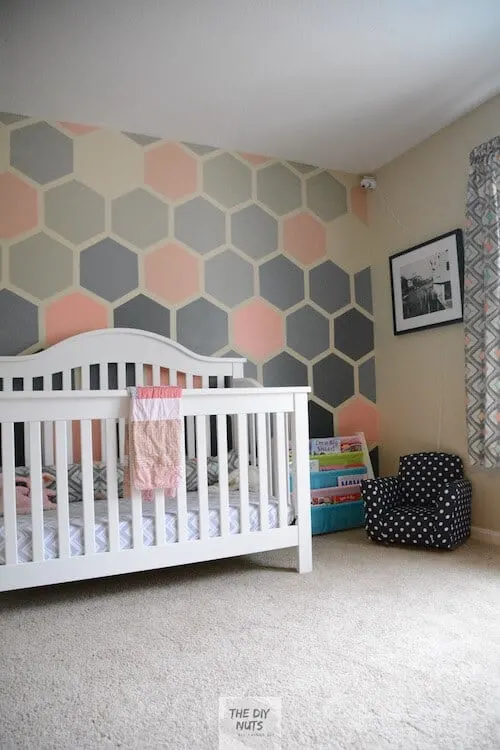 If you want a simple yet stunning accent wall, This ombre hexagon wall is an option to try. Follow these simple steps to make your wall looks different.
- Get the middle of your wall and mark a small sign with a pencil to determine the center that is the first template to tap.
- Make one hexagon template from the cardboard or paper.
- Line up the middle of the template with your pencil on the spot and tap it on your wall.
- Tape around the hexagon using painter’s tape.
- Line up the hexagon wall carefully on the edge of the other one.
- Continue lining up the hexagon and taping out the accent wall pattern.
- Start painting when you finish the tapping
- Wait for the paint to dry.
- Take off all of the painter’s tape.
- Clean up.
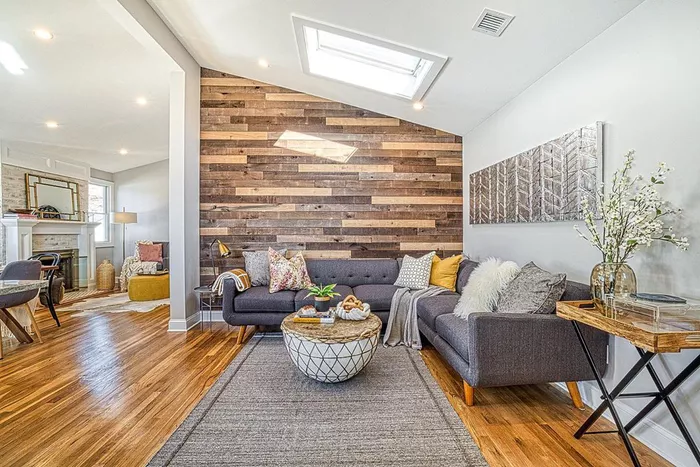
7. Add Texture and Pattern with Shiplap
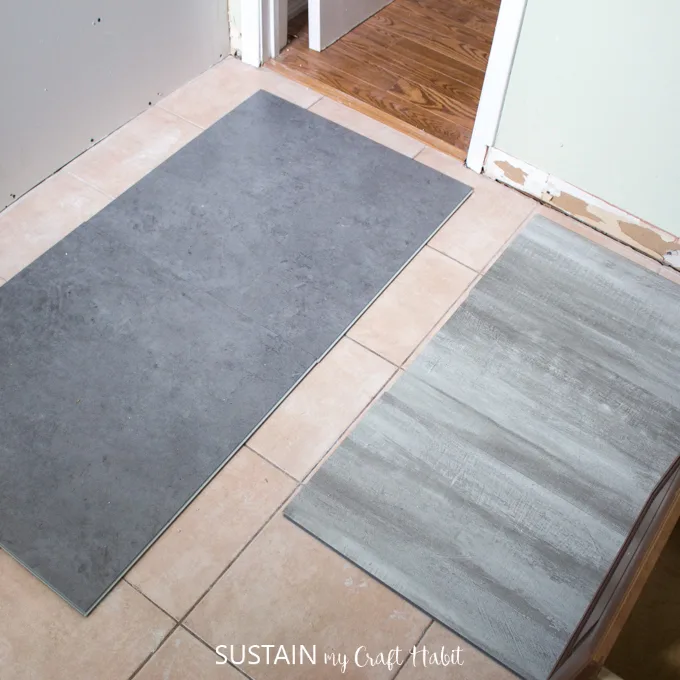 It is pretty easy to carry out a shiplap installation project. Prepare a shiplap, measuring tape, pencil, level, miter saw, circular saw, jigsaw, nail gun, and 1 ¼ inch finishing nails.
Here are the steps:
- Measure the wall thoroughly and mark the shiplap to cut.
- Set up the first shiplap board on the far left corner wall.
- Place the second board and the first board overlapping the edges.
- Keep installing shiplap boards for the entire length of the wall.
- Place the last board along the wall. Secure it in place using the nails.
- Install the simple trim along the top edge and fill the gaps with paintable mud.
- Paint the prime shiplap boards as the final step.
6. Picture Framed Gallery
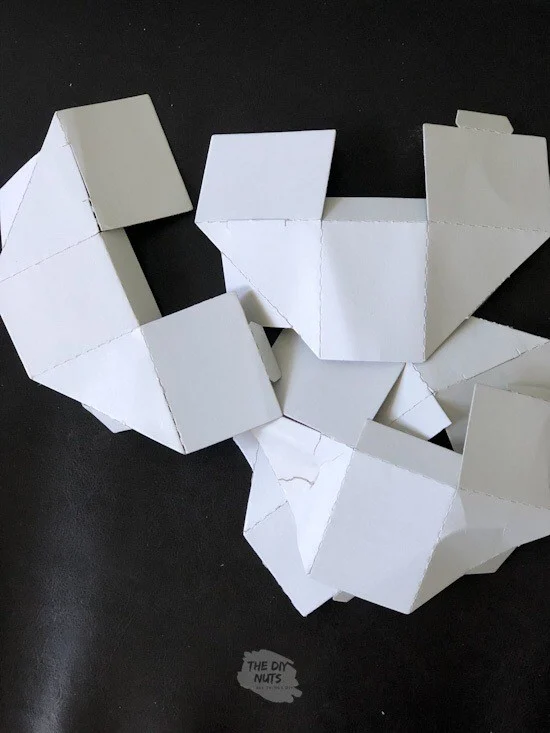
1. Take off the back of the square frame and the paper.
2. Put the frames aside and fold the paper in half, assuming that you will hang them in the middle.
3. Open the paper back up and measure the length of the hanging hook on the back of the frame.
4. Find the center of your wall to put the first square paper at your desired height.
5. Put the paper square up using a painter’s tape.
6. Take apart the corner square pieces.
7. Tape two separators near the bottom of the paper square.
8. Line up the next frame’s paper square.
9. Put the square paper on with a painter’s tape.
10. Keep adding the other two cardboard separators around the paper squares before adding another paper up.
11. Repeat these steps until your picture-framed gallery looks as you want.
12. Drive the nails right on the spot you have marked.
13. Pull the paper and cardboards separators off the wall.
14. Hang the frames.
5. Incorporate Trim with Board and Batten
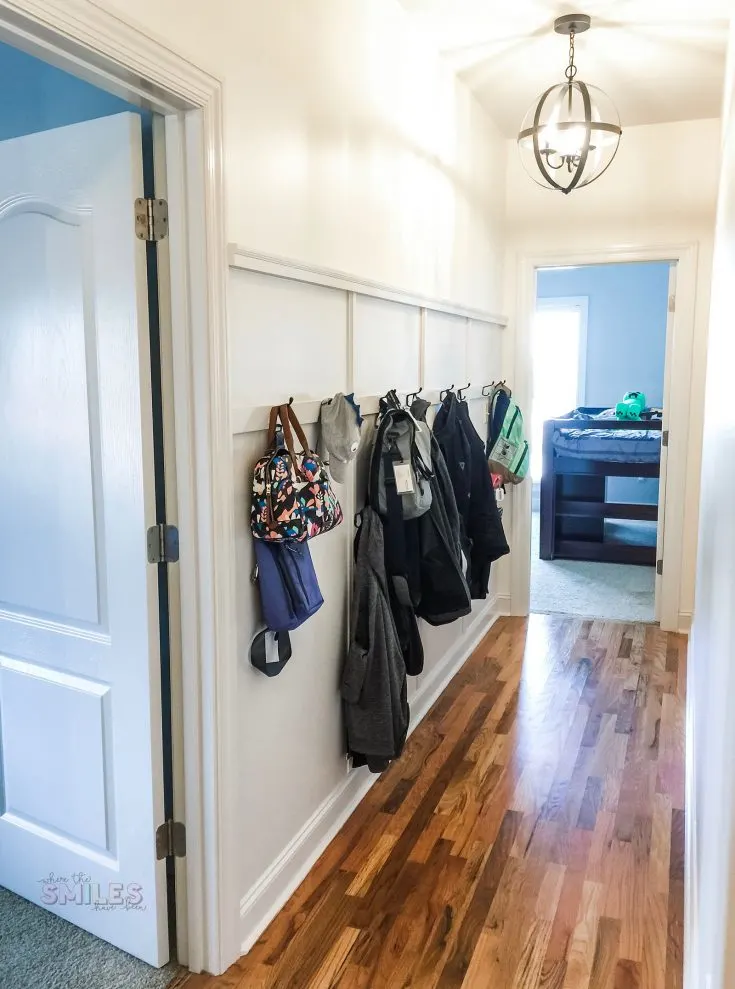 Another much more affordable idea is creating a board-and-batten accent wall. To carry out this improvement project, make sure you prepare the supplies:
• 2″ x10′ brick molding
• 3.25″ x 8′ interior primed MDF baseboard molding
• 2.5″ x 12′ pine primed finger joint chair rail molding
• Chalk reel
• Level
• Tape measure
• Miter saw
• Hammer
• Finish nails
• Paintable caulk
• Interior paint
• Paintbrush and painter’s tape
• Power drill
• Oil-rubbed bronze wall hooks
Short instructions:
- Add the horizontal pieces using the chalk reel when the materials are ready. Install all the moldings.
- Add the vertical pieces of four sections to your board and batten wall space.
- Sand and caulk over the nail holes and along the board seams. This is for the finishing.
4. Try A Mural Wall
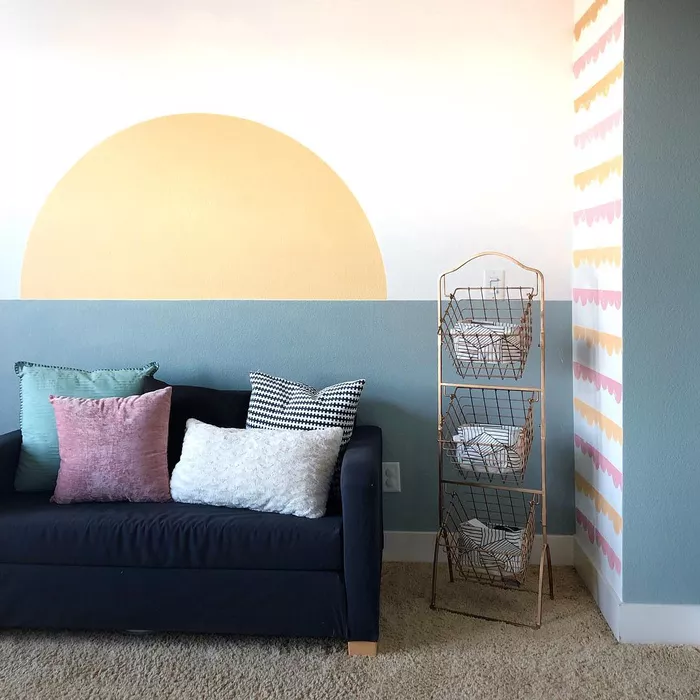 Believe it or not, there is nothing happier than adding a bright mural. This simple geometric mural is a great way to fill a wall space just behind your couch. So opt for a simple design and do it yourself.
Relevant instructions:
- Step 1: Clean the wall thoroughly and remove all of the dirt. Then, apply water-based primer according to the label of your primer.
- Step 2: Apply a quick-dry self-adhesive vinyl tape on the wall to protect it from scratches and dust. Next, cut out the pattern as you desire it to be. Avoid cutting on any edges of the design that you want intact for hanging hooks and rope for finishing up, ready to hang your mural on your wall.
- Step 3: Measure the distance from the center of each diagonal point to the center of the opposite points. This step is for making your design symmetrical.
- Step 4: Paint all of your stripes using a long straightedge so that your brushstrokes are in one direction and at a consistent width apart for an even paint job.
- Step 5: Wait for the initial coat to dry completely before applying a second coat.
- Step 6: Apply painter’s tape over edges that you want to keep intact, such as windows, molding, and baseboards. Use oil-based paint on those areas first before removing it later on with thinner and a putty knife or even an old credit card once dry.
- Step 7: Once you are finished, add a couple of hooks and hang your mural.
Bonus project: Make a Tiered Wall Shelf
This bonus is an easy-to-do improvement project that anyone can do in no time! Try this tiered wall shelf for your living room or bedroom. Find the necessary materials, like two pieces of 1×10″ boards and six pieces of 1×4″ boards, a hammer, power drill, and other items from the home improvement store. After collecting all of your materials, follow the instructions below to achieve so much more space on your walls:
- Step 1: Measure the length and width of your boards.
- Step 2: Locate the center of one board and the center of a second board.
- Step 3: Cut all of your boards to length.
- Step 4: Cut one board into two halves and place it horizontally on top of the other boards, leaving a gap on either side for later attaching it down. This idea will be your shelf saw to confirm that you have accurately measured your boards first before making a huge mistake. A pencil handy is included with this guide for the exact measurements needed for this wall project.
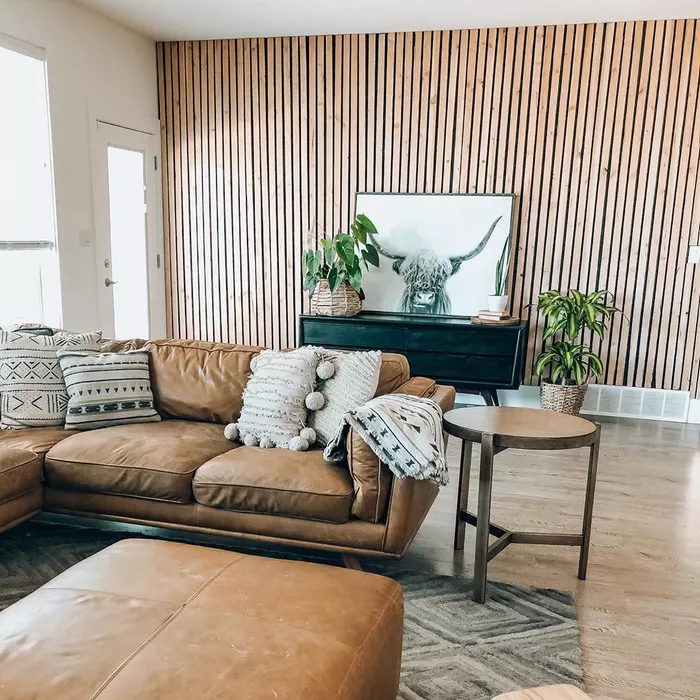 If you already have a home with a Scandinavian design, adopt this idea for your living room to complete the look. Indeed, natural wood or bamboo helps to create a warmer and more inviting space. Further, the living area will also feel natural.
You only need to align the pieces along the wall, and you are good to go. You can also use scrap wood to define the space between each piece. Now, you have a spectacular backdrop for your TV.
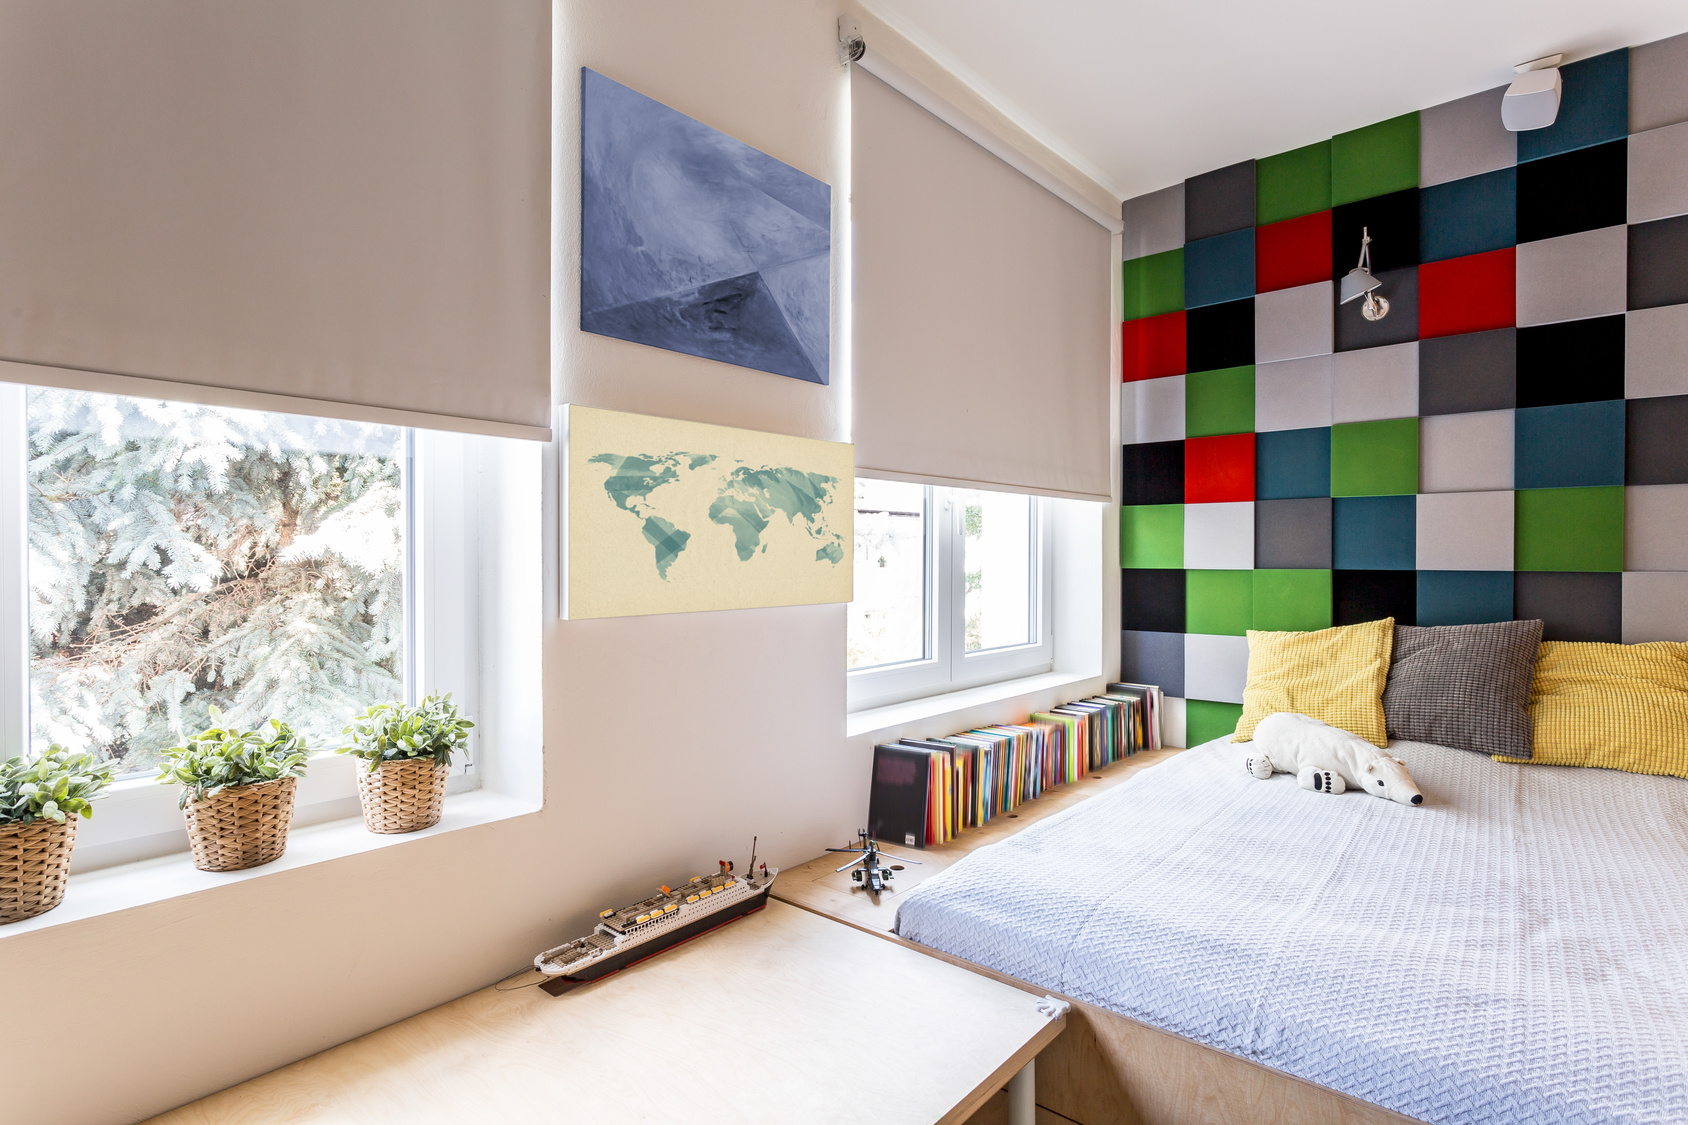
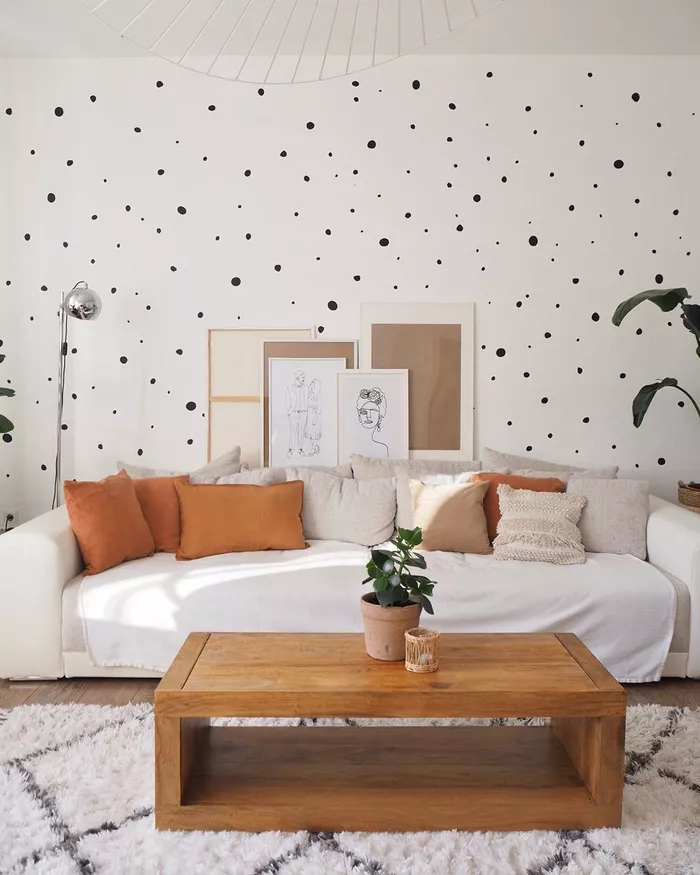
2. Do not be Afraid of Spots
 Many people are worried when they come across spots on their skins.
Spots are not always bad. In fact, they can make striking patterns for your accent wall.
Besides, it is a super easy DIY project to do. You can even get your kids to join you so that they may have fun with this engaging activity.
You only need to color the wall white because this tone is perfect for the base. Then, you can begin to add spots in various sizes.
Relevant details:
- No 1. Observe your wall and then determine what spot style you want to use.
- No 2. Create a template or even use the floor to finish the drawing if it is easier.
- No 3. You can start with many spots or even less if you prefer.
- No 4. Choose your preferred colors and any detail you want to add to your wall, like numbers, city names, animals, etc.
- No 5. Once you finish coloring, get a sponge and wipe off all the paint from the drywall beneath. This idea will protect your new product from any mistakes in the future.
- No 6. Wait for the paint to dry, and then move on to the next step.
- No 7. Use a pencil or marker to make a line where each spot is located.
- No 8. Place your vinyl paper on the wall and use a sharp utility knife or razor blade to precisely cut along this line. Then, remove the paper backing and stick it into place using a roller brush or even your hands to get rid of air bubbles between these spots that you have put together in your space.
Lastly, number 1. Segment Off a Space
 “Segment off a space” has become a favorite option in open concept homes which are now increasingly popular. You can break up a large, open room with the right accent wall. You can also make an outlined space for the living area.
Relevant ideas:
- No 1: You can use a floor or even an empty city block for creating a grid. Draw the lines either with chalk or with the help of a yardstick.
- No 2: Next, measure your window area and draw two lines parallel to each other in length along the wall surface.
- No 3: When you are drawn in this manner, mark the center point of both lines at the nearest point of your window area. With a straight edge, draw a line along with this center point and make a mark on one side of this line to define your wall boundary line.
- No 4: Return to your corner and make another mark at any other point on this exact opposite side borderline.
- No 5: With the help of power tools, bore into the wall, drilling a hole along with your marks. Then, figure out where to cut and hang your accent wall.
- No 6: Turn off all lights and turn on only the room light to see what you are doing.
- No 7: If you need to repaint this area, use wax or even special glue to hold your brackets in place so that they do not move.
Relevant tips:
- No 1. If you do not want any spots on a vertical wall but rather a linear line drawing, draw two lines at least 4 feet long on either side of your living room or bedroom wall.
- No 2. Avoid having a messy and wrinkled space:
- No 3. Do not make any cuts around your room or even ceiling lights if you need to draw a line along with them because this will lead to an inconsistent-looking wall.
- No 4. If you are in for doing this project, use chalk or even thin paint as your primary materials. You can also use masking tape to figure out where the corners of the wall should be and mark them with a pencil in advance.
Making an accent wall in your living room is a great idea to transform your space into a more welcoming area. Luckily, it does not have to be arduous because these 10 accent wall-living room ideas have proven it.
References:
10. Familyhandyman.com
9. Thisoldhouse.com
8. Thediynuts.com
7. Sustainmycrafthabit.com
6. Thediynuts.com
5. Wherethesmileshavebeen.com
4. Thespruce.com
3. Thespruce.com
2. Thespruce.com
1. Thespruce.com